I’ve got a question for you.
Have you ever been unmotivated to go out and shoot?
It’s a weird question, right? I mean, we all love outdoor photography. What is there not to love? You get to be outside exploring and capturing your creative vision. But, I’d be willing to bet that there have been moments when you thought about going out to shoot and decided not to go because you felt a lack of energy towards the process.
How do I know? Because I’ve felt that way. Even when the light has been tremendous I’ve passed on the opportunity because I simply didn’t feel like going.
The reason you and I both felt the lack of desire to do something we love is because we were in a rut. Just like the best baseball and basketball players fall into a slump, photographers can fall out of a groove with their photography.
Well, next time you find yourself in a rut, try out a different type of photography. Mix it up! Try something new, like high key photography.
What is High Key?
High key photography is a way to capture a scene artistically by intentionally overexposing the photograph. This technique has been around for a long time and was also used in the old film photography days (although they don’t seem that long ago).
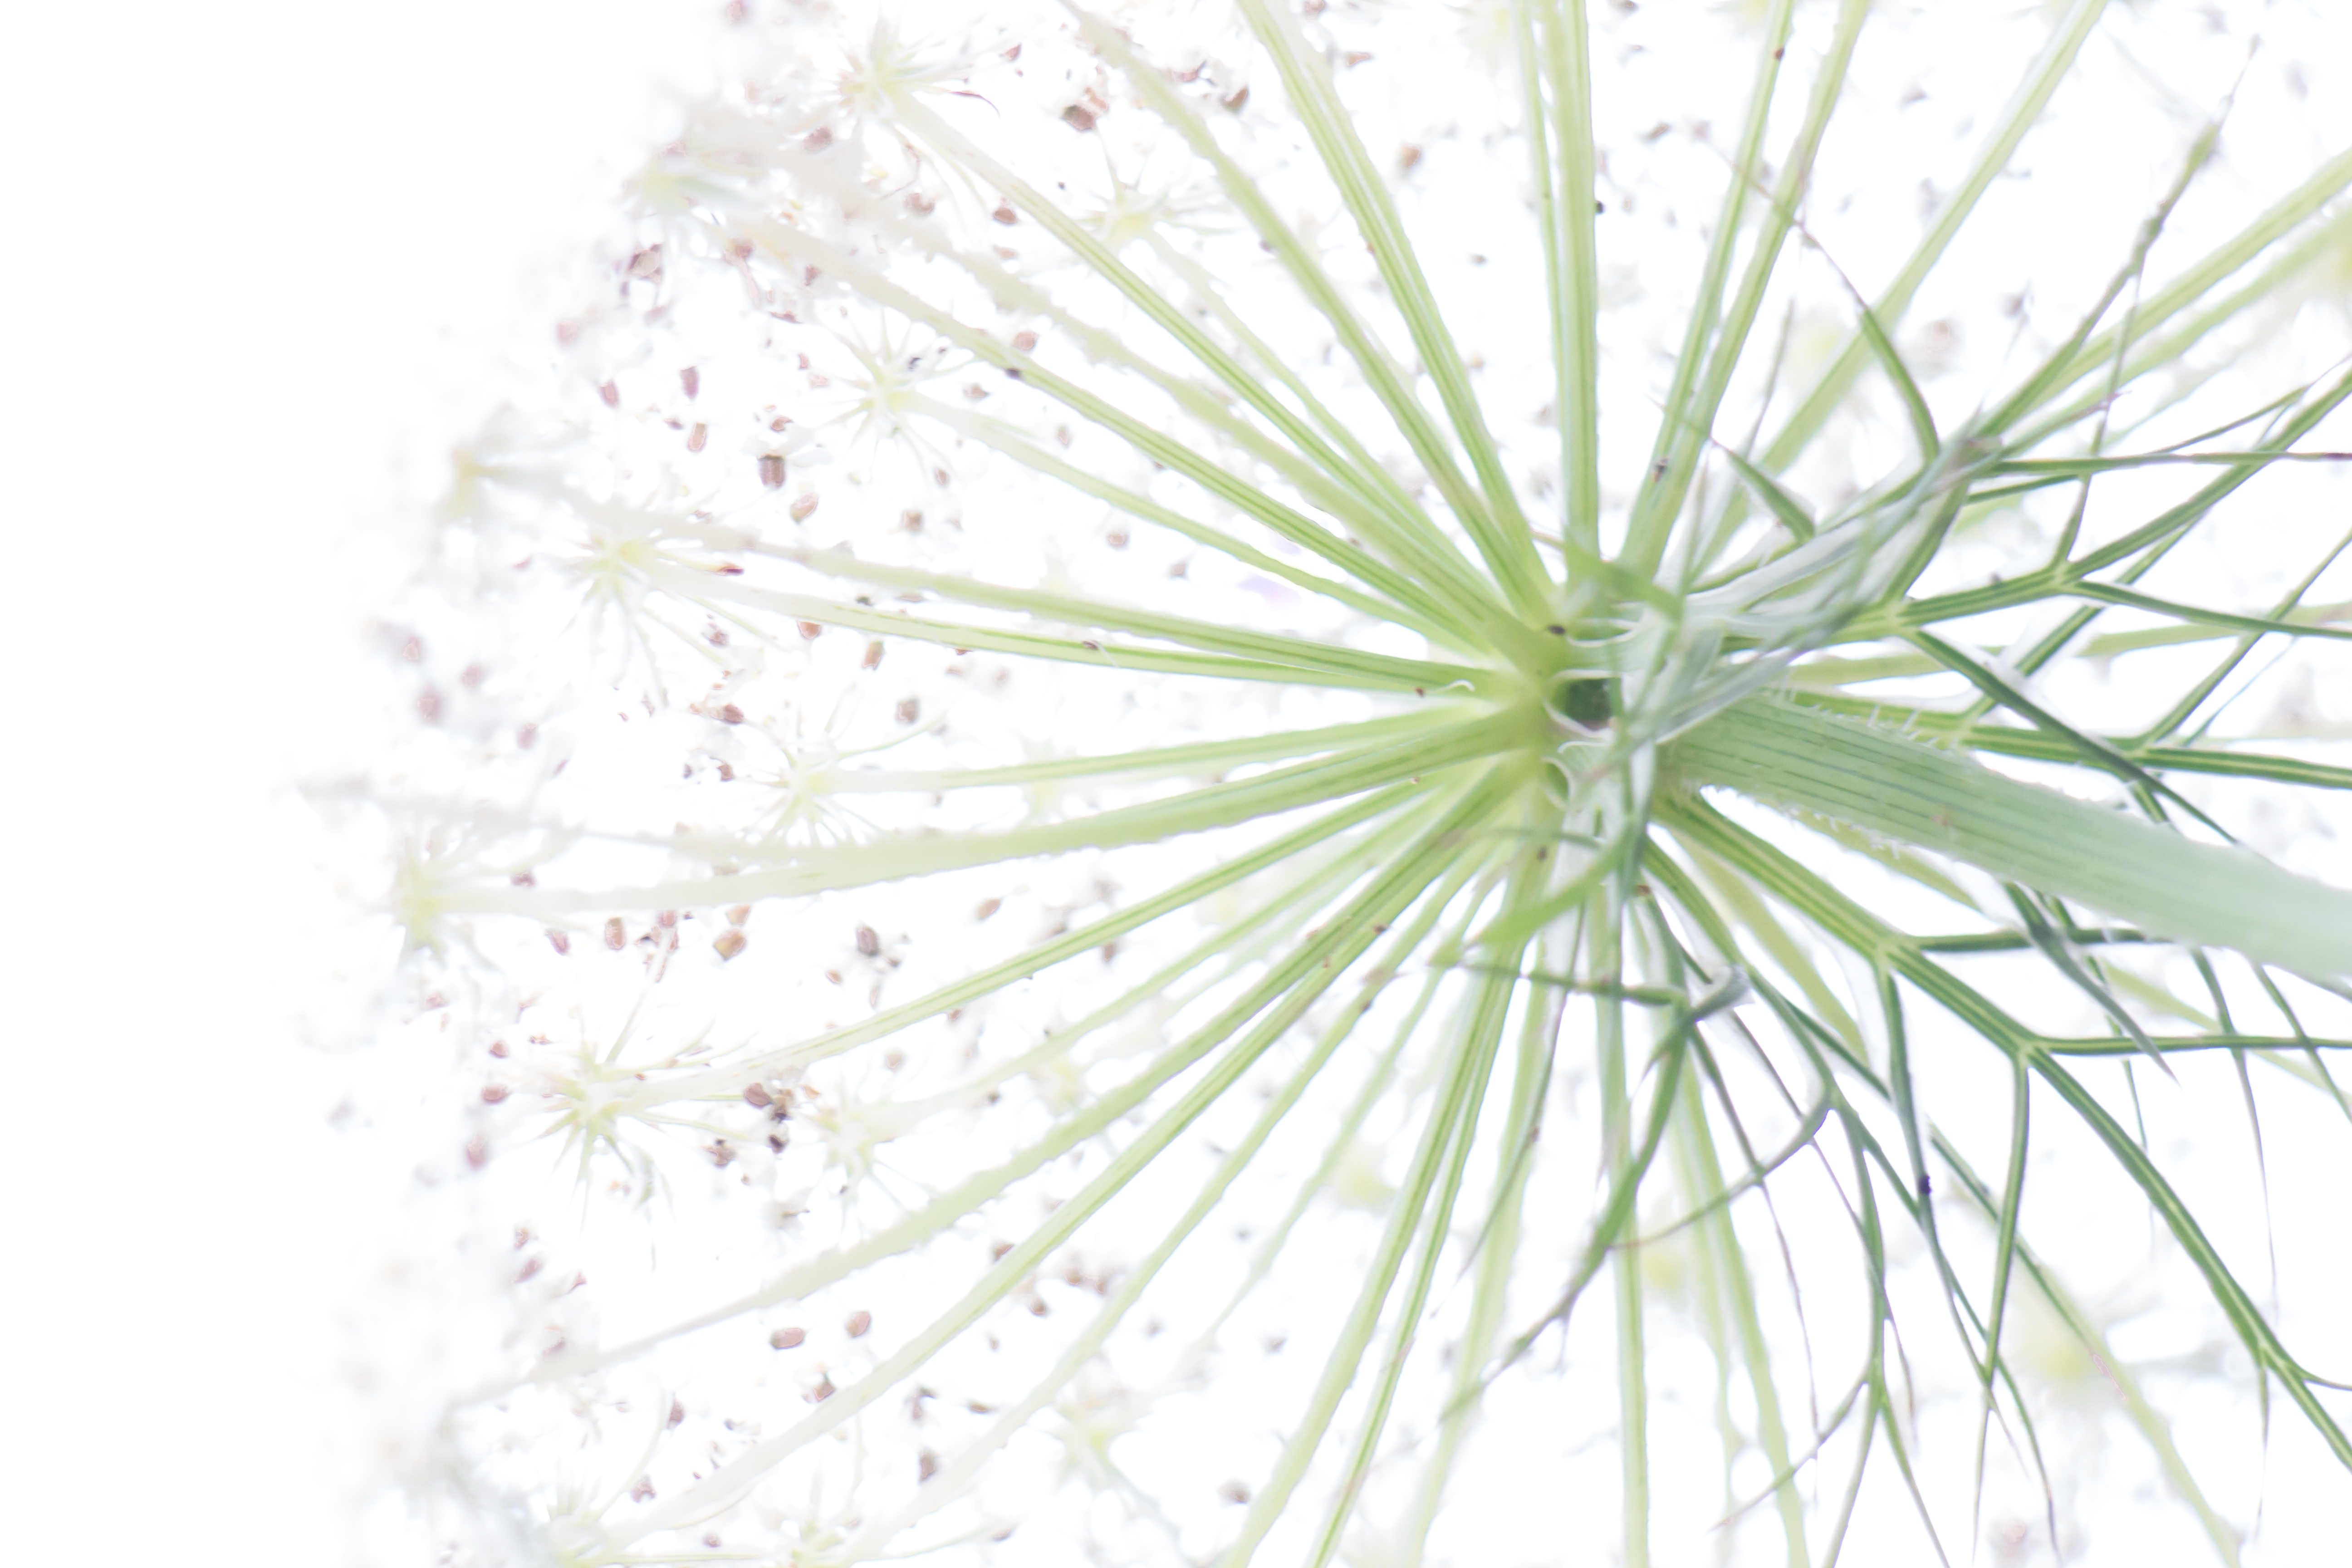
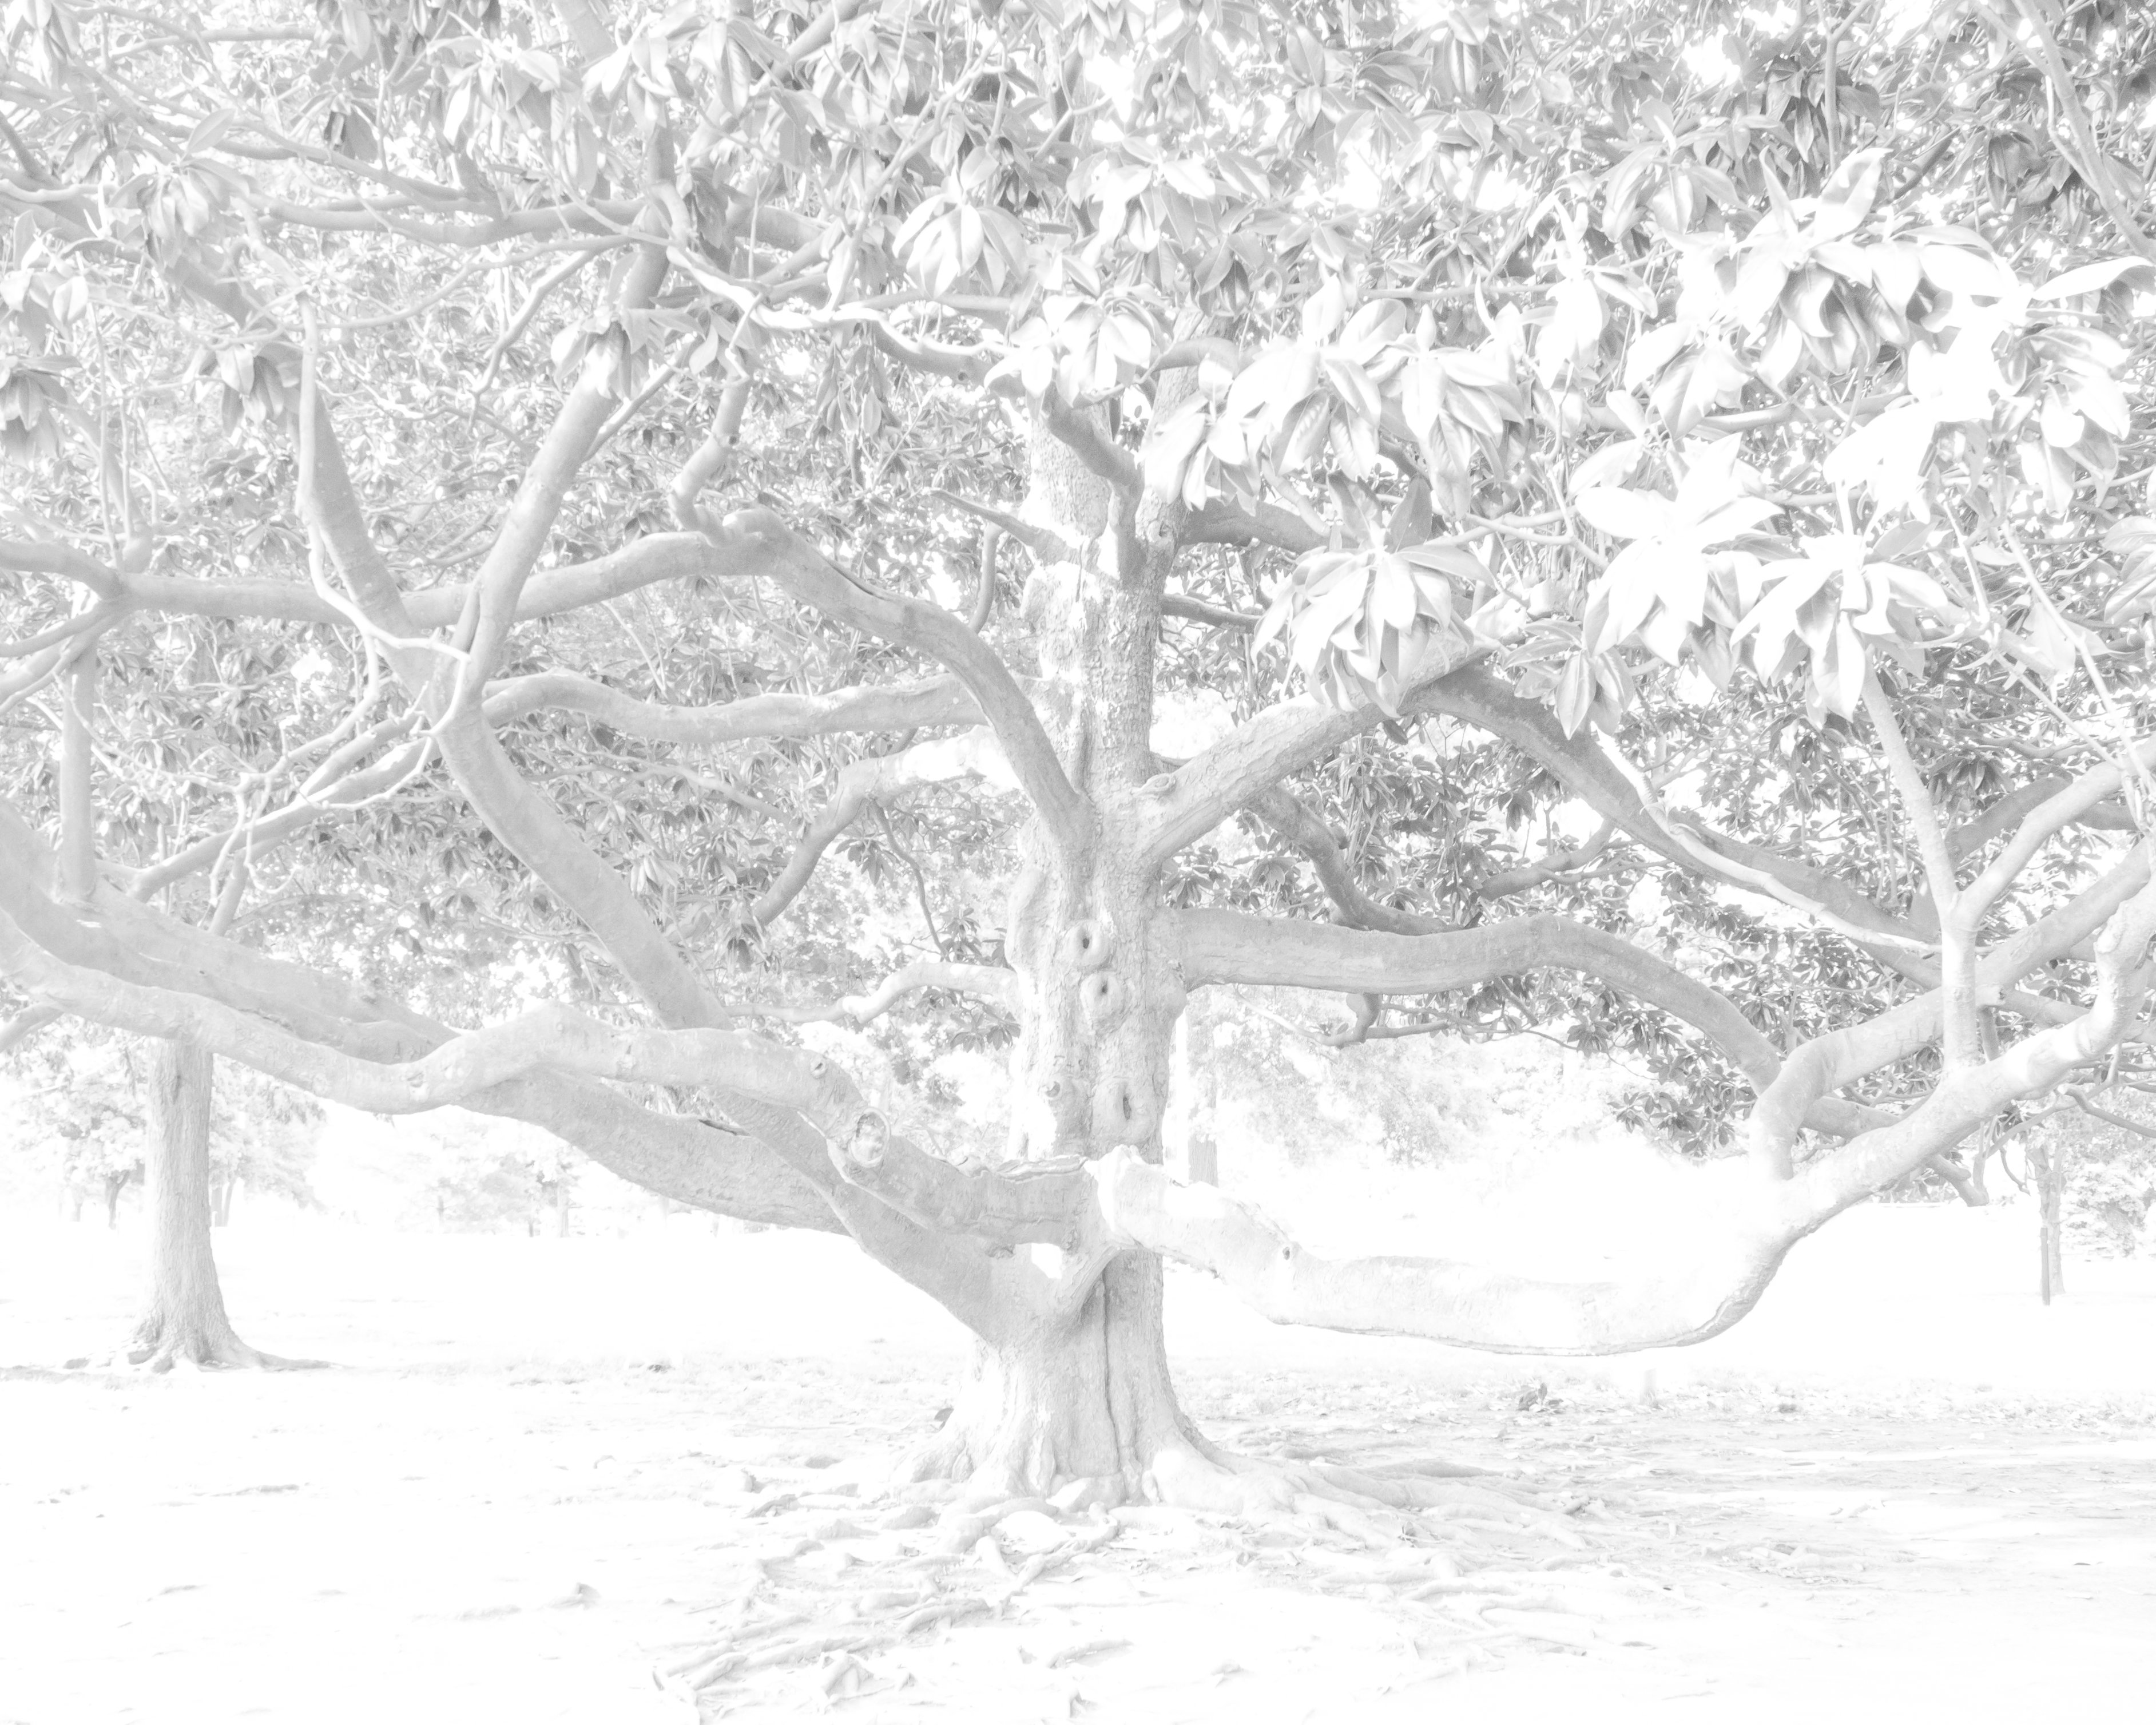
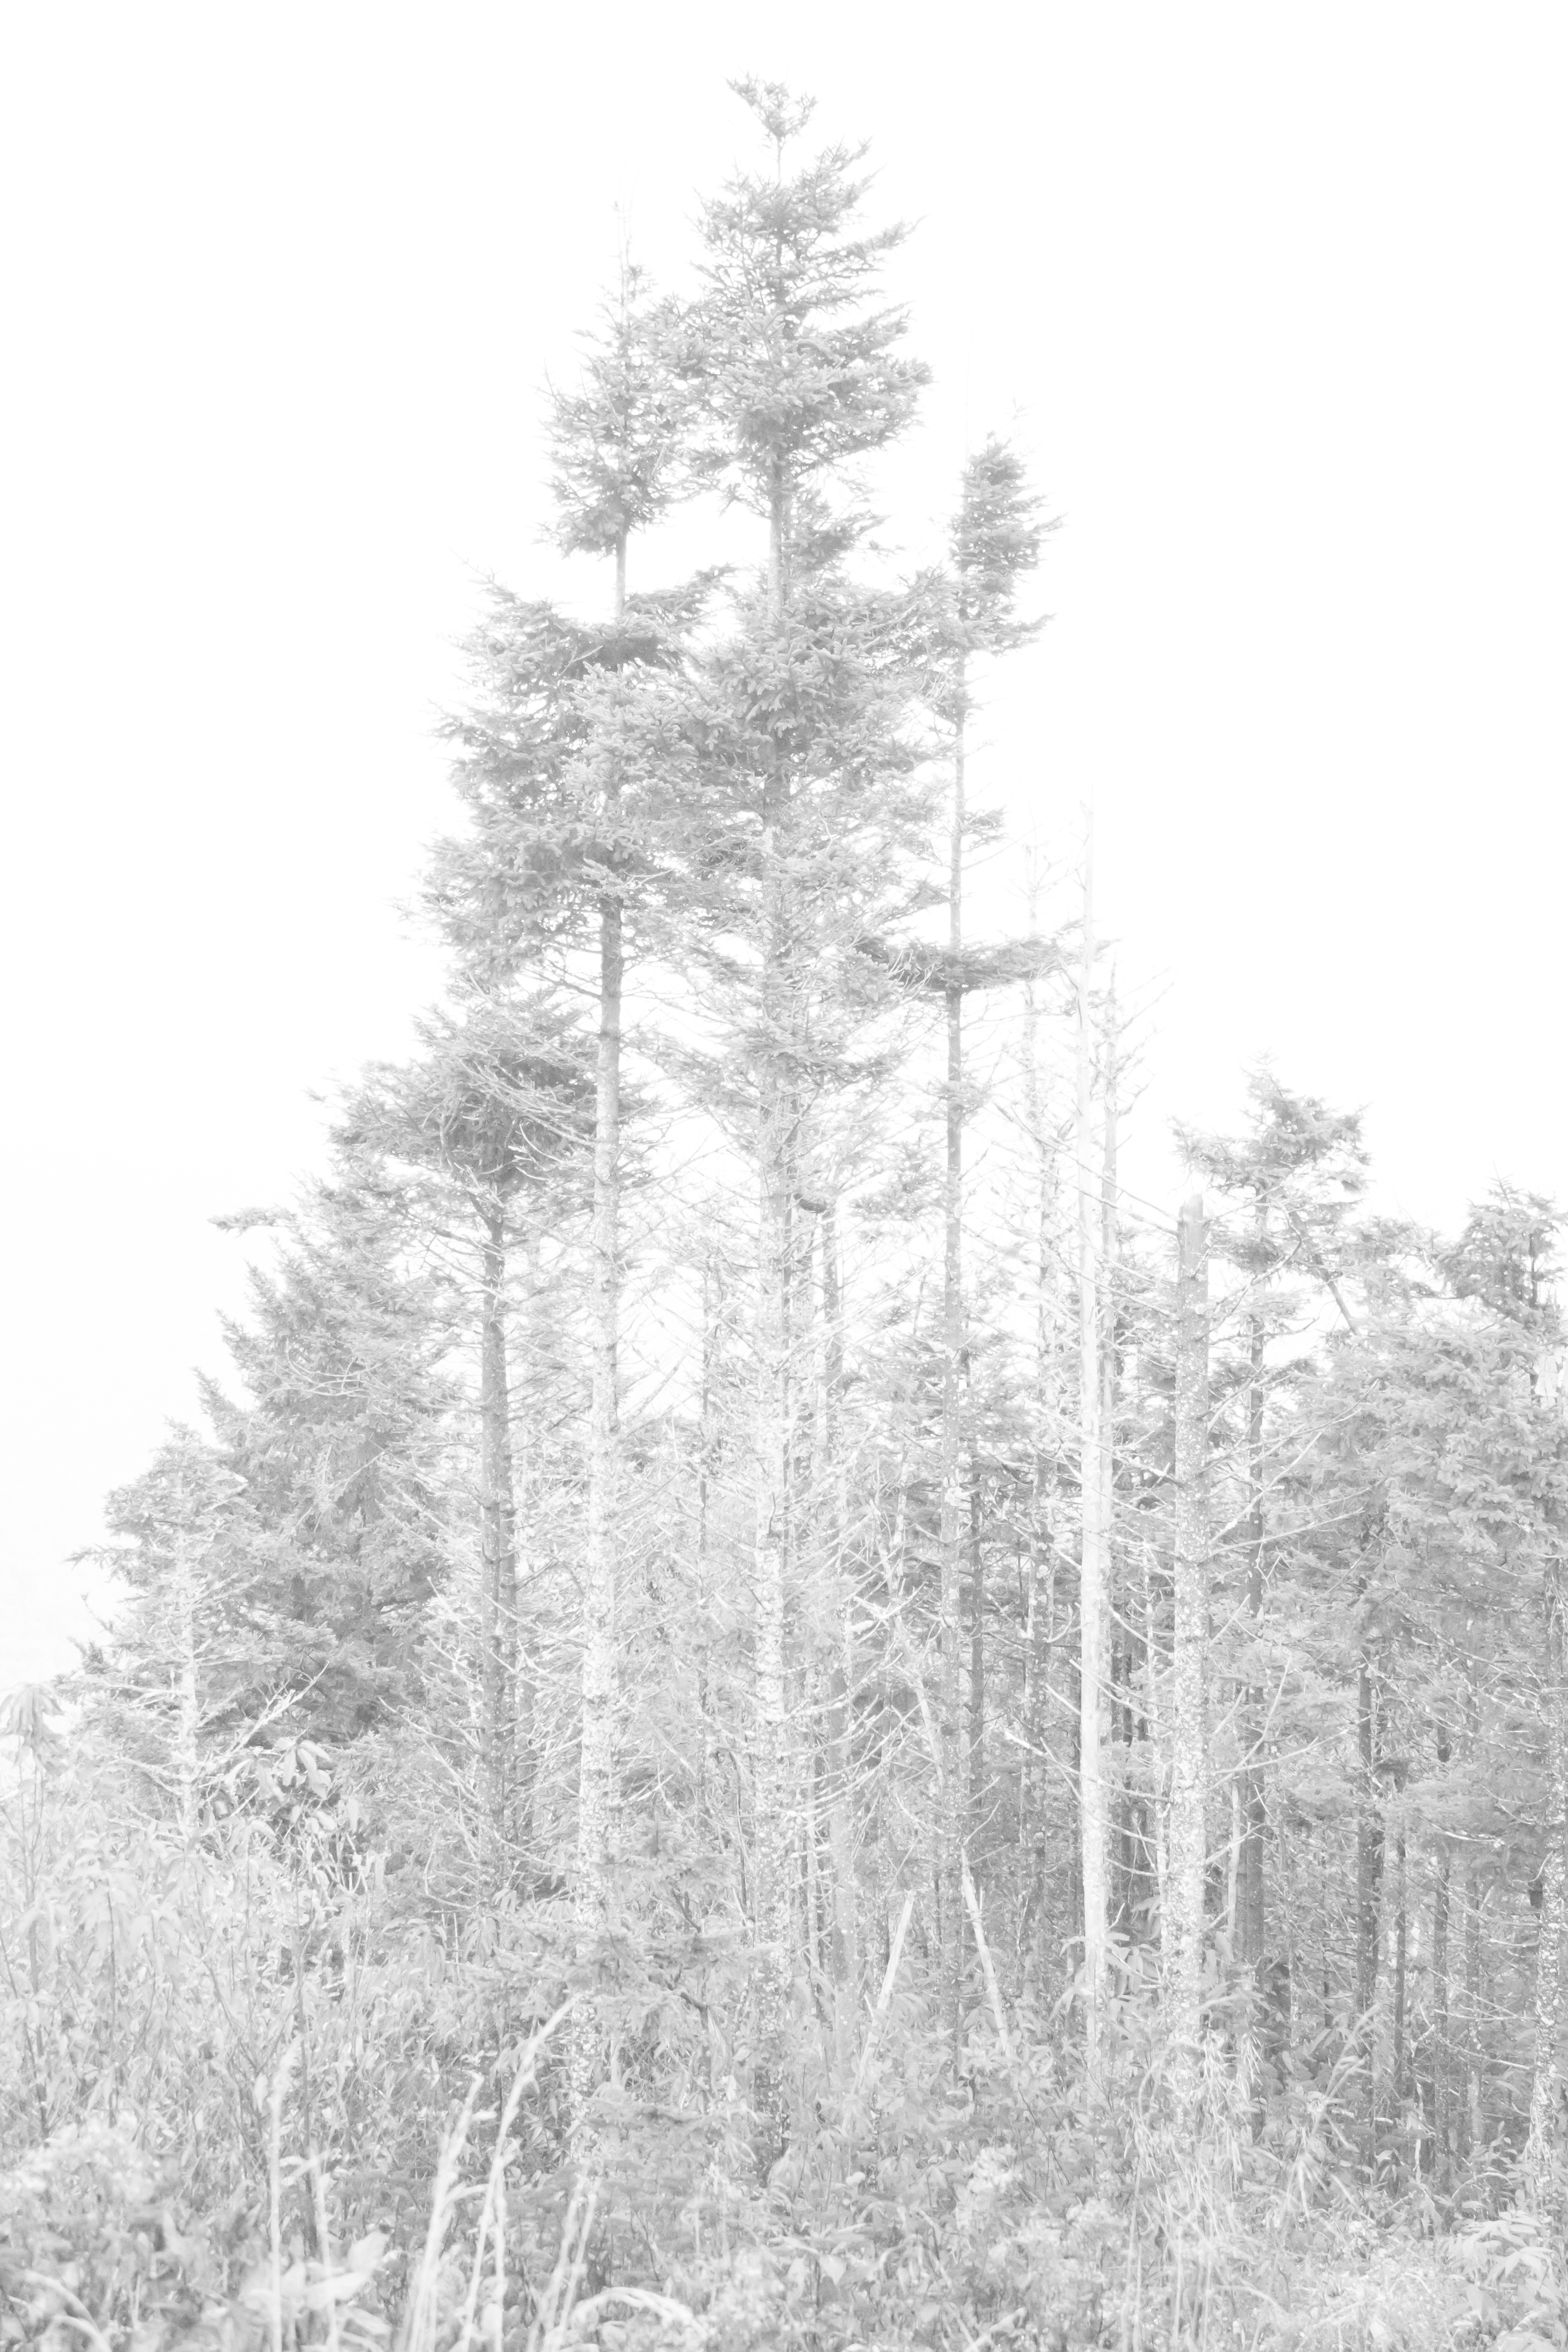
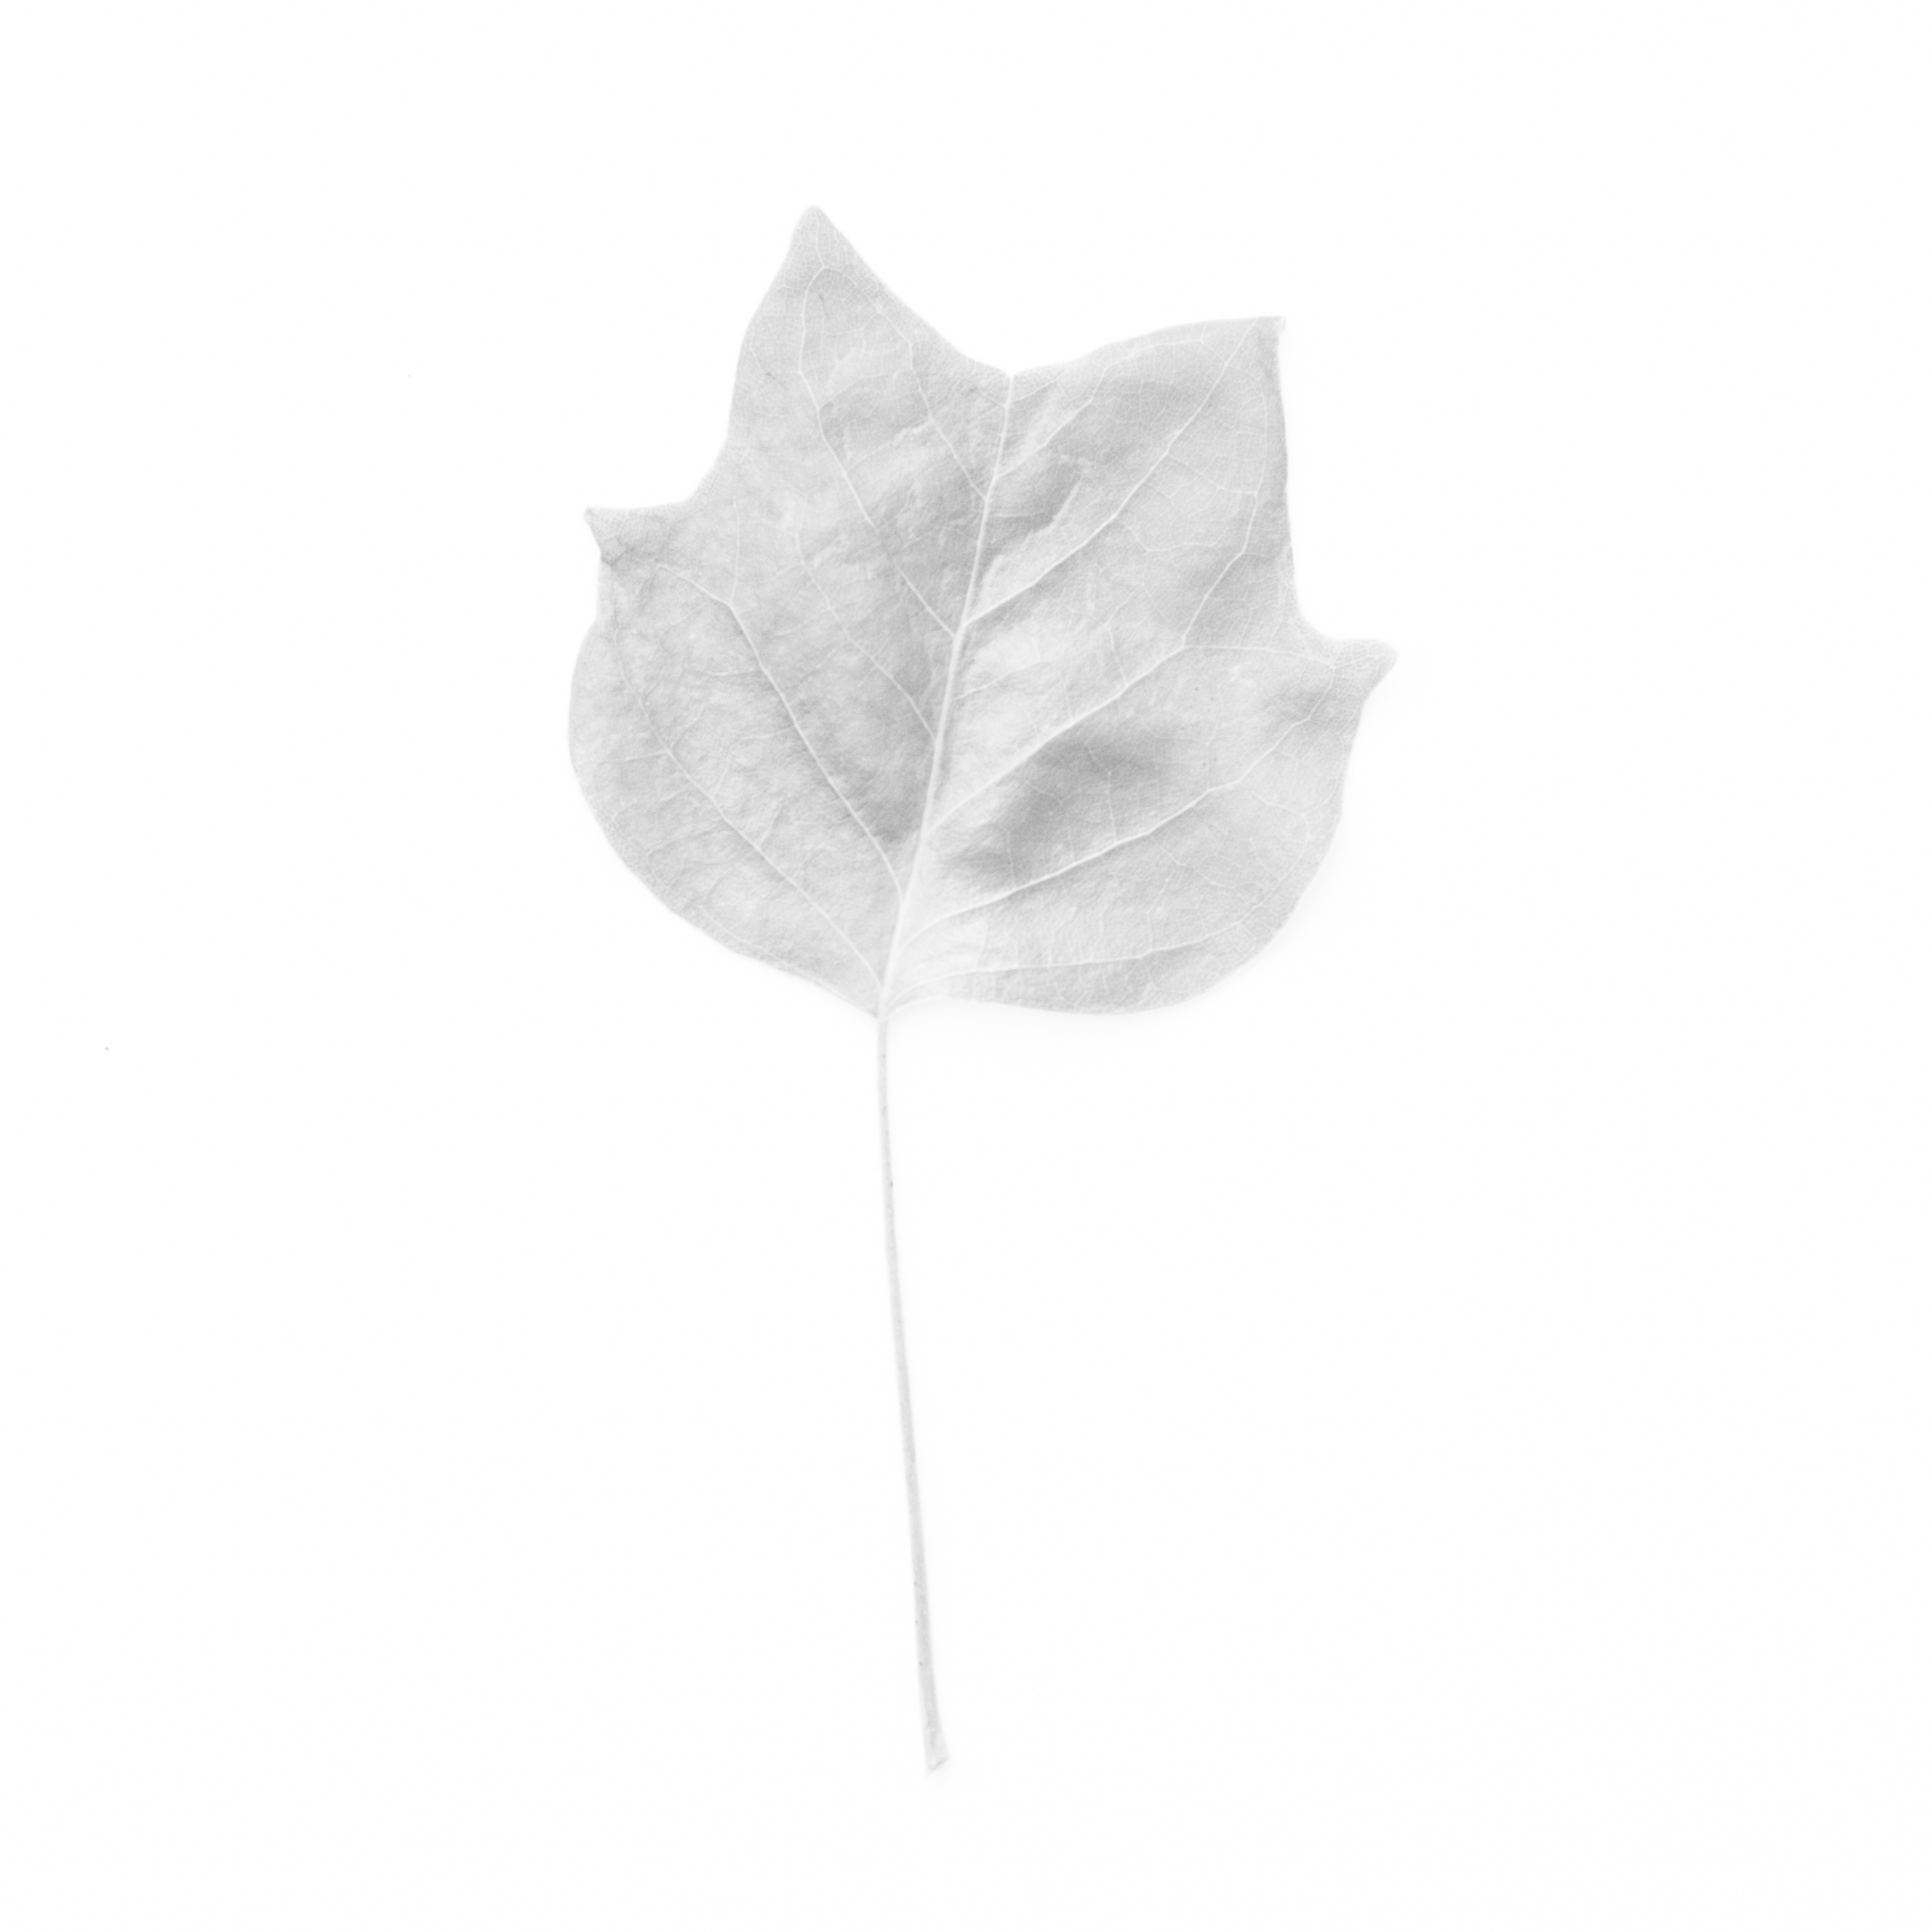
The overexposing effect of high key photography creates a predominately white photograph that reveals textures, deep shadows, and extreme contrasts that can otherwise be missed in a standard photograph.
High key photography also creates a creative image that resembles pencil sketches or highly detailed watercolor paintings. They can be shot in either black and white or color to reveal various appearances in the outdoor scene you’re shooting.
How to Shoot in High Key
To shoot photographs in the high key style, you need to understand your camera settings and how they affect the light that’s entering your camera’s sensor. The easiest way to start thinking about shooting in high key is to think about your normal shooting progression or workflow and alter it to intentionally overexpose your photo. I highly recommend that everyone create a workflow that they consistently follow.
Why?
Well, consistent practices in the field lead to consistently great photographs.
That’s a good line. Write that down.
So, you’re in the field and you’ve exposed the scene in front of you like normal. To create a high key look, increase your ISO first to overexpose your shot.
Why the ISO?
Think about it this way, if you increase your shutter speed you might capture some unwanted movement in the trees and leaves. If you alter your aperture, you might create unwanted range of focus issues. The ISO is the only solution that will increase your sensor’s sensitivity to light so that the shutter and aperture effects remain constant.
If you still don’t get the amount of overexposure you want just by increasing your ISO, feel free to adjust your other camera settings as well. If you decide to do that, I would caution you to zoom into your shot and be sure you don’t have any unwanted shaking or range of focus issues. However, to be honest, I’d rather further adjust the exposure in post-processing.
The next part of the photograph creation process is on your editing software. When you import your photographs onto your computer for post-processing work, you might notice that you didn’t overexpose enough or that you couldn’t overexpose your photo enough to remove certain lines or textures you wanted to eliminate. Simply increase your exposure even more in post-processing to the point you’re happy.
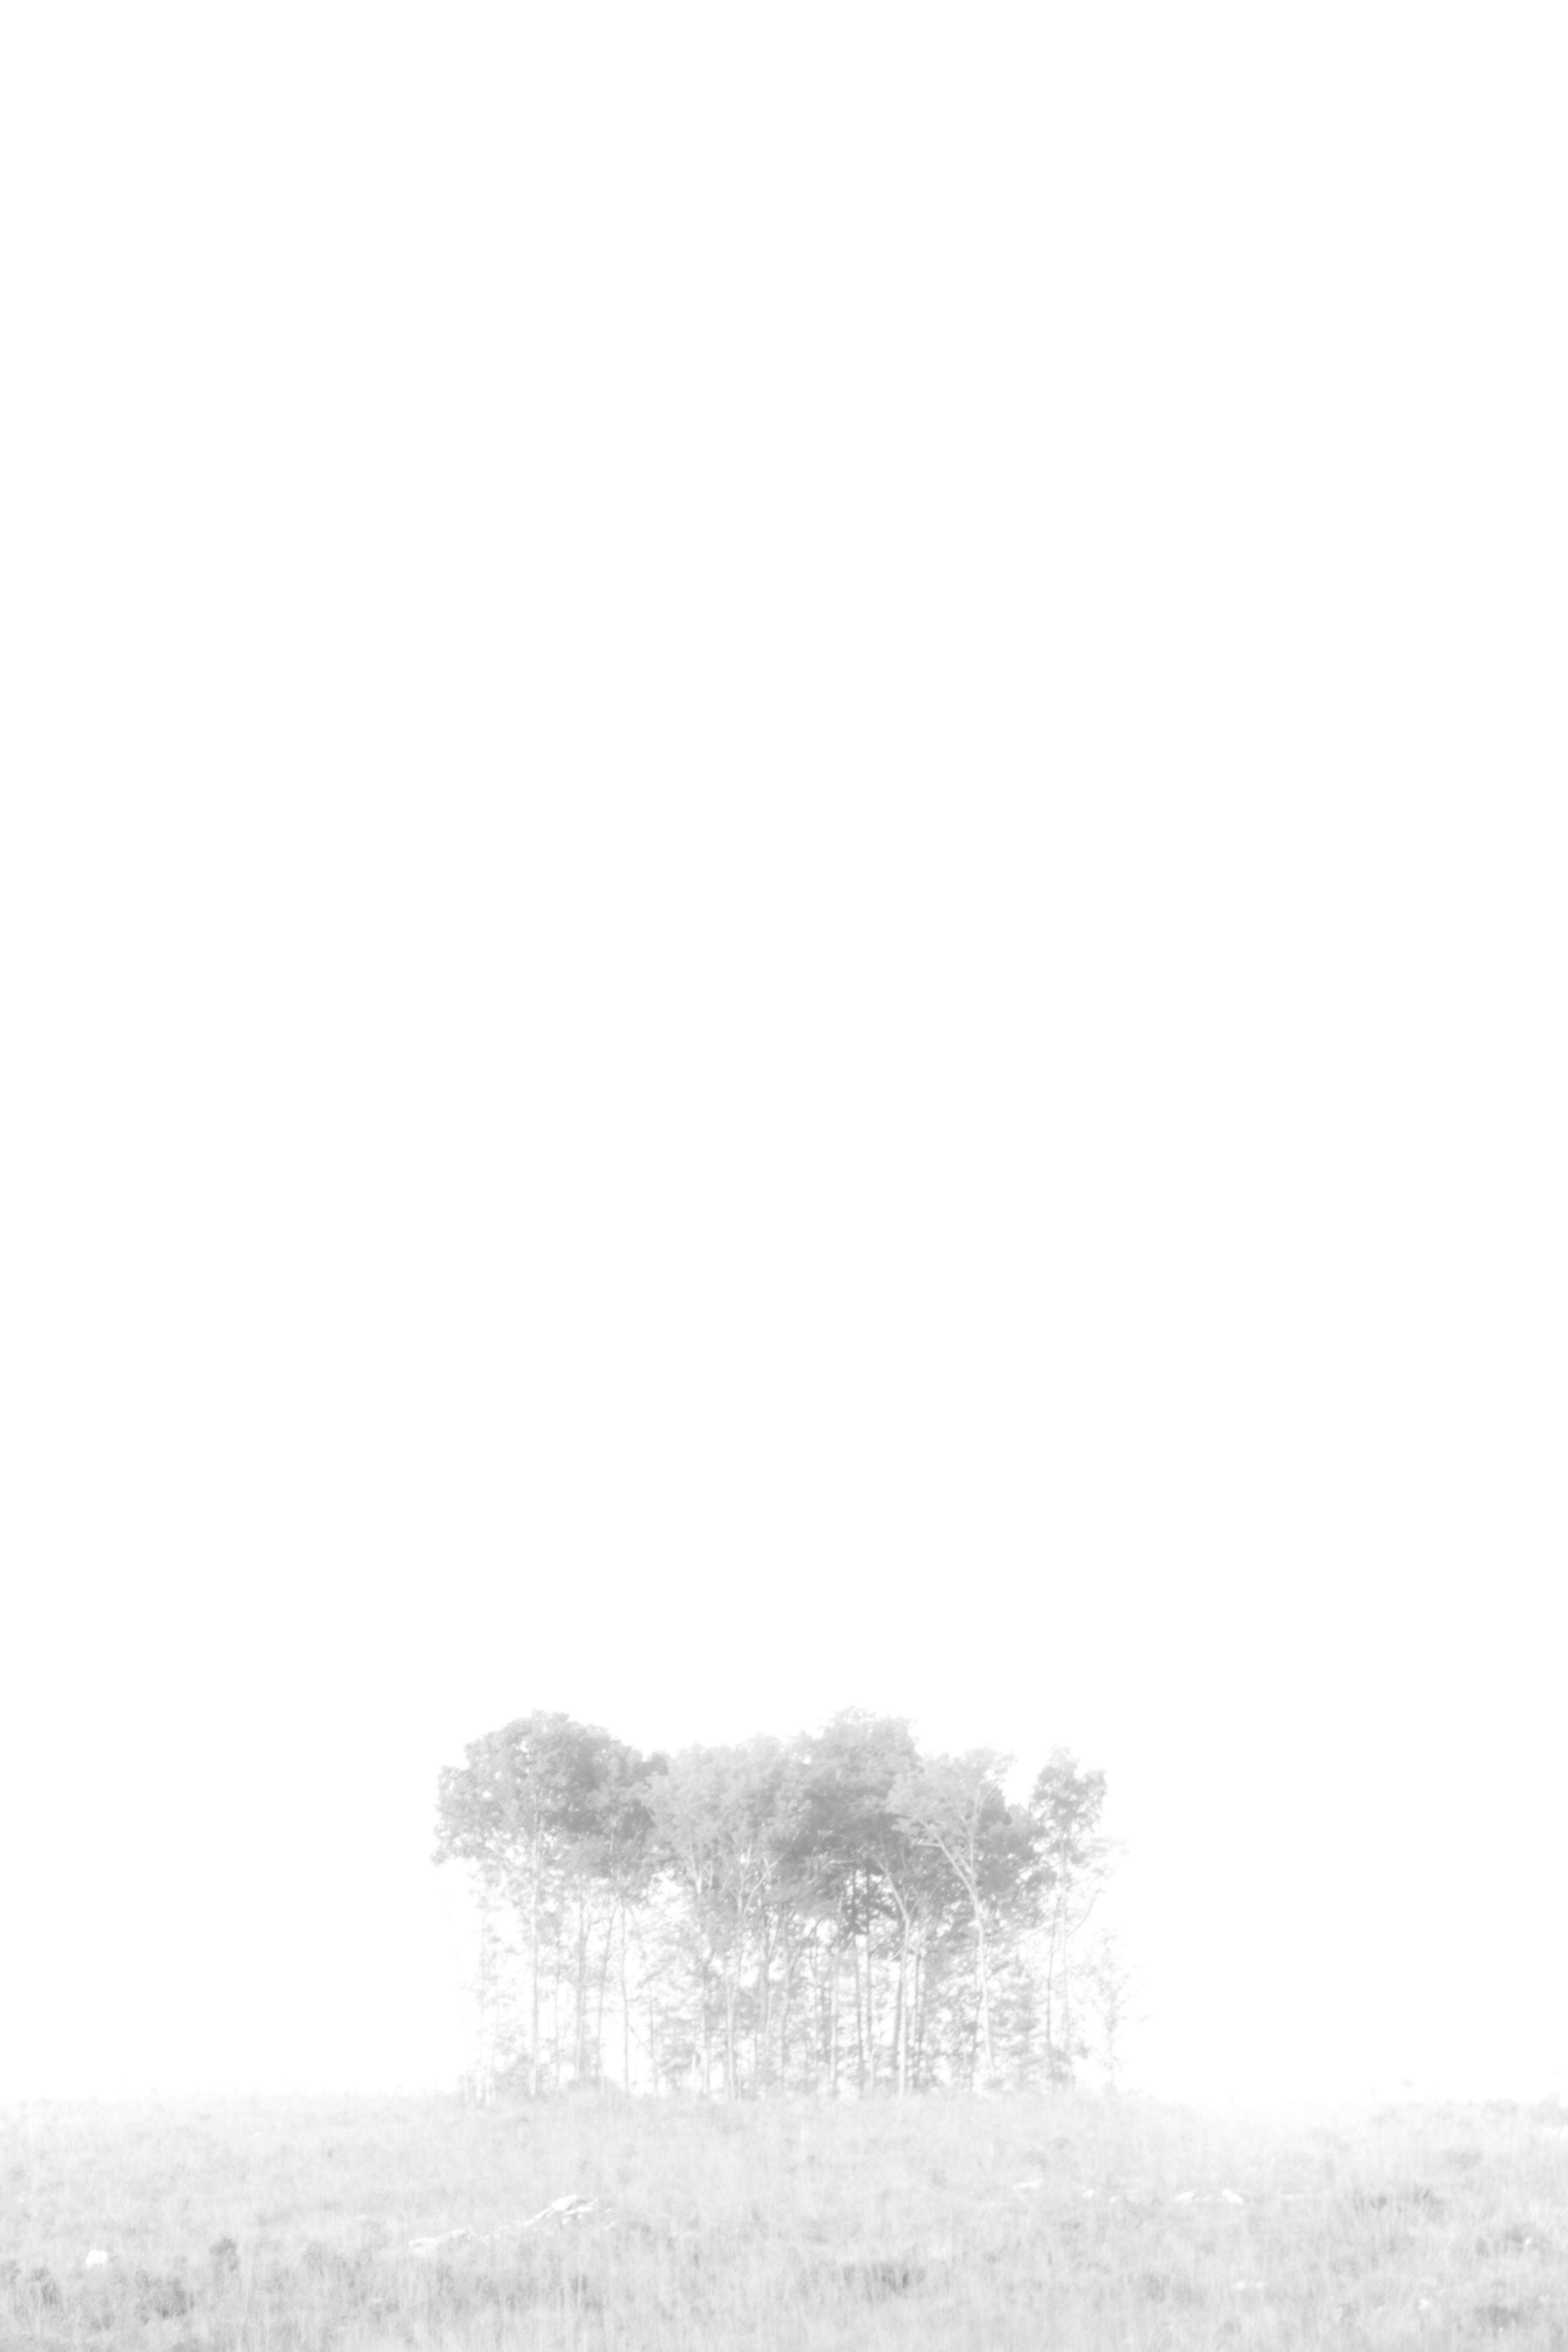
Lastly, I like to keep my high key photography as simple as possible with a lot of blank white negative spaces to reveal a definite subject. So, my last step in post-processing is to go through the image in photoshop and paint in white where I think solid, blank spaces should be.
There are two different ways of painting in white into the photograph. If you’re a Lightroom user, you will want to use the adjustment brush. In the develop module, select the adjustment brush tool. Once the adjustment brush is selected, choose the exposure effect from the dropdown “Effect” menu. Then, increase the brush’s exposure slider all the way up. This amount of exposure shows up in white when you paint it on the image. If you don’t get enough of the effect the first time, create another brush and paint over the area again
.If you’d rather paint white onto your image in Photoshop, simply load your image into Photoshop and create a new layer to paint on. Next, select your paintbrush tool and select white as your paint color. Lastly, paint!
I don’t have a preference of one of the processes over the other. My mindset is whatever gets the job done in the least amount of time is the one I’m going with. It’s usually Lightroom, but sometimes I’m already in Photoshop.
High Key Subjects
As you may know by now, not all subjects in outdoor photography are the same. That is certainly true in high key photography as well. It’s extremely difficult to capture an outdoor adventure scene or a beautiful sunset using the high key technique. I’m not saying it absolutely cannot be done, I’m just saying it’s difficult to capture.
So, if you can’t necessarily capture some iconic outdoor scenes with the high key technique, what can you shoot with it?
Well, I’ve found that the subjects that work the best for high key photography are plants. Anything with leaves, flowers, or roots will all look good in high key.
However, you must shoot them correctly! You can’t just go out and photograph overexposed plants and expect them to look great.
One of the most difficult things to do in high key photography is to separate your subjects and single them out as the main idea of your image. It gets even more difficult when you’re shooting plants because they’re usually around other plants that get in the way and clutter the photograph. It’s up to the photographer to move around and try different perspectives and ideas to creatively single out the subjects of the photo. I’ve even gone so far as to place the plant in front of a piece of white poster board to ensure there is no clutter behind the subject.
High key photography is a great way to think outside the box in outdoor photography, take a break from the mundane, and create different images than you normally wouldn’t even think about. This type of photography can be a great way to create a series of prints that show a familiar scene differently. Think about how this might look in a local gallery, a photography book, or even a series of prints. High key photography can get you out of a rut, produce quality photographs you can use to show your versatility in photography, and it can make you love creative outdoor photography again!
Next time you’re out in the field, you might want to try shooting in the high key style. Even if you’re not in a creative rut or bored with photography, you might find that it sparks a new level of creativity you’ve never felt before!

 About the author: When David Johnston isn’t leading photography workshops and tutorials or hosting his popular photography podcast, Photography Roundtable, he can be found traveling the world taking photos to awe and inspire his viewers. David has a passion for sharing his knowledge of photography and has many educational offerings designed to help photographers improve their work. Visit his website at https://www.davidjohnstonart.com/.
Have something to add to the story? Leave a comment or email editor@outdoorphotographyguide.com.

Interesting and puts everything into perspective
So glad to happen upon this article! I was recently crucified on a photography group after posting a high key portrait image. The commentary by the self-appointed "experts" there suggested that I was absolutely inept and without hope. I knew better--I'd intentionally crafted the photo, and I knew it technically met all the parameters for a good high key image. This article has validated me as a photographer and artist. THANK YOU!!
Very interesting!!!
In the old days of film photography, we could get a high key effect by blasting our subject with bright lights up close to our subject in a 1:1 lighting ratio. We would then blast our white background with even brighter light. We would then just photograph our subject normally. This produced a really nice high key photograph that also looked like pencil sketches when shooting in black and white film or muted soft color images when shooting with color film. Color portrait photographs were especially pleasing for women as it removed a lot of wrinkles and smoothed out their skin without retouching.