Video Player is loading.
Current Time 0:00
/
Duration 0:00
Loaded: 0%
Stream Type LIVE
Remaining Time -0:00
1x
- 2x
- 1.75x
- 1.5x
- 1.25x
- 1x, selected
- 0.75x
- 0.5x
- Chapters
- descriptions off, selected
- captions settings, opens captions settings dialog
- captions off, selected
This is a modal window.
Beginning of dialog window. Escape will cancel and close the window.
End of dialog window.
This is a modal window. This modal can be closed by pressing the Escape key or activating the close button.
Class
Editing Time-Lapse Photography
$24.99
$5.00
At a Glance:
- In-depth Instruction; over 67 mins
- On-demand video access anytime
- Bonus downloadable PDF resources
- Access to class Q&A
Item:
B2050E
Description
With every type of photography, there is involved in-field work that takes a lot of preparation and planning, and then there is post-processing when you are able to take what you’ve shot and complete the edits necessary to bring your images to life.
Editing your time-lapse photography is no different. However, the steps you need to take to create a professional time-lapse sequence are very important. In this class, you’ll learn:
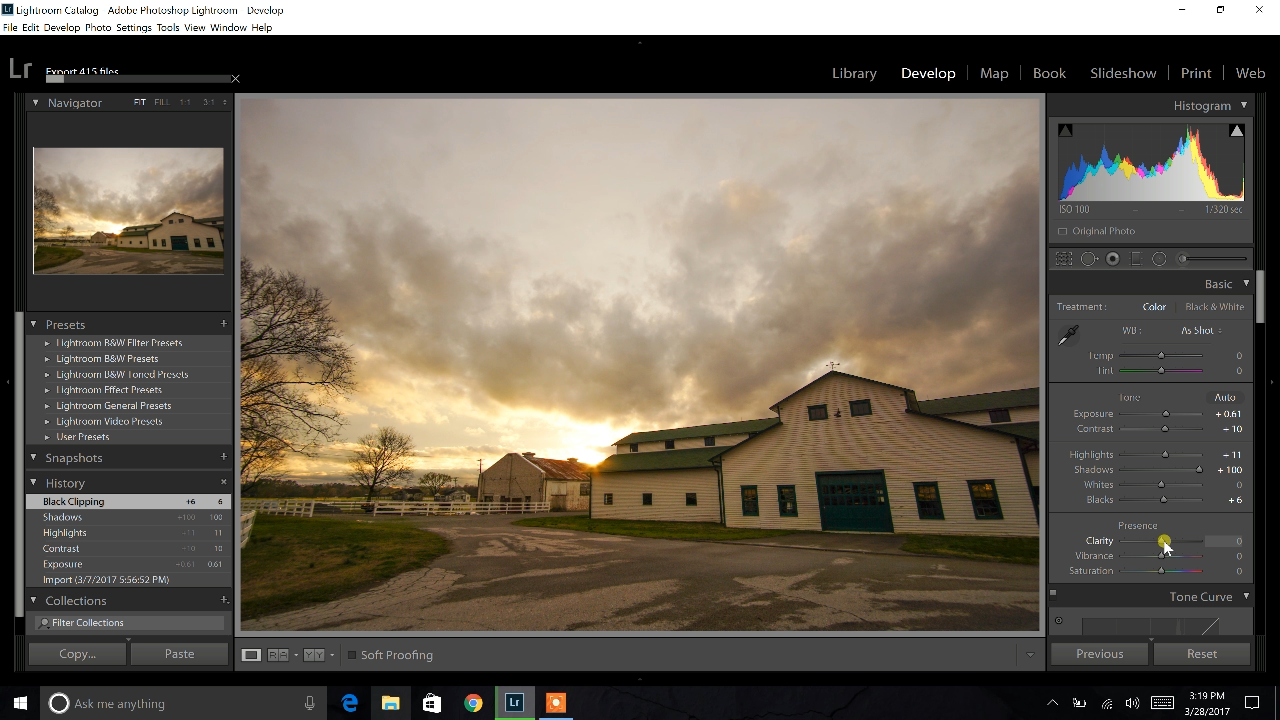
- Editing your sequence in Lightroom
- Using quick steps to mass process your images
- Skills and steps to properly export a time-lapse from Lightroom
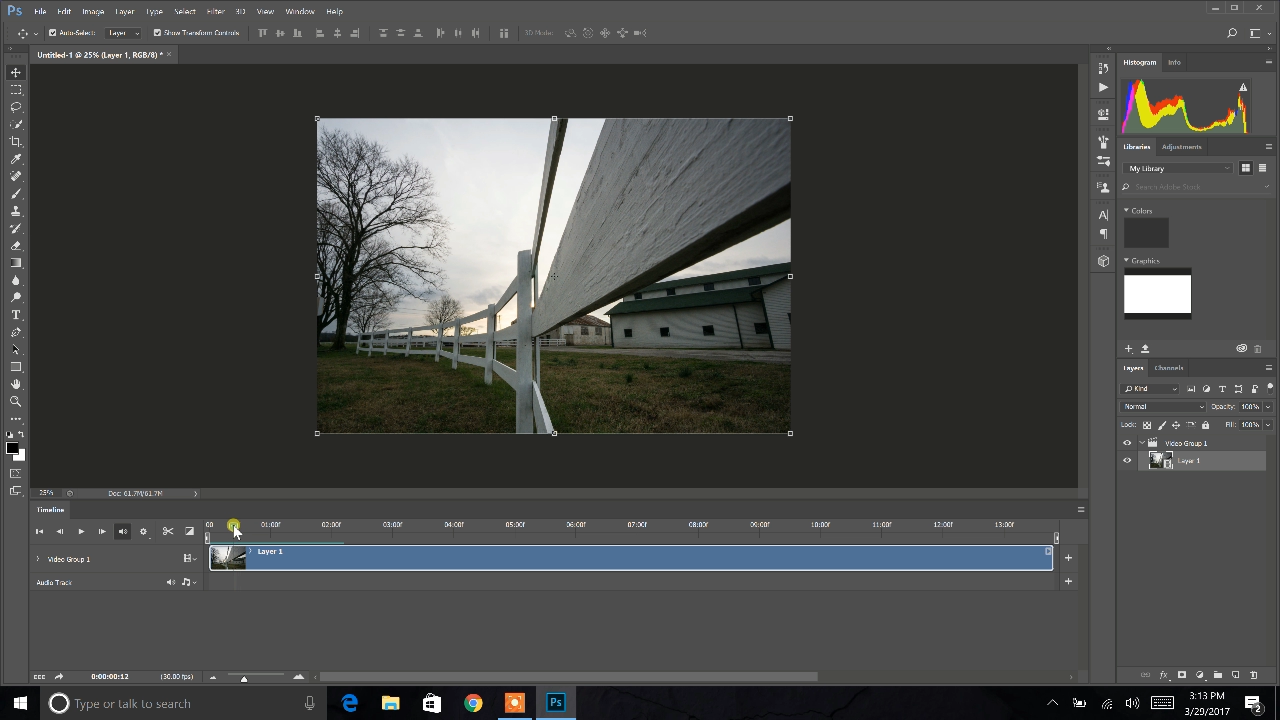
- How to work in the motion workspace in Photoshop
- Importing a sequence to video format
- Using Photoshop options to pan and zoom a stationary sequence of images
- How to work with a video timeline
- Exporting your sequence as a video from Photoshop
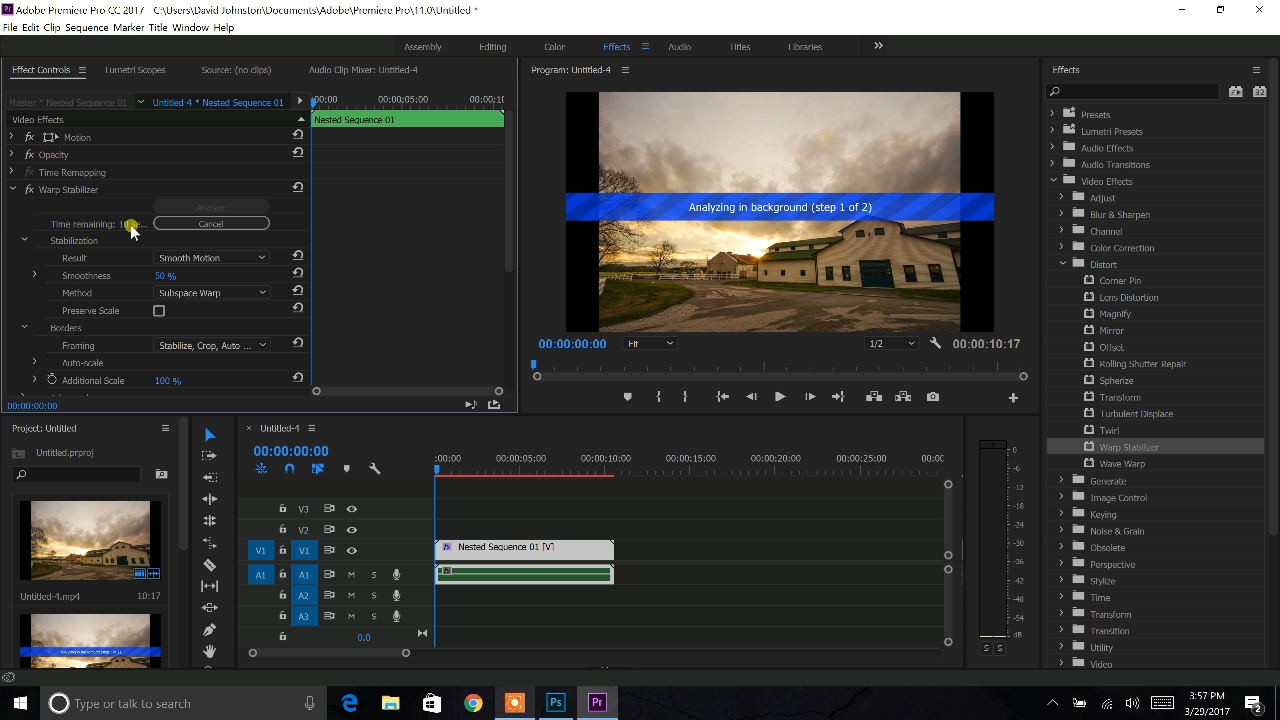
- Working with videos in Premiere Pro
- How to fix camera shake in Premiere Pro
THE STEPS MATTER
The steps you take to create a time-lapse sequence in Lightroom, Photoshop, and Premiere Pro are very important to follow exactly how we go through them in this class. If you miss a step or click one wrong button, your time-lapse won’t work properly. That’s why we’ve taken the time to go through each and every step, and show you options you can use, when you’re post-processing your time-lapse sequence.
FIXING THE SHAKE
Camera shake while shooting a time-lapse will destroy your sequence. A shaky sequence is completely unusable. It typically happens when you’re shooting with a telephoto lens in windy conditions. However, you don’t have to dump all of your images. You’ll learn how to quickly remove camera shake in Premiere Pro to save your time-lapse sequence.
In addition to the detailed video help you’ll receive in this class, you’ll get a downloadable class guide that was designed to complement the topics you’ll explore so you can take notes as you learn how to edit time-lapse photography.
EXPERIENCE LEVEL: Advanced
Class Sessions
Session 1: Lightroom
29:27
In this first session, we’ll go through every single step needed to effectively and quickly edit each image in your time-lapse sequence. These steps will save you a lot of time and effort in the long run of time-lapse post-processing.
Session 2: Photoshop
25:19
There are many options within Photoshop that photographers don’t know about. Working with video sequences and how to import photos as video is one of them. You’ll learn exactly how to do this is this session.
Session 3: Premiere Pro
11:33
You may know how to use Lightroom and Photoshop, but if you’ve only worked with still images, Premiere Pro will probably be a new challenge for you. In this session, you’ll learn how to use the basics of Premiere Pro and how to remove any camera shake in your sequences.
Your Instructor
David Johnston
David Johnston is a professional outdoor photographer located in the beautiful state of Tennessee. He is most familiar with photographing older mountain landscapes of the Appalachian Mountains, and occasionally ventures into other locations around the world to capture amazing outdoor scenes. David began his passion of photography in high school where he learned to photograph with film cameras and develop his own prints in the darkroom. However, after college he switched to digital photography and began his business photographing the outdoors as well as teaching people how to improve their skills in outdoor photography. When David isn’t traveling and taking photos, he’s just like you! He enjoys lounging on the couch, watching sports, and spending time with his wife and friends.
Bonus Material
Class Guide PDF
Download this Class Guide to complement the information you’ll see in the class.
Video: Meet Your Instruction
Download this short video to meet your Instruction, David Johnston.
Bonus Materials available for download after purchase.