Nature and landscape photography offer not just the opportunity to capture beautiful images, but to connect with our surrounding environment on a deeper and more meaningful level—a chance to slow down, observe, and truly see the world around us.
I absolutely love the process of photographing, documenting, and sharing images from the natural world. If I’m out in the wilderness all alone with my camera in hand waiting for the light to get just right, I’m in my happy place. And while all aspects of nature photography have their unique charm and allure, there are some subjects that really stand out from the rest.
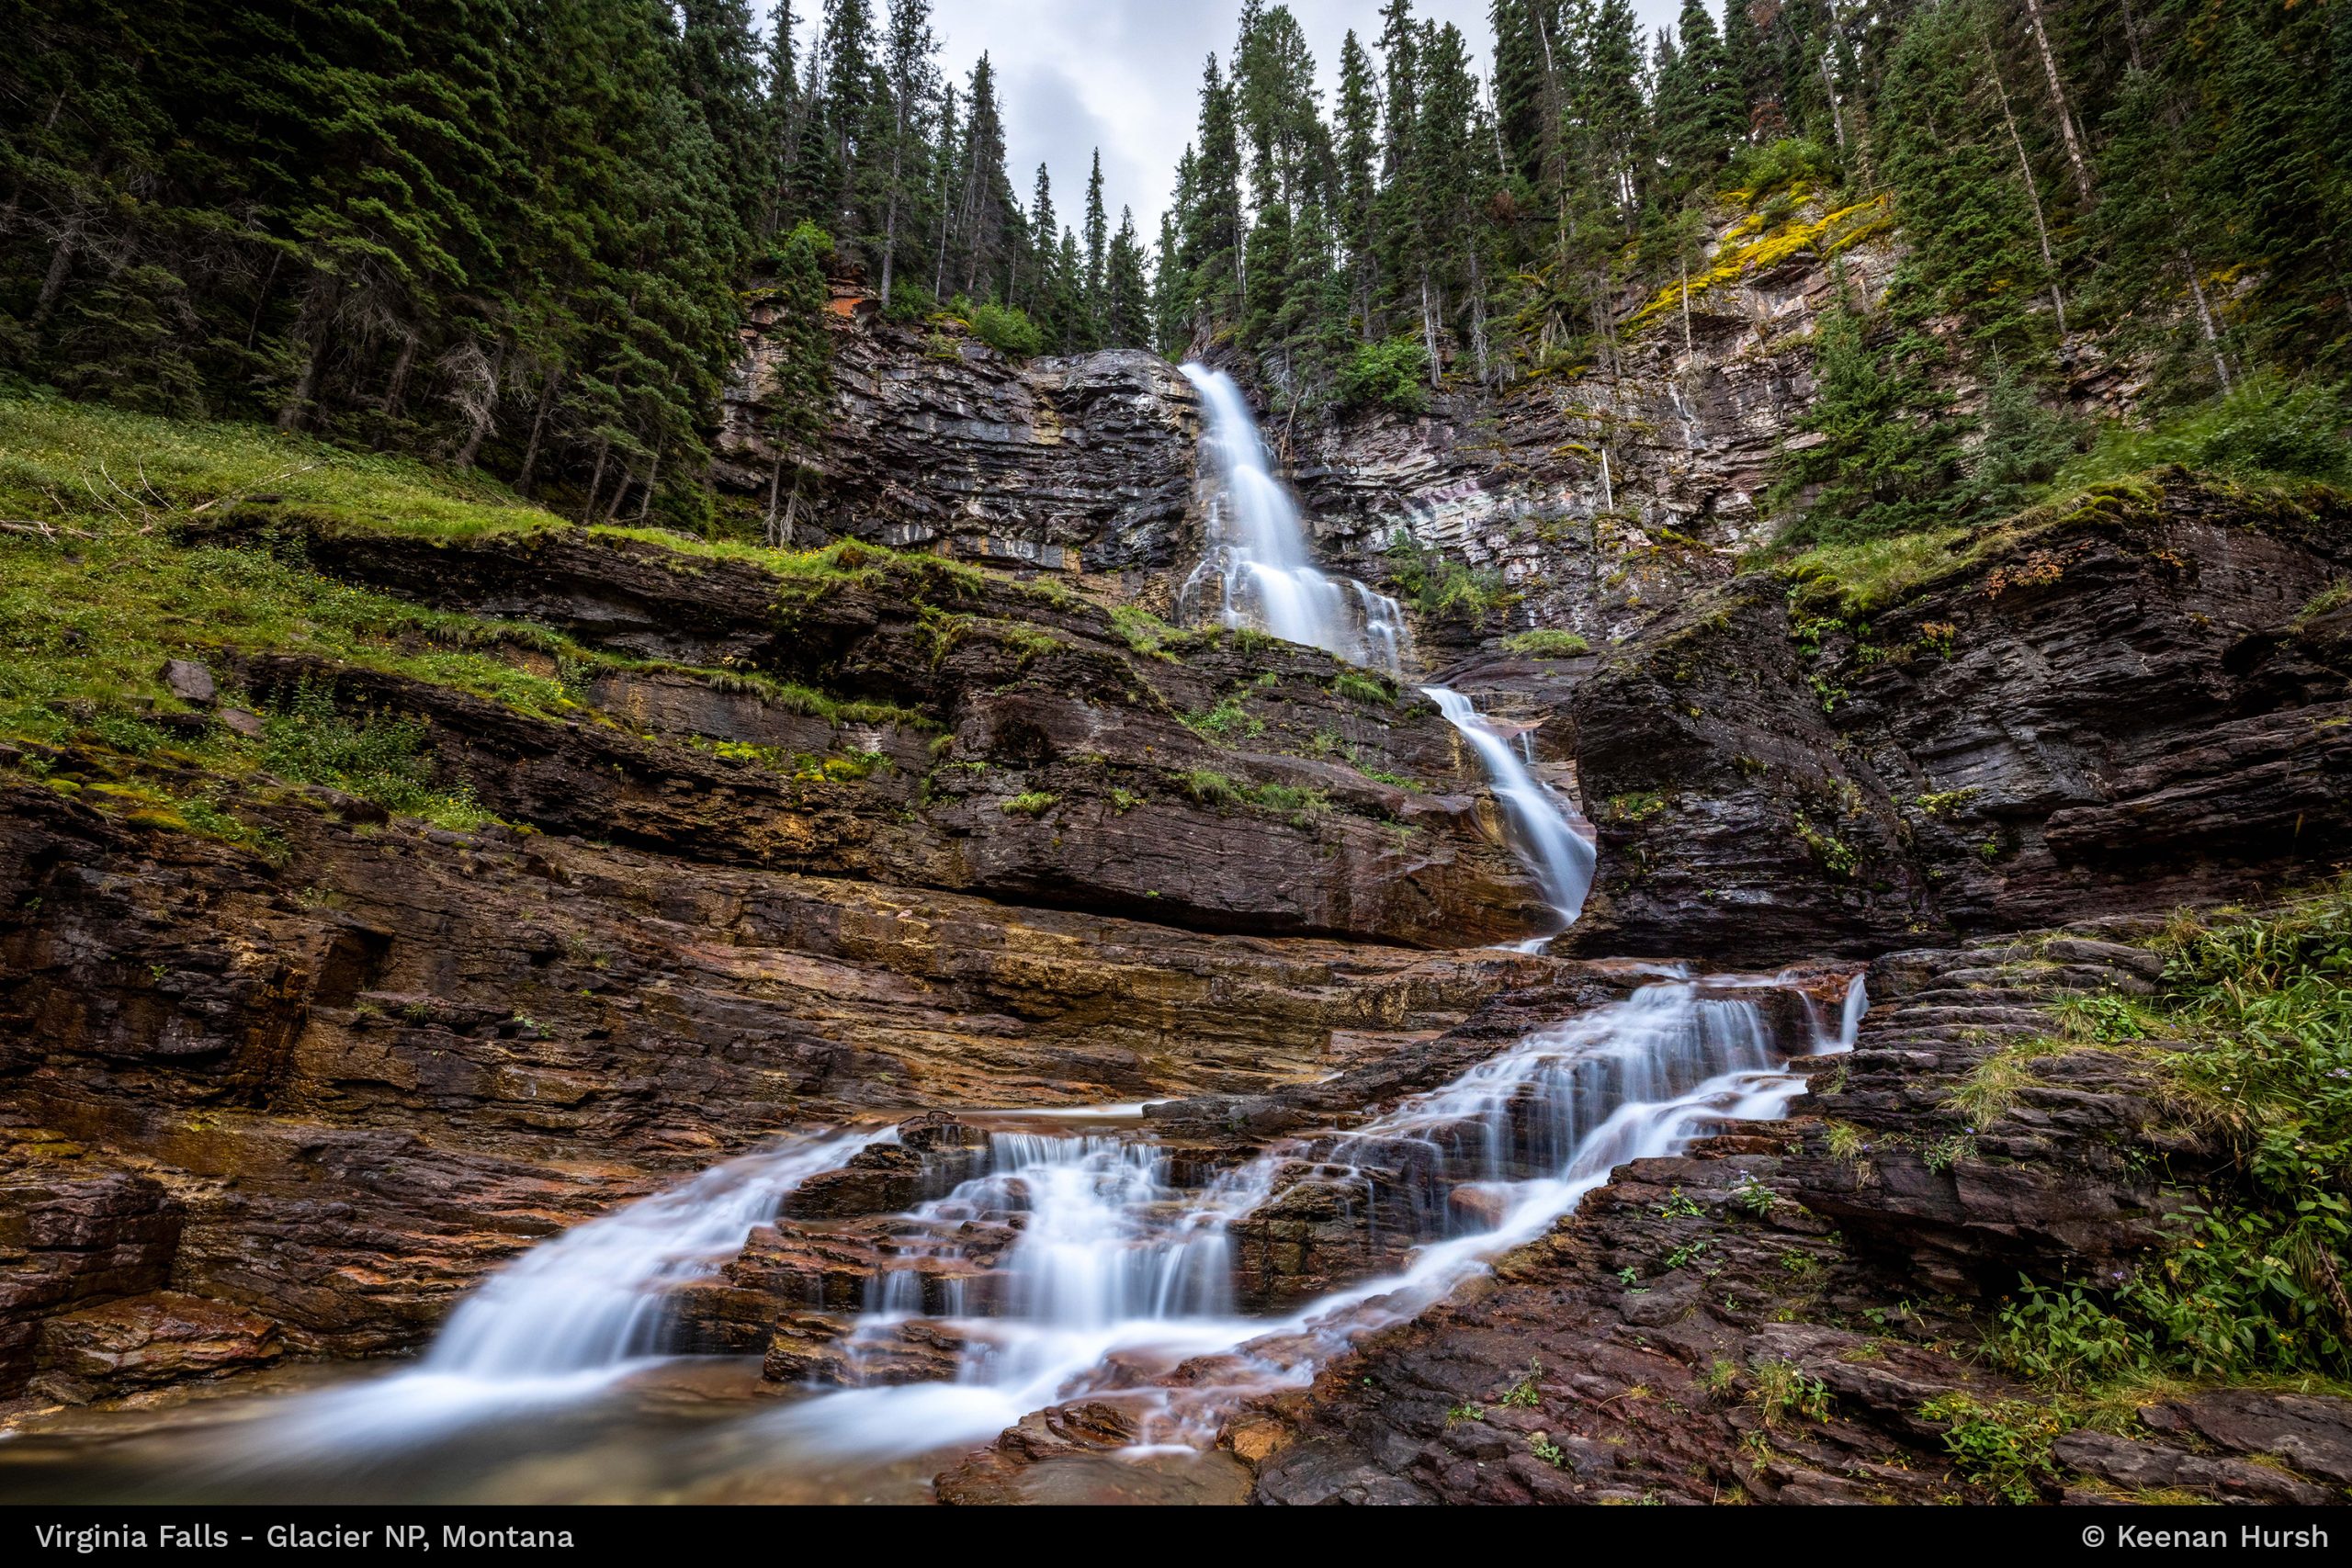
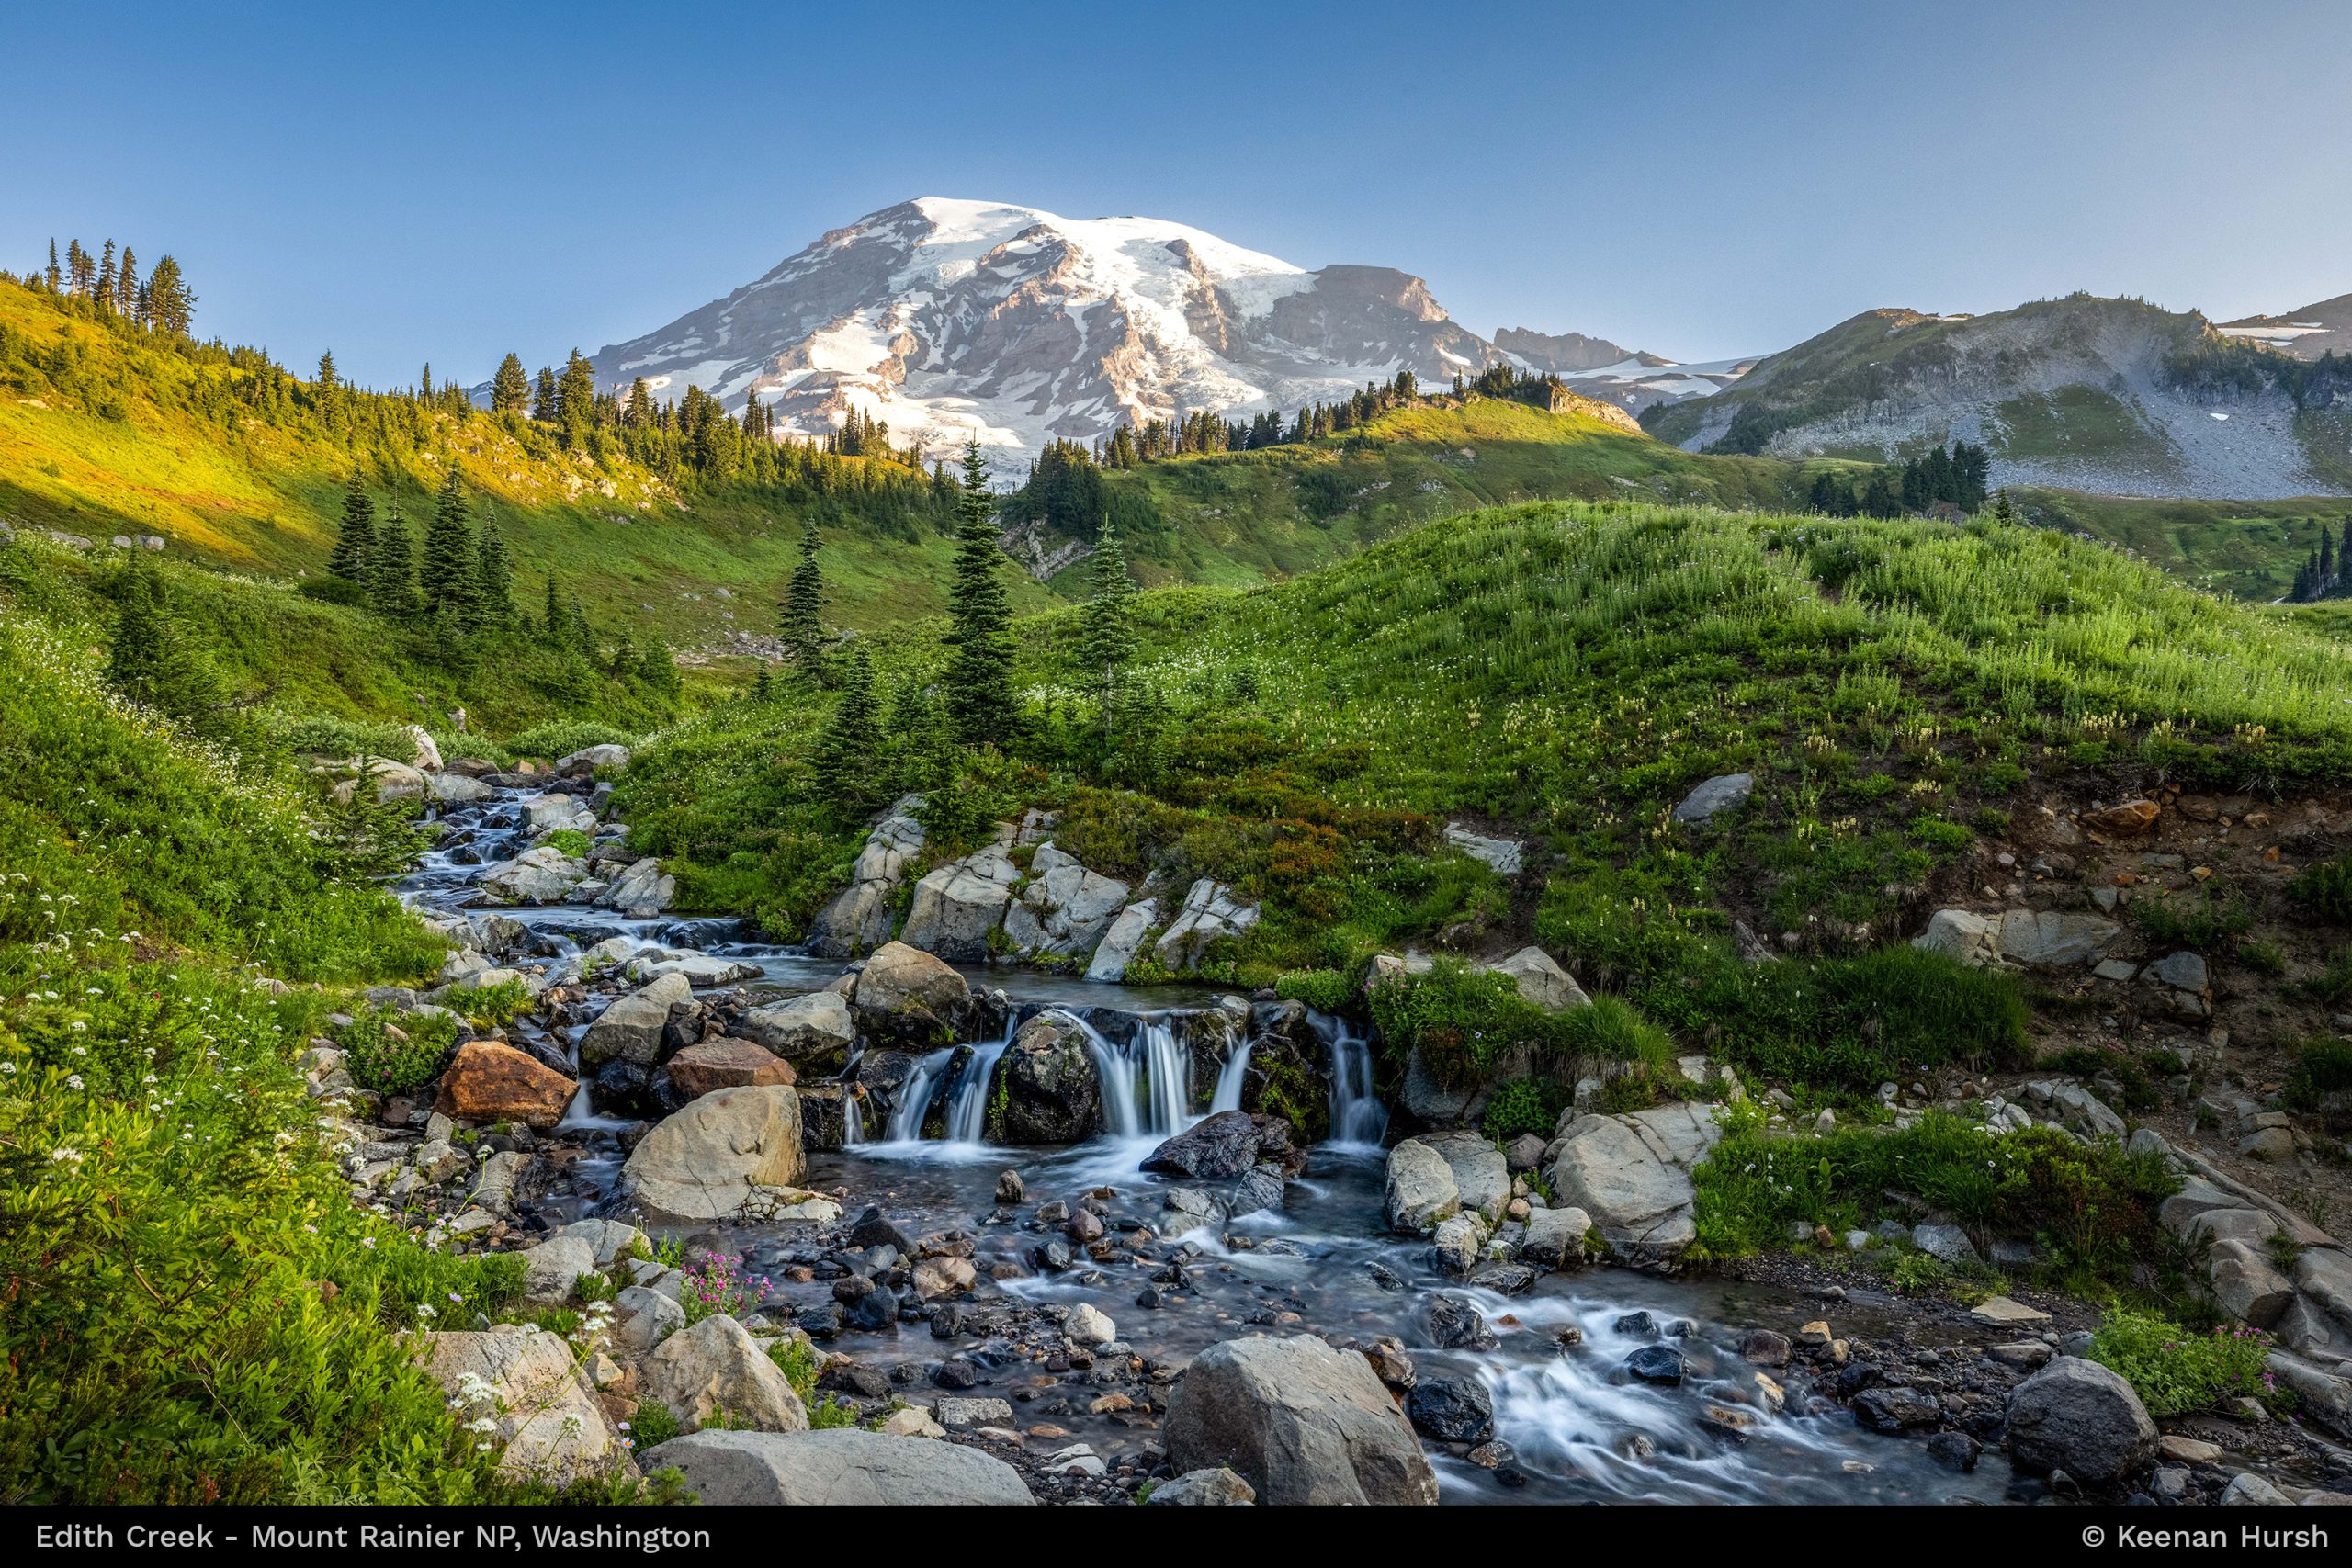
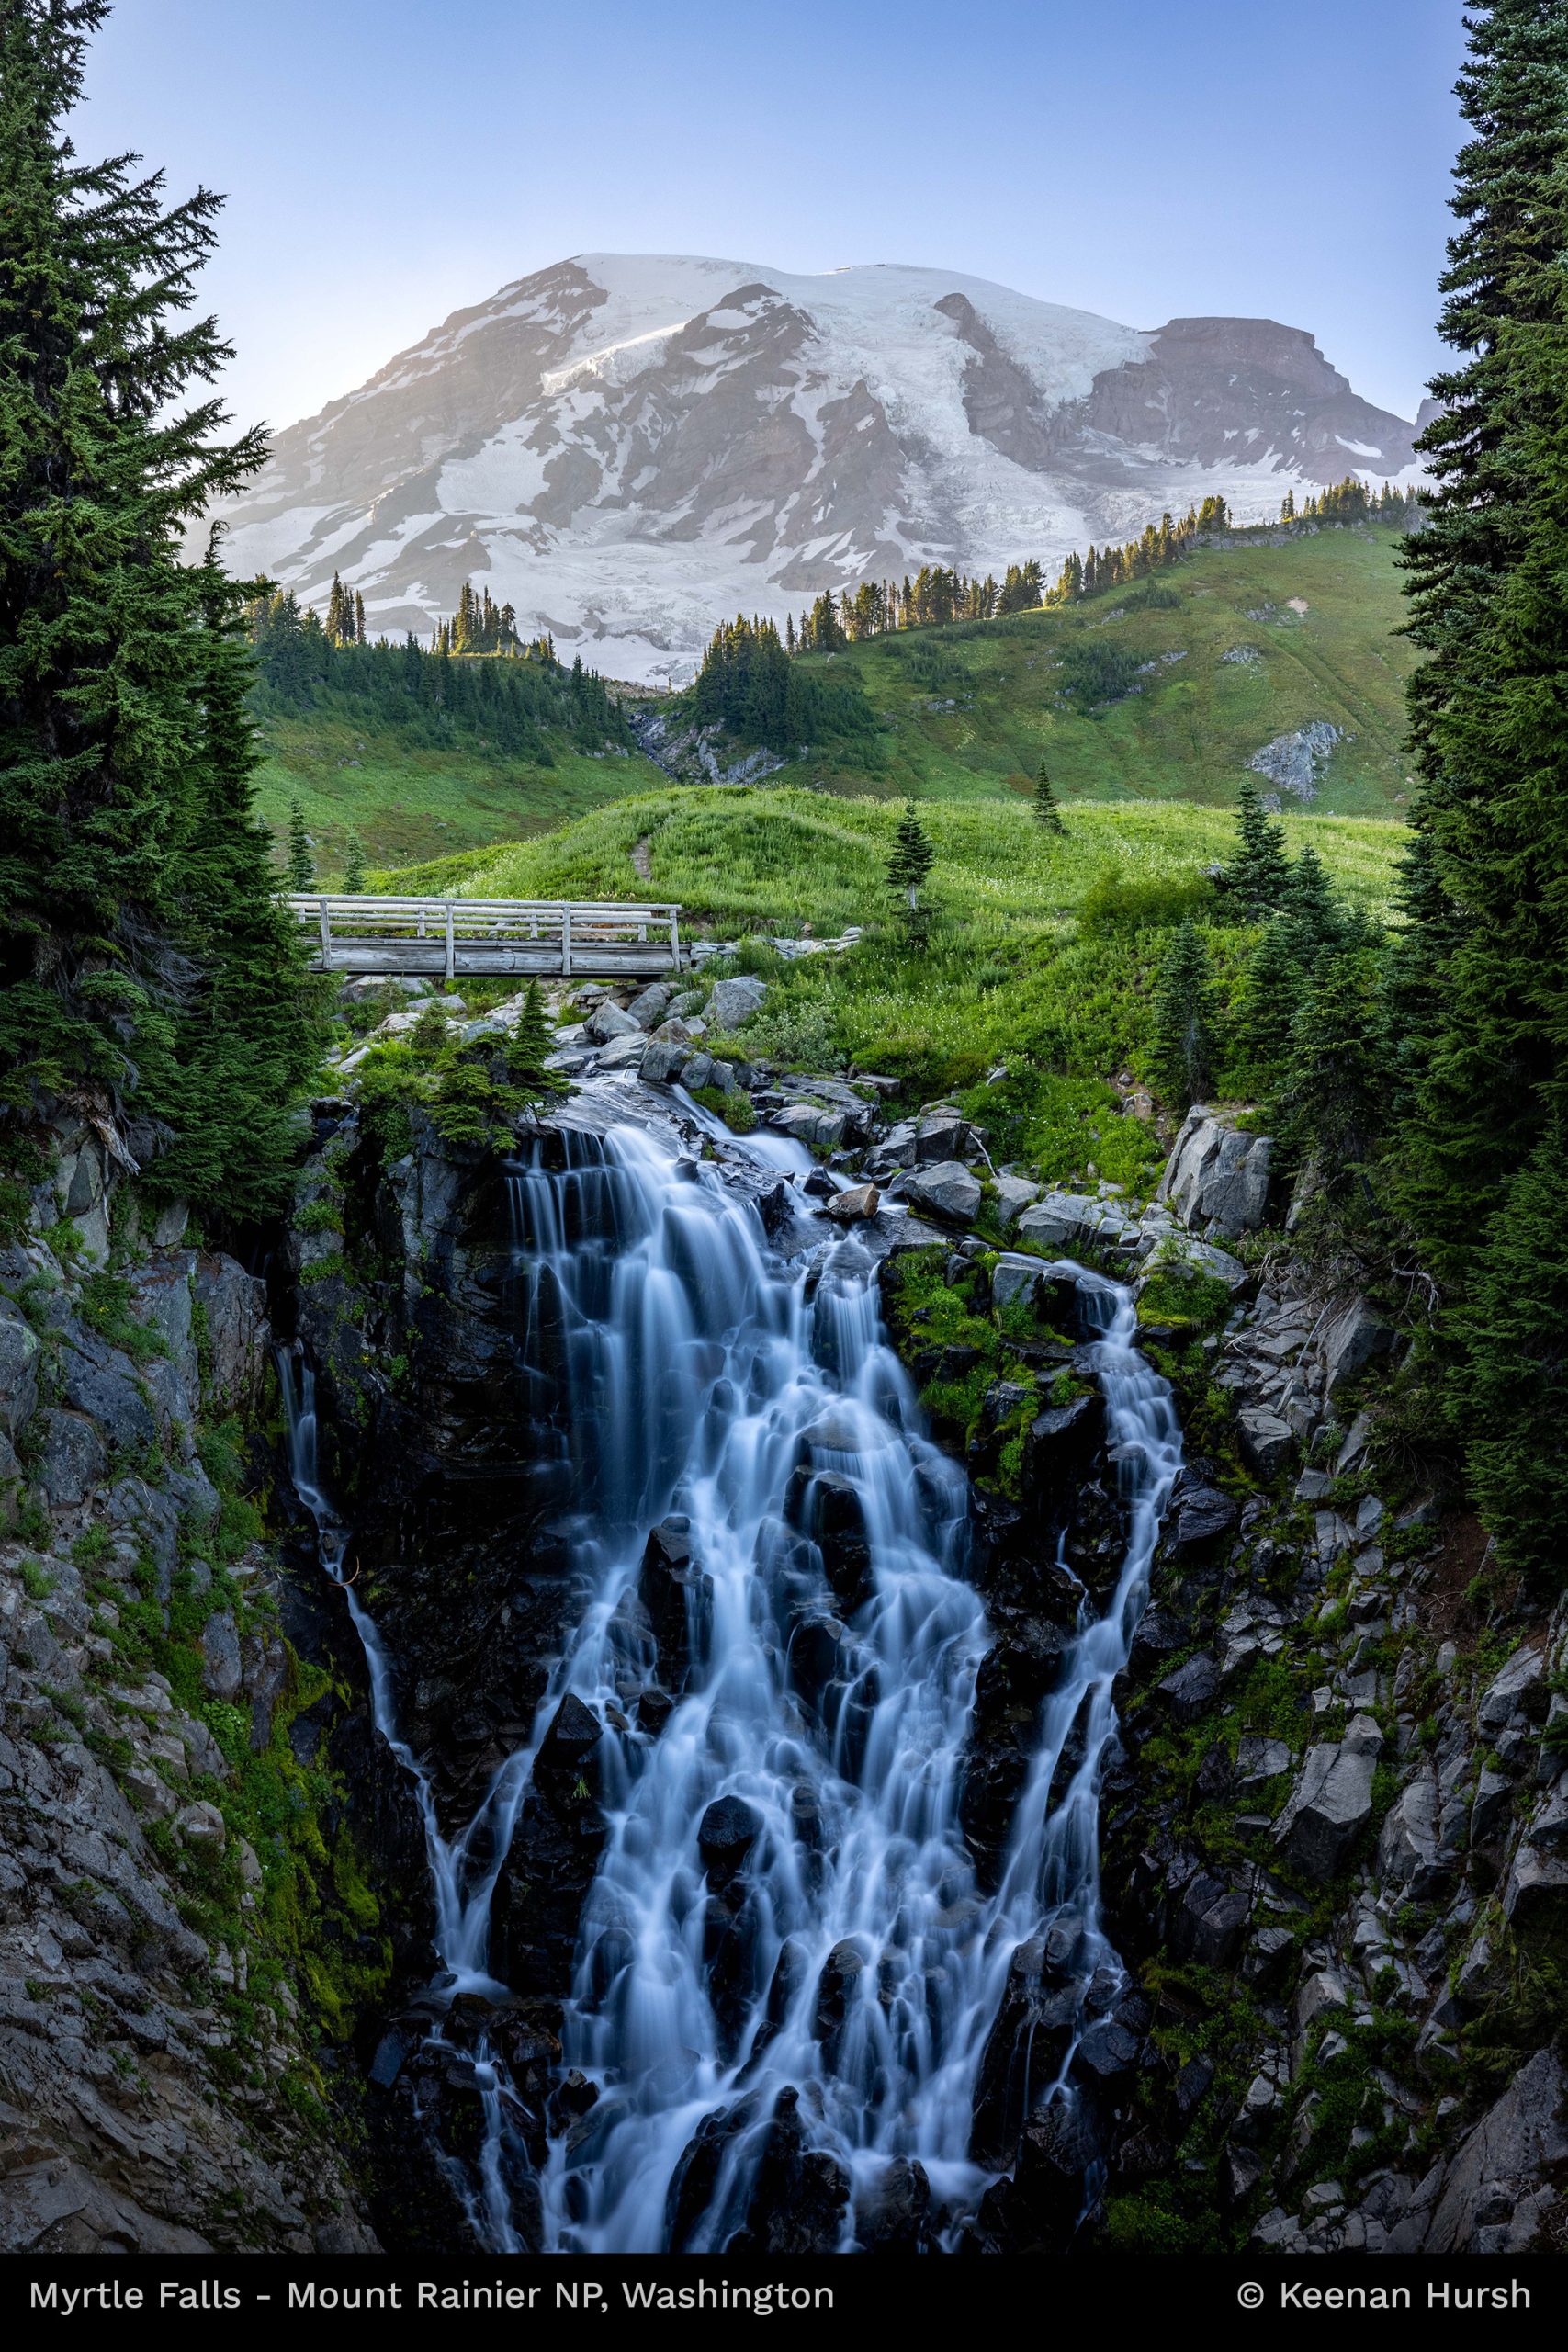
Waterfalls, in particular, hold a special allure, combining the timeless solidity and stability of rock with the ethereal flow and motion of water. Water is an incredibly unique substance and molecule that not only creates life but also shapes the landscape. The ability to transform rushing water into a piece of visual art is magic in its truest form. Whether that’s showing the passage of time and transforming a waterfall into silky-smooth, dream-like curtains through long-exposure techniques or freezing the action and chaos with quick shutter speeds, the creative possibilities are seemingly endless.
Whether you're drawn to towering cascades or intimate woodland streams, this in-depth guide will help you create images that convey both the power and poetry of these natural wonders. So, grab your camera, pack your tripod, bring along some filters and accessories, and prepare to get a little wet—let's head out into nature to capture some waterfalls!
Find the Right Waterfall in the Right Location
Successful waterfall photography, and really any style of photography for that matter, begins with thorough research. Start by identifying waterfalls in your target region using resources like google searches, hiking guidebooks, websites like AllTrails, google earth, social media location tags, tourism websites, and even topographic maps. I’ll usually start with a quick google search, look at some images, and then refine my search from there.
When researching, gather information about the waterfall's height and water volume, trail difficulty, seasonal variations, and permission requirements if located on private property. This preparation ensures you arrive with appropriate expectations and equipment. I always try to keep in mind the 6 Ps: Proper Planning Prevents Piss Poor Performance.
Another great way to prepare yourself is to study existing photographs to identify different vantage points, understand lighting conditions, and discover when the falls might be most photogenic. By viewing other photographer’s work, you can start to get an idea of what images, perspectives, and compositions you prefer before even stepping foot on location. Platforms like Instagram, Facebook, and even Google Images can provide valuable insights and inspiration. Before heading out, map your route carefully. Consider whether there are established trails or multiple access points, how close you can get to the falls, and what obstacles you might encounter. This planning helps you prepare by choosing the appropriate clothing, footwear, and gear you’ll need for a successful outing.
Timing your visit with optimal seasonal conditions is also crucial. Spring often offers peak water flow, summer provides lush greenery but potentially lower water volume, fall can add colorful foliage, and winter might present frozen elements for unique shots. Remember that water levels can change quickly and dramatically after rainfall, creating impressive flow but potentially dangerous shooting conditions. Make sure that you stay safe when photographing waterfalls.
Think About Timing and Environmental Conditions
Now that you’ve done some initial research and identified a waterfall that you want to shoot, you’ll need to think about what kind of conditions and light you want to aim for. Light quality dramatically impacts all kinds of photography. Golden hour creates warm, less intense light that can really enhance the overall look and feel of an image. Blue hour produces cooler, softer light allowing for longer exposures without filters and lovely pastel hues in the sky. Overcast days often provide ideal conditions with soft, diffused light that eliminates harsh shadows. Direct sunlight presents challenges but occasionally can create rainbows in the mist. You’ll need to think about all of this and decide which light will be the best to create the shot that’s in your head.
Consider the practical differences between morning and evening shoots. Mornings can often lead to fewer crowds, morning mist, calmer winds, and nice soft light. Evenings on the other hand can still provide great light but also allow a full day of scouting or may give you more time to hike to a location. Additionally, weather can significantly impact waterfall photography beyond basic lighting. Recent rainfall or snow melt can greatly increase water flow leading to larger and more powerful waterfalls but may make access more difficult. Fog and mist can create atmospheric depth and a sense of allure or mystery. Wind conditions affect both water spray and the sharpness of surrounding foliage during long exposures. Be sure to check the forecast and closely monitor the weather before and while shooting.
Another thing I always try to do with any shoot is to arrive at least 30-60 minutes before your anticipated shooting time to thoroughly scout compositions, set up equipment, take test shots, and address any challenges. The quiet time spent observing often leads to more thoughtful compositions that capture the essence of the place rather than just it’s obvious features. I’m not sure who said it first, but I’ve heard that the most important thing you can have in your kit is a light snack. When you arrive at your location, the first thing you should do is settle down, eat the snack, and simply observe your surroundings. It’s so easy to go straight into shooting and potentially miss something altogether.
Use the Right Equipment and Camera Settings
Your basic kit should include a camera with quality weather sealing, if possible, lenses covering wide to telephoto ranges, a very sturdy tripod ideally with a ball head, an L-bracket, and appropriate filters. Wide-angle lenses (16-35mm) are great for capturing the entire scene incorporating lots of elements into your image, mid-range zooms (24-70mm) offer lots of versatility and can allow you to start isolating parts of a scene, and telephotos (roughly 70-600mm) are great for isolating small interesting parts of a scene. A circular polarizer can really help control reflected light on both water and vegetation surfaces and can enhance saturation (especially if rainbows are present), while neutral density filters enable long exposures even in bright daylight conditions. In addition to filters, be sure to bring a lens cleaning kit with multiple micro-fiber cloths in case you need to wipe mist off your lens or filter.
When it comes to camera settings when shooting waterfalls, shutter speed is certainly one of the most important as it will significantly alter how you portray your subject. Shutter speed dramatically influences water's appearance by controlling the amount of time you’re camera is absorbing light and this is usually the first setting I will change before aperture and ISO. Long exposures (anywhere from 0.5 to several seconds) create silky smooth, flowing effects. Medium exposures (roughly 1/50 to 1/4 second) balance smooth flow with textural detail. And fast exposures (1/160 second or faster) can freeze droplets and splashes, capturing dynamic energy and portraying immense detail.
After selecting your shutter speed you’ll need to decide on an aperture. I usually go for a mid-range aperture of about f/11 as this will usually give me all the depth of field I need and it’s where my lenses are often the most sharp. If you want a wider depth of field and increased sharpness throughout your image, you can opt for a narrower aperture of maybe f/16 or even f/22. This will also allow your capture stun stars if you’d like. And then of course if you’re waterfall is a bit farther away and want to create a sense of depth with blurred foreground elements you can opt for a wider aperture of maybe f/4 or even f/2.8.
And finally, you’ll need to select your ISO. If you’re shooting long exposure images on a tripod, you’ll want to use the lowest possible ISO to minimize noise. This is particularly important in the dark and shadowy areas often common in waterfall scenes. If you’re freezing the action with fast shutter speeds, I would recommend selecting whatever ISO gives you the proper exposure.
Throughout your shoot, and especially whenever you change settings or compositions, be sure to carefully evaluate your exposure to prevent clipped highlights in the rushing water and clipped shadows everywhere else. Review your histogram, watch for blinking highlight warnings, and consider slightly underexposing to preserve detail in bright areas.
For scenes with extreme contrast, consider exposure bracketing or graduated ND filters to balance brightness between both the sky and landscape and also the bright white water and potentially dark surroundings. And if you’re going to edit your images, I would of course shoot in RAW to get the most information and data out of each image. If you don’t like to edit your images I would suggest shooting in JPEG as your images will look better right out of the camera. When using filters, be sure to frequently rotate circular polarizers while watching the effect in your viewfinder, and calculate proper exposure times when using ND filters. Variable ND filters can work well but often produce strange and undesired effects at their darkest settings. If possible, I would strongly suggest using non-variable ND filters. I personally have an assortment of 3 at different strengths that attach to my lens using magnets. This way I can easily and quickly swap them out.
Use Composition to Enhance Your Images
Before setting up, explore the area thoroughly to observe how the waterfall appears from different angles and at different focal lengths. Some perspectives emphasize height, while others highlight interesting rock formations or contextual elements. Moving slightly higher, lower, left, or right can dramatically change relationships between elements throughout your scene.
Determine what aspect of the waterfall or scene is the most compelling to you—the entire cascade, a particular section with interesting flow patterns, or perhaps the interplay of light on water. Let this guide your compositional decisions rather than defaulting to simply showing the entire waterfall in its most simple sense. There’s nothing wrong with experimenting and getting creative as opposed to merely documenting.
Implement compositional techniques that enhance your narrative. Use natural leading lines like streams, fallen logs, ridge lines, tree lines, or rock formations to guide viewers through your image. Consider framing elements such as overhanging branches, surrounding foliage, or rock formations to add depth and focus attention. Be sure to incorporate a sense of balance in your images between highlights and shadows, key elements of your scene, and of course the dynamic energy of flowing water with static elements like rocks to create visual harmony.
Pay attention to visual distractions, particularly checking the edges of your frame for intrusive branches or bright spots that draw attention away from your subject. Sometimes the strongest compositions come from subtraction rather than inclusion—You don’t necessarily have to try to include everything in one frame. Sometimes less is more.
Work systematically through different compositional approaches: start with wider establishing shots, move to medium compositions focusing more specifically on the waterfall, and finish with detail shots highlighting interesting patterns or textures. Take test shots and make small adjustments to refine your composition throughout a shoot. Consider how the same scene might change throughout the day or year, noting promising compositions for return visits under different conditions. Bottom line, it’s always a good idea to capture more images and compositions than you think you may need.
Edit with a Purpose – Allow Your Images to Really Come to Life
Now that you’ve captured some stunning waterfall images out in nature it’s time to head home and begin the post-processing journey. Of course, a good starting place is to simply edit your images so that they look “good” and so that your exposure and color balance are technically sufficient. After adjusting all the key components like exposure, color temperature, contrast, saturation, vibrance, and more, I strongly encourage everyone to go beyond the basics and think about how their editing can help enhance the story and narrative they want to tell. Articulate what drew you to the scene originally and identify the overall mood and feeling you want to convey.
You can also use selective or localized adjustments to guide viewers through your image. Apply masking layers draw attention to key elements while making less-attractive parts of your image fade away. Pay special attention to water areas, carefully adjusting highlights and color temperature to maintain texture and detail without losing brightness. Balance saturation between water, stone, and vegetation for natural color relationships. The key with masking is to keep things subtle. I often use very feathered brushes and keep any changes to a minimum so that my image doesn’t look artificial or unnatural. For challenging scenes, consider exposure blending techniques to overcome dynamic range or depth of field limitations. Manual blending using luminosity masks can produce stunning and more natural results, while focus stacking achieves front-to-back sharpness especially in wide angle images with elements both very close and very far away from the camera.
After you apply your initial edits and get a spot that you think is good, step away and return with fresh eyes maybe a day or two later to identify over-processing or missed opportunities. Share your work with other photographers for objective feedback while staying true to your creative vision. Even if you get some harsh feedback, I think it’s always worth hearing what others have to say about your images. Maybe they see something that you completely overlooked, or maybe you have a different image that works better in their opinion. Receiving feedback from other photographers is one of the best ways to improve your craft and get better.
Final Thoughts
The most impactful waterfall images come from your emotional connection to the scene rather than perfect technical execution. Allow yourself to be present in the moment—listen to the water, feel the mist, observe the light—and let these experiences inform your creative decisions.
Practice respect for these precious environments by staying on established trails and leaving no trace. Embrace the journey of improvement, documenting what works and using these insights to refine your approach. With patience and persistence, you'll develop a portfolio of waterfall images that not only showcase these natural wonders but also reflect your unique artistic voice.
The techniques in this guide provide a foundation, but your personal experiences will ultimately define your waterfall photography. Pack your gear, find your waterfall, and let the adventure begin!
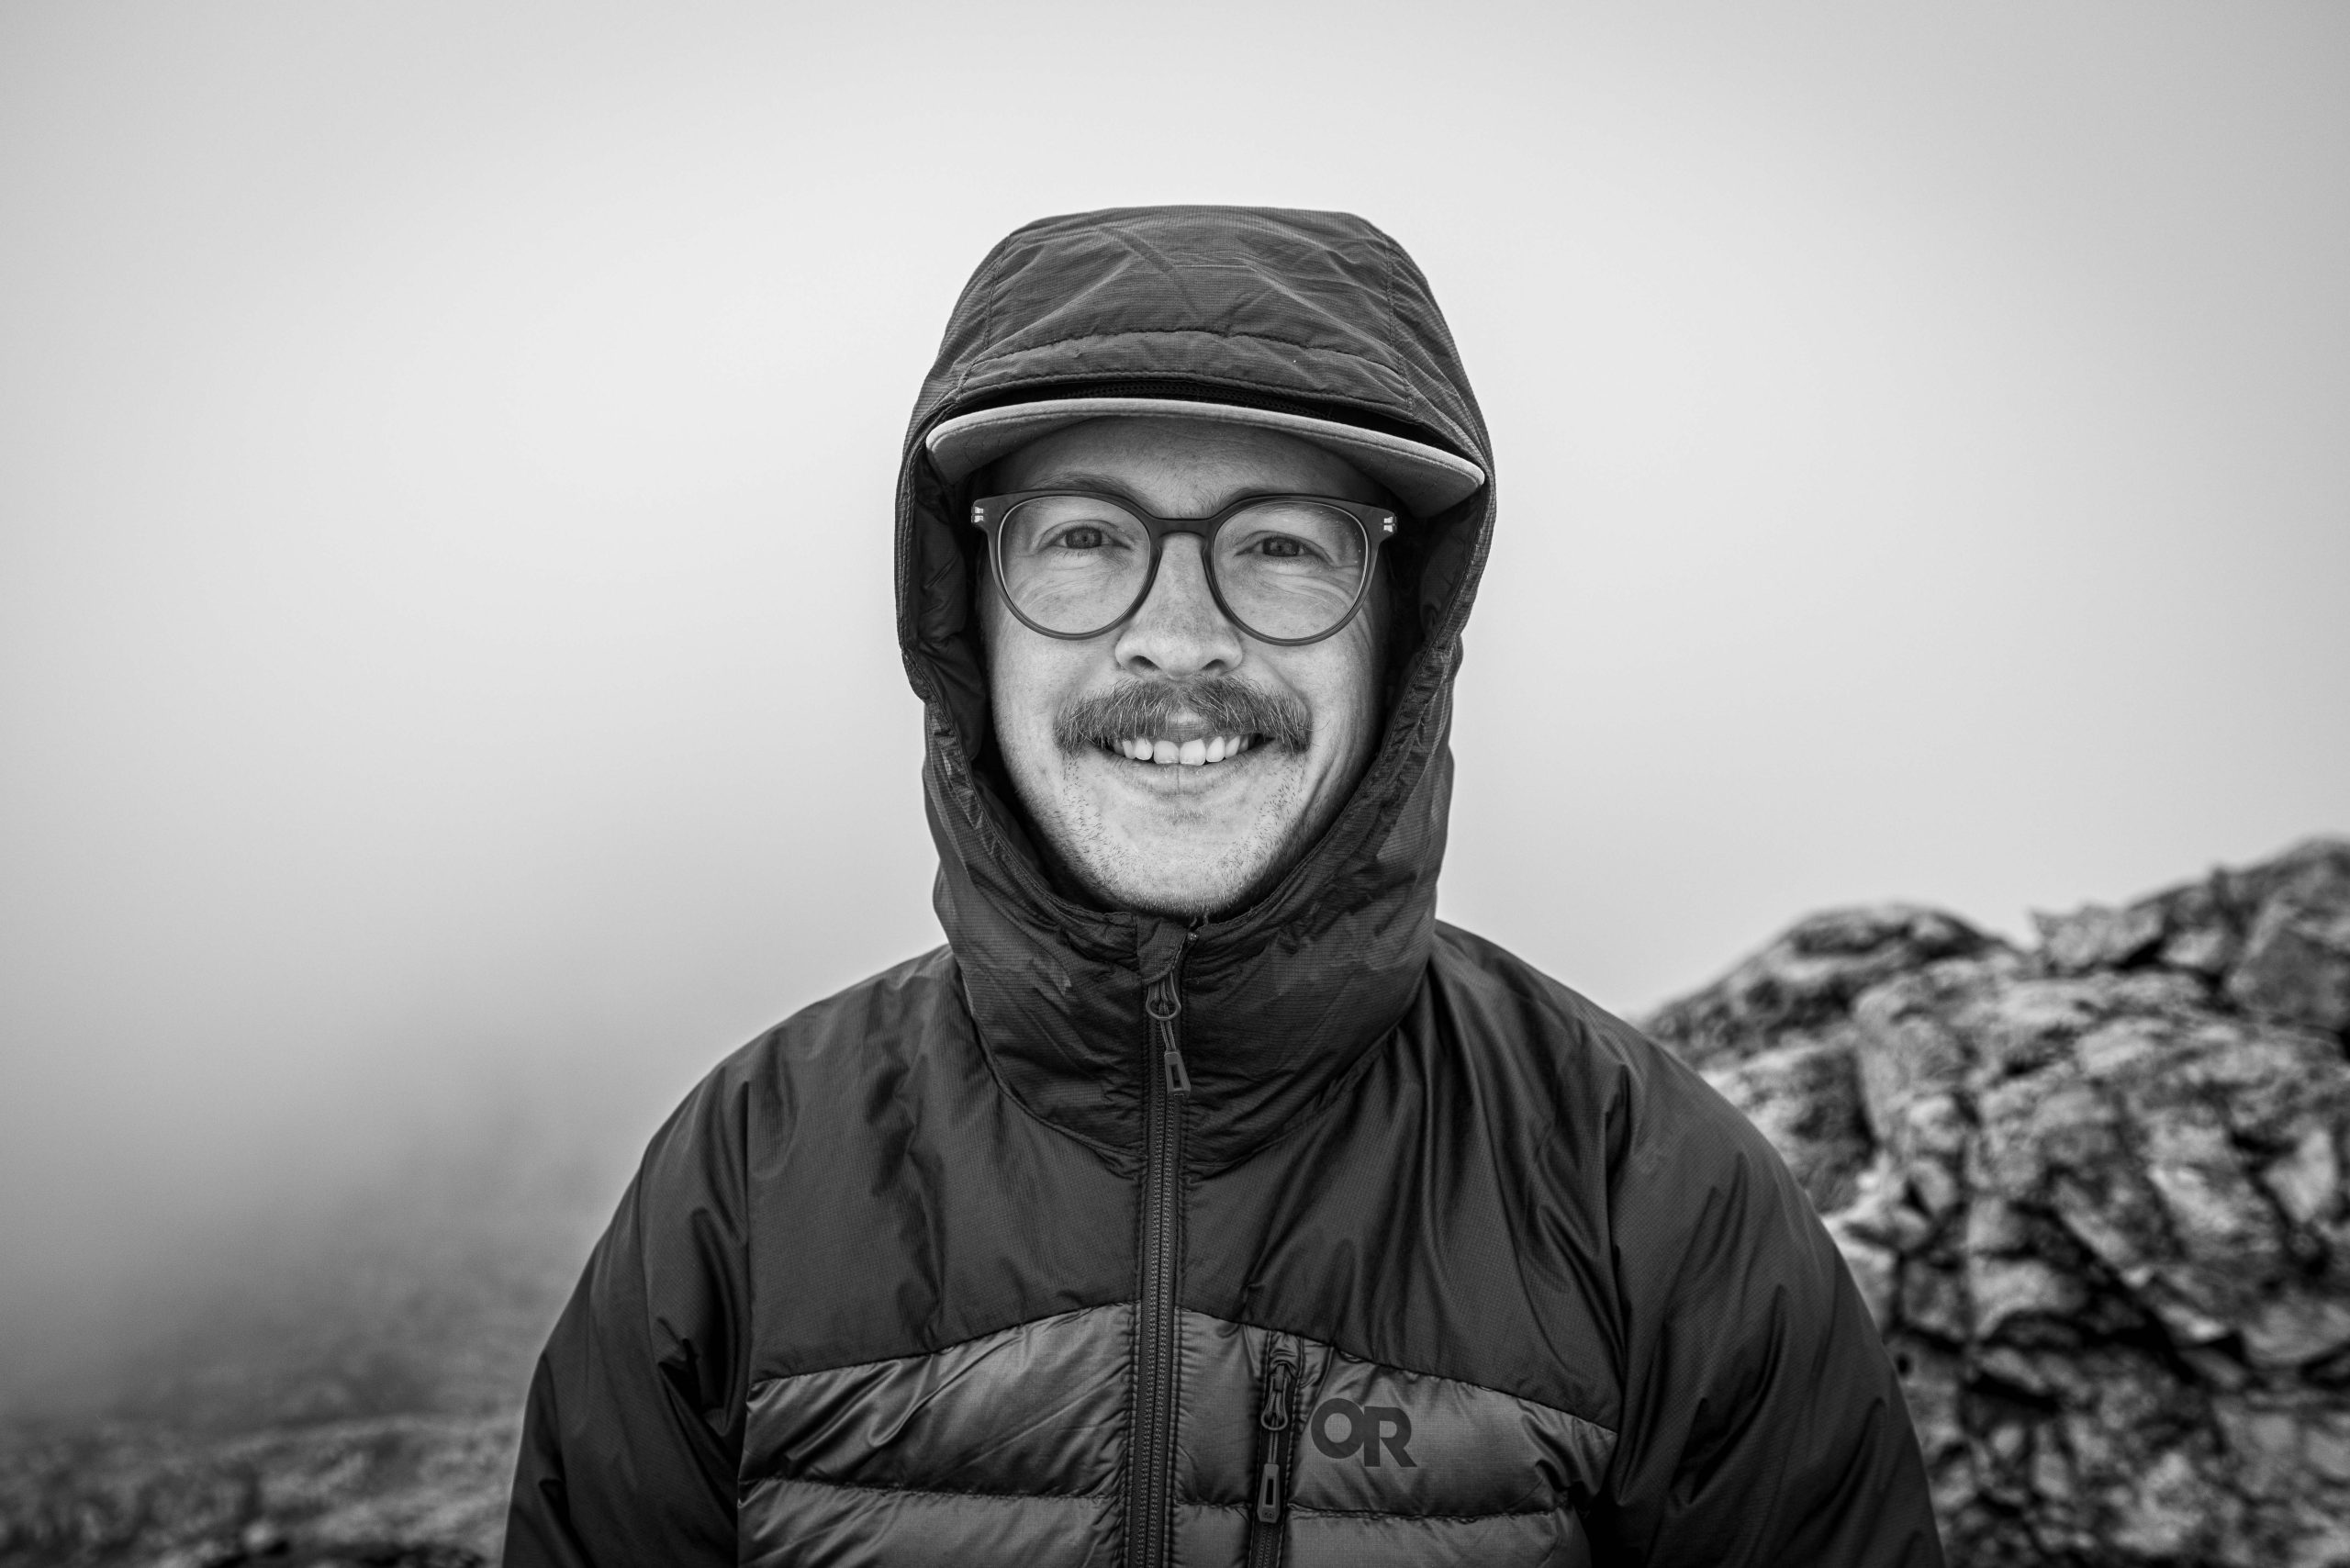
About the author: Keenan Hursh is a Photographer, writer, and creative storyteller based out of Bozeman, Montana. He draws inspiration from his frequent excursions into the natural world and always brings his camera along to capture whatever adventures he finds himself in. He is passionate about documenting and sharing fleeting moments from the natural world and focuses primarily on wildlife, landscape, and adventure photography. Keenan is both a Photography Trip Leader and the Website, Copy, and Content Specialist for Backcountry Journeys, the #1 trusted leader in small-group photography workshops, trips, and safaris with well over 100 trips across the globe. You can view Keenan’s portfolio on his website at keenanhurshphoto.com.

Am I the only one who thinks that the creamy long exposure waterfalls have become overworked.?
Excellent article, and images. Thanks for sharing.. Keep up the great work, and enjoy God's Beautiful Outdoors....