Two Ways to Use Masks in Photoshop
David JohnstonWhat exactly is Photoshop masking? The masking process involves creating layers and then using Photoshop tools to conceal or reveal certain parts of each layer. You photograph the same exact scene, each image with a different exposure, and then you merge the two layers for a final balanced image. In this premium video, professional nature photographer David Johnston takes you through the masking process.
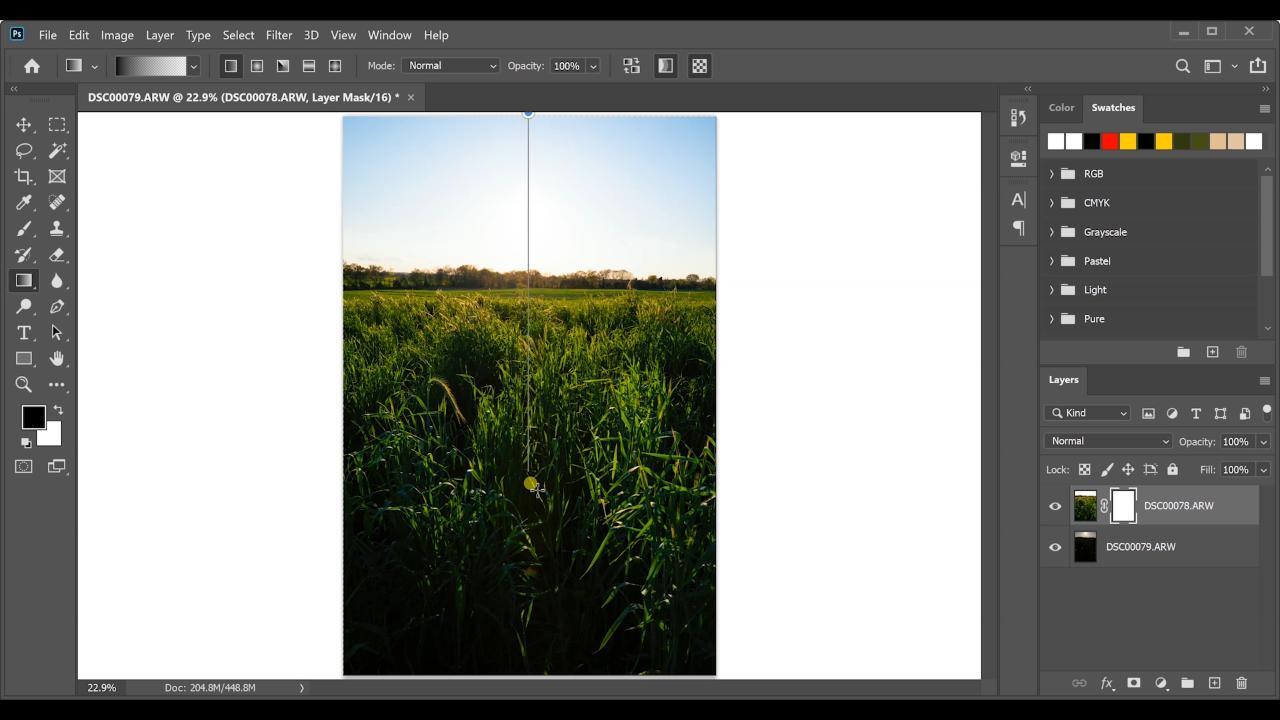
David works on a landscape image with a high dynamic range, the sky sunny and bright, the land bathed in shadows. In Lightroom, he positions the two images side by side, highlights each one, clicks on Edit In, and then Open As Layers in Photoshop. This will stack the two images as layers for editing. You will learn two ways of combining the two layers. In the first, you click Auto-Align Layers to line up the top and bottom layers. The next step is to conceal parts of the top lighter layer in order to reveal parts of the darker layer. You create a layer mask, then with the paintbrush tool, you paint with black in the sky area to reveal the darker sky in the bottom layer. But there can be a problem. This first method doesn’t always do a good job of blending.
David introduces the second way of using masks. First, you select the Gradient tool and next the Gradient Tool Effects, which gives you a variety of blending options. In this case, he selects the Black To Null icon to use for gentle blending. He drags his cursor slowly over the sky, top to bottom, which reveals the darker sky on the background layer. After a few more efforts, he is satisfied with the final blended image.
Join Outdoor Photography Guide’s professional nature photographer David Johnston for a lesson on how to create a beautifully exposed image with Two Ways to Use Masks in Photoshop.

