My favorite style of shooting is against the light (known as contre-jour or backlighting). Backlighting in photography occurs when you point your camera directly toward a source of light, whether it be the sun, a street lamp, or a relatively bright portion of the scene. This effect causes the subject to be lit from behind, making its fringes seem to glow from within. When used properly, backlighting can help you create dramatic and mysterious photos.
Make It Glow
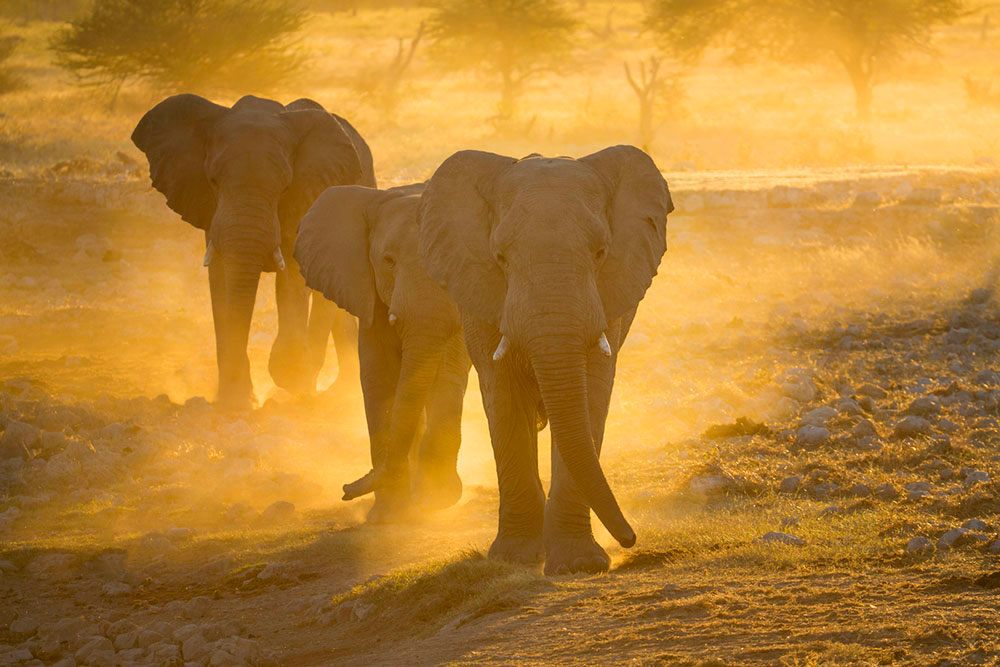
Anything translucent will appear to glow from within when backlit. In particular, subjects surrounded by fog, steam, dust, sea spray, and even falling snow can look magical in backlighting. During a photo trip to Namibia, the clear desert air there was perfect for contre-jour shooting, especially at sunrise and sunset when the light was most colorful. When I saw a trio of elephants heading my way at sunset, I selected a camera position designed to maximize my backlight opportunities. I photographed the elephants kicking up dust as they walked; the dust caught the warm light of the setting sun, giving the resulting image a colorful, mysterious look.
Shade Your Lens to Prevent Flare
Flare, which results from light directly striking the front glass element of your lens, can be a significant challenge when shooting into the light, especially when the light source is very strong. Flare can reduce contrast, add strange color casts, and even leave your images covered in unsightly “alien space ships” (oblong blobs of color caused by excessive flare). It is typically possible to shade your lens from direct light striking the glass by using a lens hood, your hand, or something handy like a hat. Make sure you completely block the light, keeping the lens glass in shadow; just don’t get your fingers in the shot!
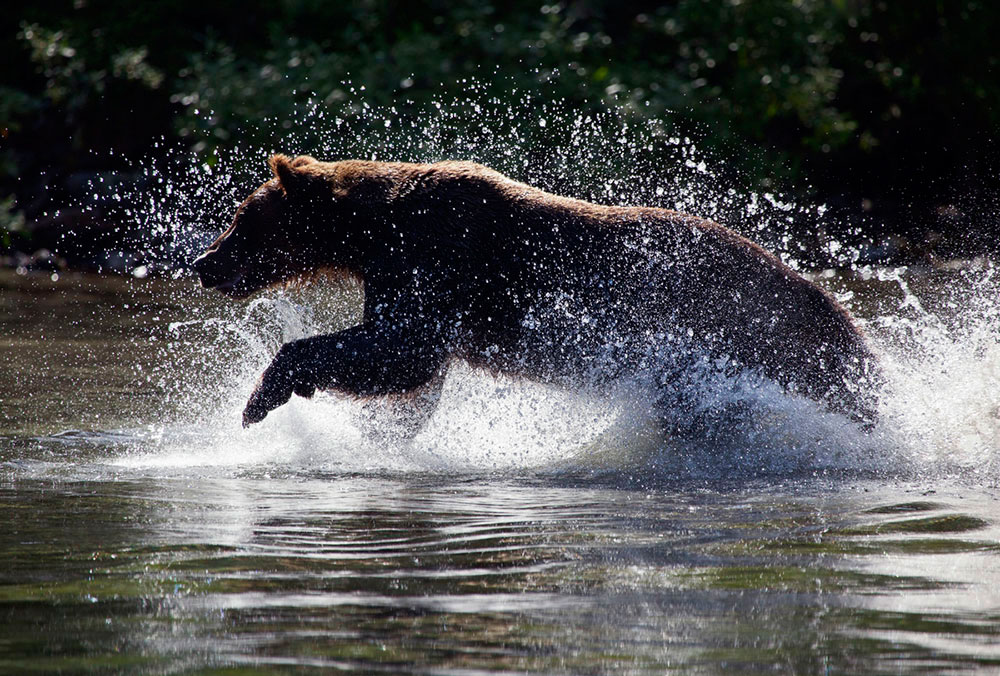
For this image below of a charging grizzly bear, I chose to let the bear go into silhouette, retaining detail only in the fringe of its fur and the backlit water drops, resulting in a graphic, simplified, and mysterious presentation. Even though this is midday light, which conventional wisdom suggests is of limited utility for nature photography, backlighting nonetheless proves to be effective. I was careful to use my lens hood to prevent the light from directly striking the front element of my lens. The result is a crisp, sharp, and dramatically lit image.
Expose with Care
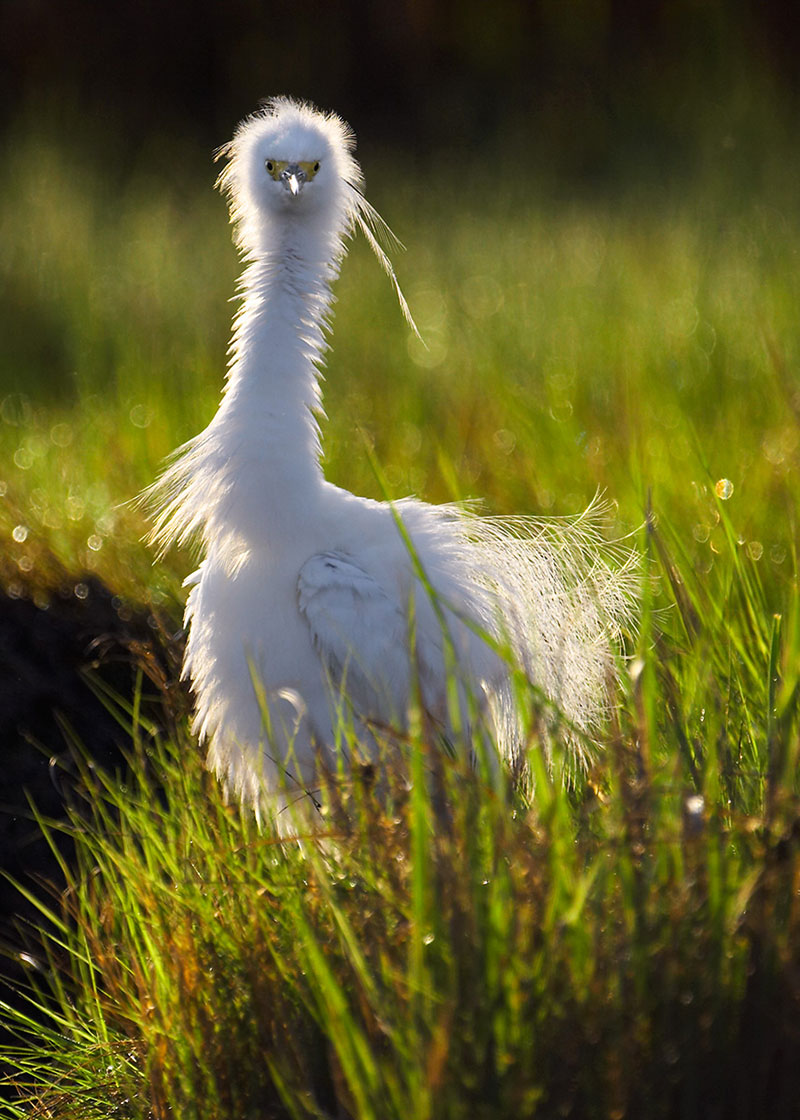
The edges of backlit subjects, such as this snowy egret, glow with light, and often it is difficult to keep these areas from becoming overexposed. Do your best to avoid overexposing highlights, but if you cannot, set your exposure to ensure that important mid-tones have sufficient detail. For this shot of the egret, I was unable to avoid slightly overexposing the backlit fringes of the bird’s white feathers, so I chose an exposure that optimized exposure for the rest of the scene, ensuring an overall brightly lit and colorful photo.
Look for a Dark Background
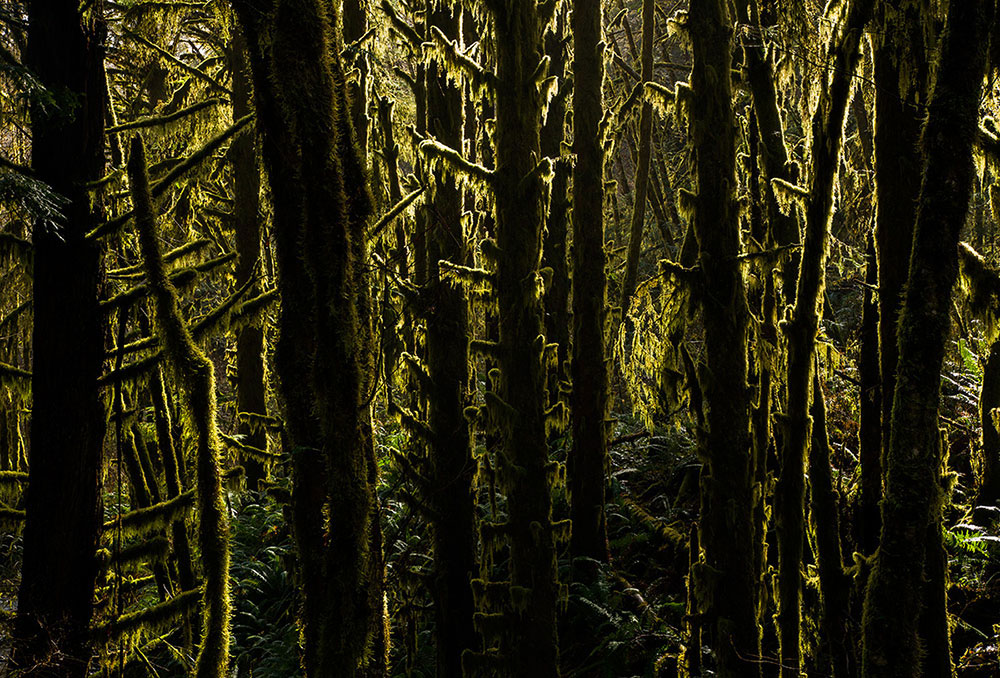
Backlit subjects look best when juxtaposed against a dark background (usually another part of the scene which is in shade). For this photo of a rain forest, strong midday backlight created a dramatic rim light effect. The translucent moss-covered fringes of the trees seem to glow from within; I was able to enhance the effect by choosing a camera position which put a shadowed hillside behind the trees, making them seem to “pop” out of the background.
Shoot in Strong Light for Maximum Effect
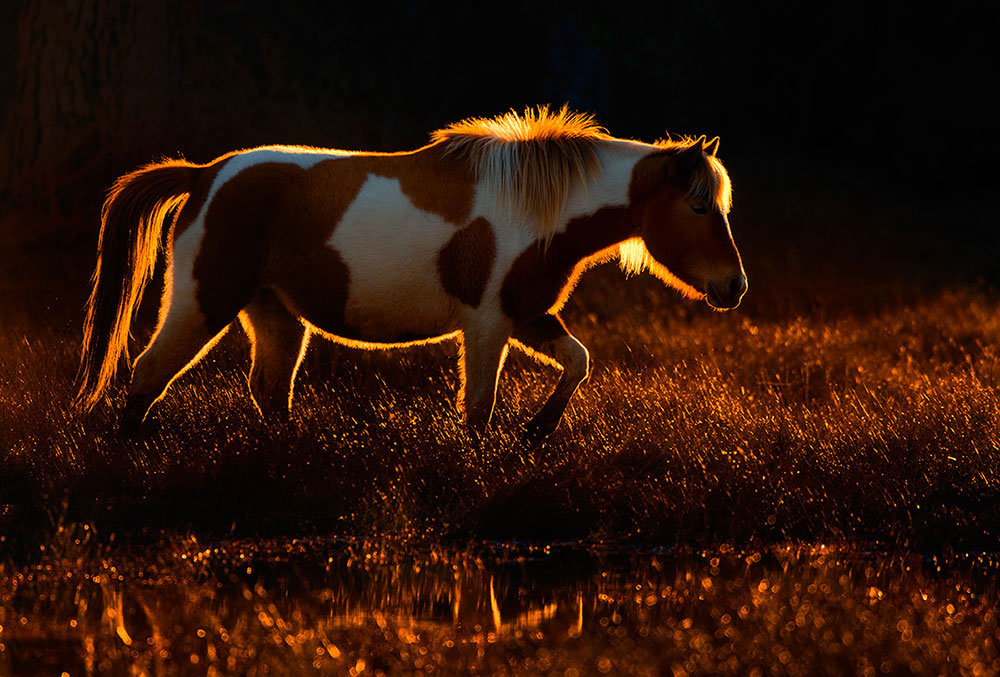
Strong light is vital to getting the best backlighting – the stronger the light, the better the effect! For this image of one of the world-famous Chincoteague wild ponies, a clear horizon, free of clouds, haze, or any other obstruction, allowed bright, warm light to catch every translucent surface and set it on fire. This is precisely the look you should be aiming for!
Conclusion
Although backlighting presents a number of technical challenges, the results are well worth the effort. So the next time you’re out taking pictures, start thinking of creative ways to shoot into the light!
About the author: World-renowned professional photographer, writer, and adventurer Ian Plant is a frequent contributor to and blogger for Outdoor Photographer Magazine, a Contributing Editor to Popular Photography Magazine, a monthly columnist for Landscape Photography Magazine, and a Tamron Image Master. Ian is also the author of numerous books and instructional videos. Ian leads photography workshops and tours around the world to help beginner and advanced photographers explore and expand their personal vision. His personal photographic project, Dreamscapes, moves beyond the literal and transforms subjects into something unexpected, bridging the line between the real and surreal. Ian relies on long exposures, unique lighting conditions, non-traditional perspectives, and special natural events to show his subjects in a new light. Ian travels the world, seeking out the hidden spaces in between the familiar, in his never-ending quest to inspire, entertain, and educate others in the art of photography. You can see more of Ian’s work at www.ianplant.com.
Have something to add to the story? Leave a comment or email editor@outdoorphotographyguide.com.

As an expert in photography, I really appreciate your tips on backlighting. The examples you gave, especially with the elephants, highlight the power of light in storytelling. Managing flare with a lens hood or hand is a great tip, and shooting in RAW definitely helps with exposure adjustments. For those wanting to improve their photos even further, I recommend reminiprosapk.com for enhancing details, especially in backlit shots. It’s a fantastic mobile tool for refining sharpness and clarity.
Great photos and I loved the shooting instructions, listed settings, and comments. Very useful and informative. Thanks.
again, please can you give more specific explanations? how can we achieve this ? "set your exposure to ensure that important mid-tones have sufficient detail"
I was able to enhance the effect by choosing a camera position which put a shadowed hillside behind the trees, making them seem to “pop” out of the background. " what do you mean ? can you give some technical details please ?
Love your backlit work! Especially the Chincoteague Pony!!
I've photographed the wild ponies on Assateague Island, but never created a photo that looked as compelling as Ian's backlit shot. Great work, Ian! (I enjoyed your presentation to photographers at the Nature Visions Photo Expo in Manassas.)
I enjoyed the look of the pictures and the tips, living in Arizona the sun is always fun
Good article with great examples. In fact I think it is one of the best sets of explanatory shots I've seen on here.
On my canon 60d, I never. Seem to tell the difference between the settings on the . metering mode button , i.e., partial, spot, evaluating metering. For instance, which setting would be best for your picture of either the bear, or the horse? Thanks. John
BEAUTIFUL....LIKED ...THANKS