The dawn of the age of technology has given way to a ton of new types of photographs that weren’t necessarily able to be shot before. The leading companies in camera sensors have developed the tools necessary to shoot unbelievable images in some of the most difficult situations. My guess is that if Ansel Adams had the capability to photograph with the current cameras we possess today, he’d take some of the most incredible photographs ever seen. In his place, however, are a sleuth of experienced photographers that do their best to fill his void… respectfully of course!
There is a flip-side to technology, though.
The more detail that these amazing camera sensors produce, the more apparent photography errors can be.
So, due to the difficult photography conditions such as night photography, it’s important to know how to shoot sharply so your mistakes don’t stand out. You want to be able to shoot your stars tack sharp!
The Importance of Tack Sharp Stars
I want you to think through a scenario with me to understand just how important tack sharp stars in your night photography are. Believe me, they are of the utmost importance!
Let’s say that you’ve come a long way in your ability to photograph the beauty of the night sky and you’re renowned enough to be offered several employment opportunities to do so. You are hired by a very well-to-do gentleman who would like to grace his huge living room wall with a large print of the night sky.
You are beyond excited to have the opportunity to accept this project and you immediately plan for a clear night to provide your client with the work he desires.
The sky is clear and you drive to a remote location to work. You set everything up and take multiple exposures during different points in the night to ensure that you have captured the most compelling image possible.
Next, you spend hours editing and manipulating the select image to create a jaw dropping piece of artwork that will be sure to please your client. You finish, print the enormous copy of the image, and deliver it to your client.
All is well until he hangs it up only to notice that the stars in the image are out of focus. You’ve now lost the job, the time, the money, and your career as a photographer is over. Surely you’ll never work again!
Alright, it’s very dramatic. But, I needed to drive home the importance of getting your stars tack sharp and perfectly in focus.

Razor Thin Decisions
When you are setting up and thinking about how to photograph stars for perfect focus, you need to remember that when you’re shooting stars you’re shooting moving objects. Now, it can be difficult to think of stars as moving objects when you first get into night sky photography, but the distant balls of burning gas actually move a lot faster than you think.
Photographers need to select an exposure that will compliment both sharp stars, and movement best.
You’d be surprised at how razor thin that decision can be.
I’ve read countless articles about settings to use to shoot the night sky that tell aspiring astrophotographers to use an exposure of 30 seconds.
Let me tell you from my experience that if you’re shooting an exposure of 30 seconds, you might as well shoot multiple images and make it a star trail photograph because a 30 second exposure will absolutely show the star paths on large prints. Star paths are different than images with tack sharp star points.
It’s imperative in my experience to keep your exposure at a maximum of 20 seconds. The 10 second difference may not seem like much, but if makes a world of difference if you want pin point stars in your night sky photograph.
How to Execute it in the Field
There is no other option than to get your sharp stars correct in the field. Many times there can be alternatives or tricks you can use in post-processing to overcome mistakes that occur in the camera, but when it comes to focus issues you MUST get it right in the camera. There is not fix-all for focus in post-processing.
So, the natural question is, “How do I shoot tack sharp stars in the field?”
I’m glad you asked!
The assumption that throwing your lens on focus to infinity to create tack sharp star points is inaccurate. In fact, all lenses have different exact infinity points. It’s not always directly on the infinity icon on your lens barrel.
To be sure that you’re moving your focal ring to the correct infinity point in manual focus (you should always shoot the night sky in manual focus) go out to any location during the day and focus on a very small object that is far away. When it comes to setting up your focus, remember the saying, “Aim small, miss small.” The smaller the object you’re setting your infinity point to, the more accurate it will be on star points. Once you lock onto your target, zoom in on it in live view and fine tune your focus for 100% accuracy.
After you’ve dialed in on your small target, remove your hands from your focal ring and look at your infinity point. It may or may not be directly on the infinity icon on the lens.
The next natural question is, “So, how do I find this point again in the dark?”
There are a couple of different ways to do that. One solution is to tape your focal ring in place. This will keep everything right where you left it so you know that your focus is on your focus to infinity point at night.
The other solution is to mark your focal ring with a grease pencil at your infinity point. If your focal ring gets knocked around, your pencil mark will be the indicator of where your focus to infinity point is so you don’t have to do this whole process again.
Once you’re sure that you know where your focus to infinity point is located on your lens, you can be sure that your stars, which are very far away, will be within perfect, pin-point focus.
Now, I also want to put this section in because I don’t want anyone to assume that the very first time you try this you’ll shoot the best night images ever. Just like with other photography techniques there will be room for error and the more you practice, the less margin of error there will be.
A great way to practice is to perform the focusing process over and over until you know exactly where your lens is going to focus to infinity.
If you want to practice focusing for tack sharp stars in the field at night, you can do the exact same process. It doesn’t even need to be a clear night. Simply perform the same steps, except focus on a distant light instead of a distant object like you would during the day. Using a distant and small light on earth will simulate a small star in the sky when you’re ready to photograph the real thing.
Hopefully I’ve poured out the importance of photographing tack sharp stars into your mind so much that you never shoot a photo of the night sky out of focus again. Just remember that as technology gets better and the quality of images increases, photographers must take the seriousness of image quality to another level.

 About the author: When David Johnston isn’t leading photography workshops and tutorials or hosting his popular photography podcast, Photography Roundtable, he can be found traveling the world taking photos to awe and inspire his viewers. David has a passion for sharing his knowledge of photography and has many educational offerings designed to help photographers improve their work. Visit his website at https://www.davidjohnstonart.com/.
Have something to add to the story? Leave a comment or email editor@outdoorphotographyguide.com.
Nice article. However in your first paragraph you should use "slew" instead of "sleuth". Also, temperature changes will affect your focus. So make sure you go through the procedure you specified under the same temperature conditions at which you will be shooting. And if the temperature changes while you are shooting, try to refocus again.
Interesting article but, on looking closely, all of your example photos do show some trailing and some coma. You do not mention the 500 or 600 rule. Use a tracker (mine is the MSM Nomad) the eliminate tracking and permit longer exposures and use a bahtinov mask (mine is the MSM Star Focus Filter which comes with a set of adaptors for lenses of various sizes) to set focus on an actual bright star. Preferably, the lens should be fully open but, if coma shows, it will be necessary to stop down.
Excellent info. There is no substitute for focus. But there are other ways to focus on field that are effective. I e gotten good results with a (?sp) Bertonelli (?) filter that makes the stars become like cross hairs. Max the cross hair for perfect focus. Great article and a fun genre. And be ready for practice makes perfect
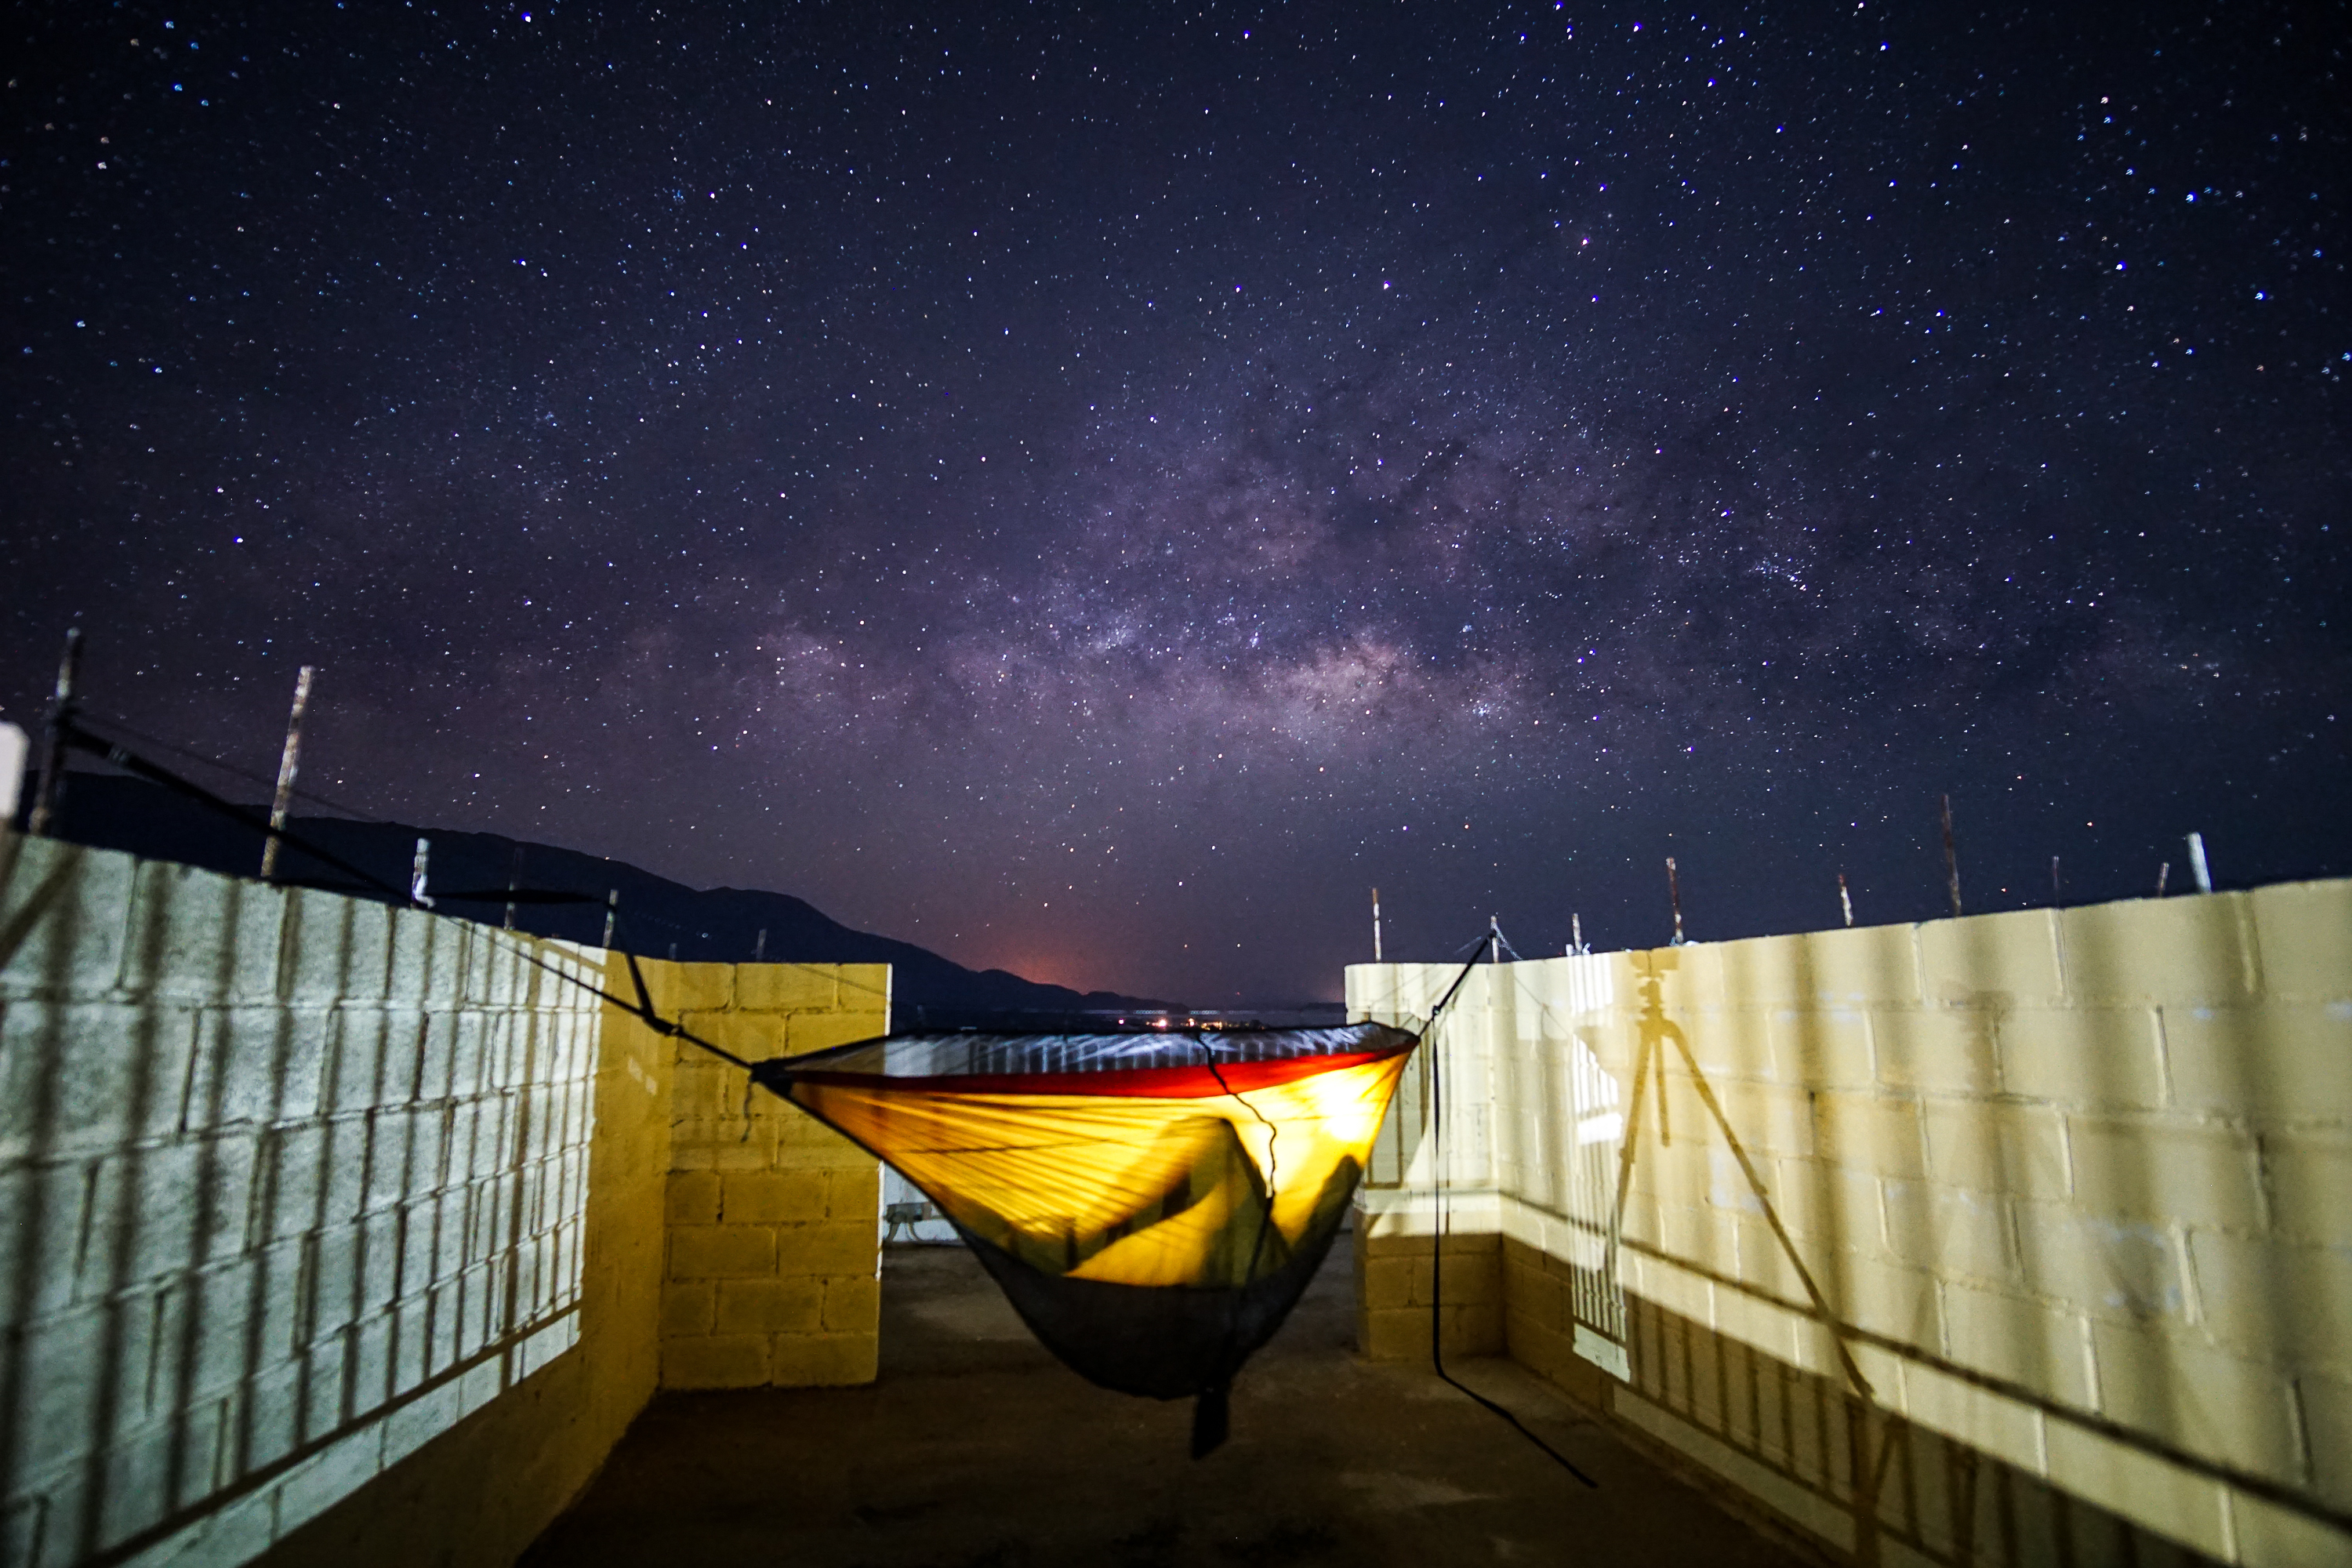
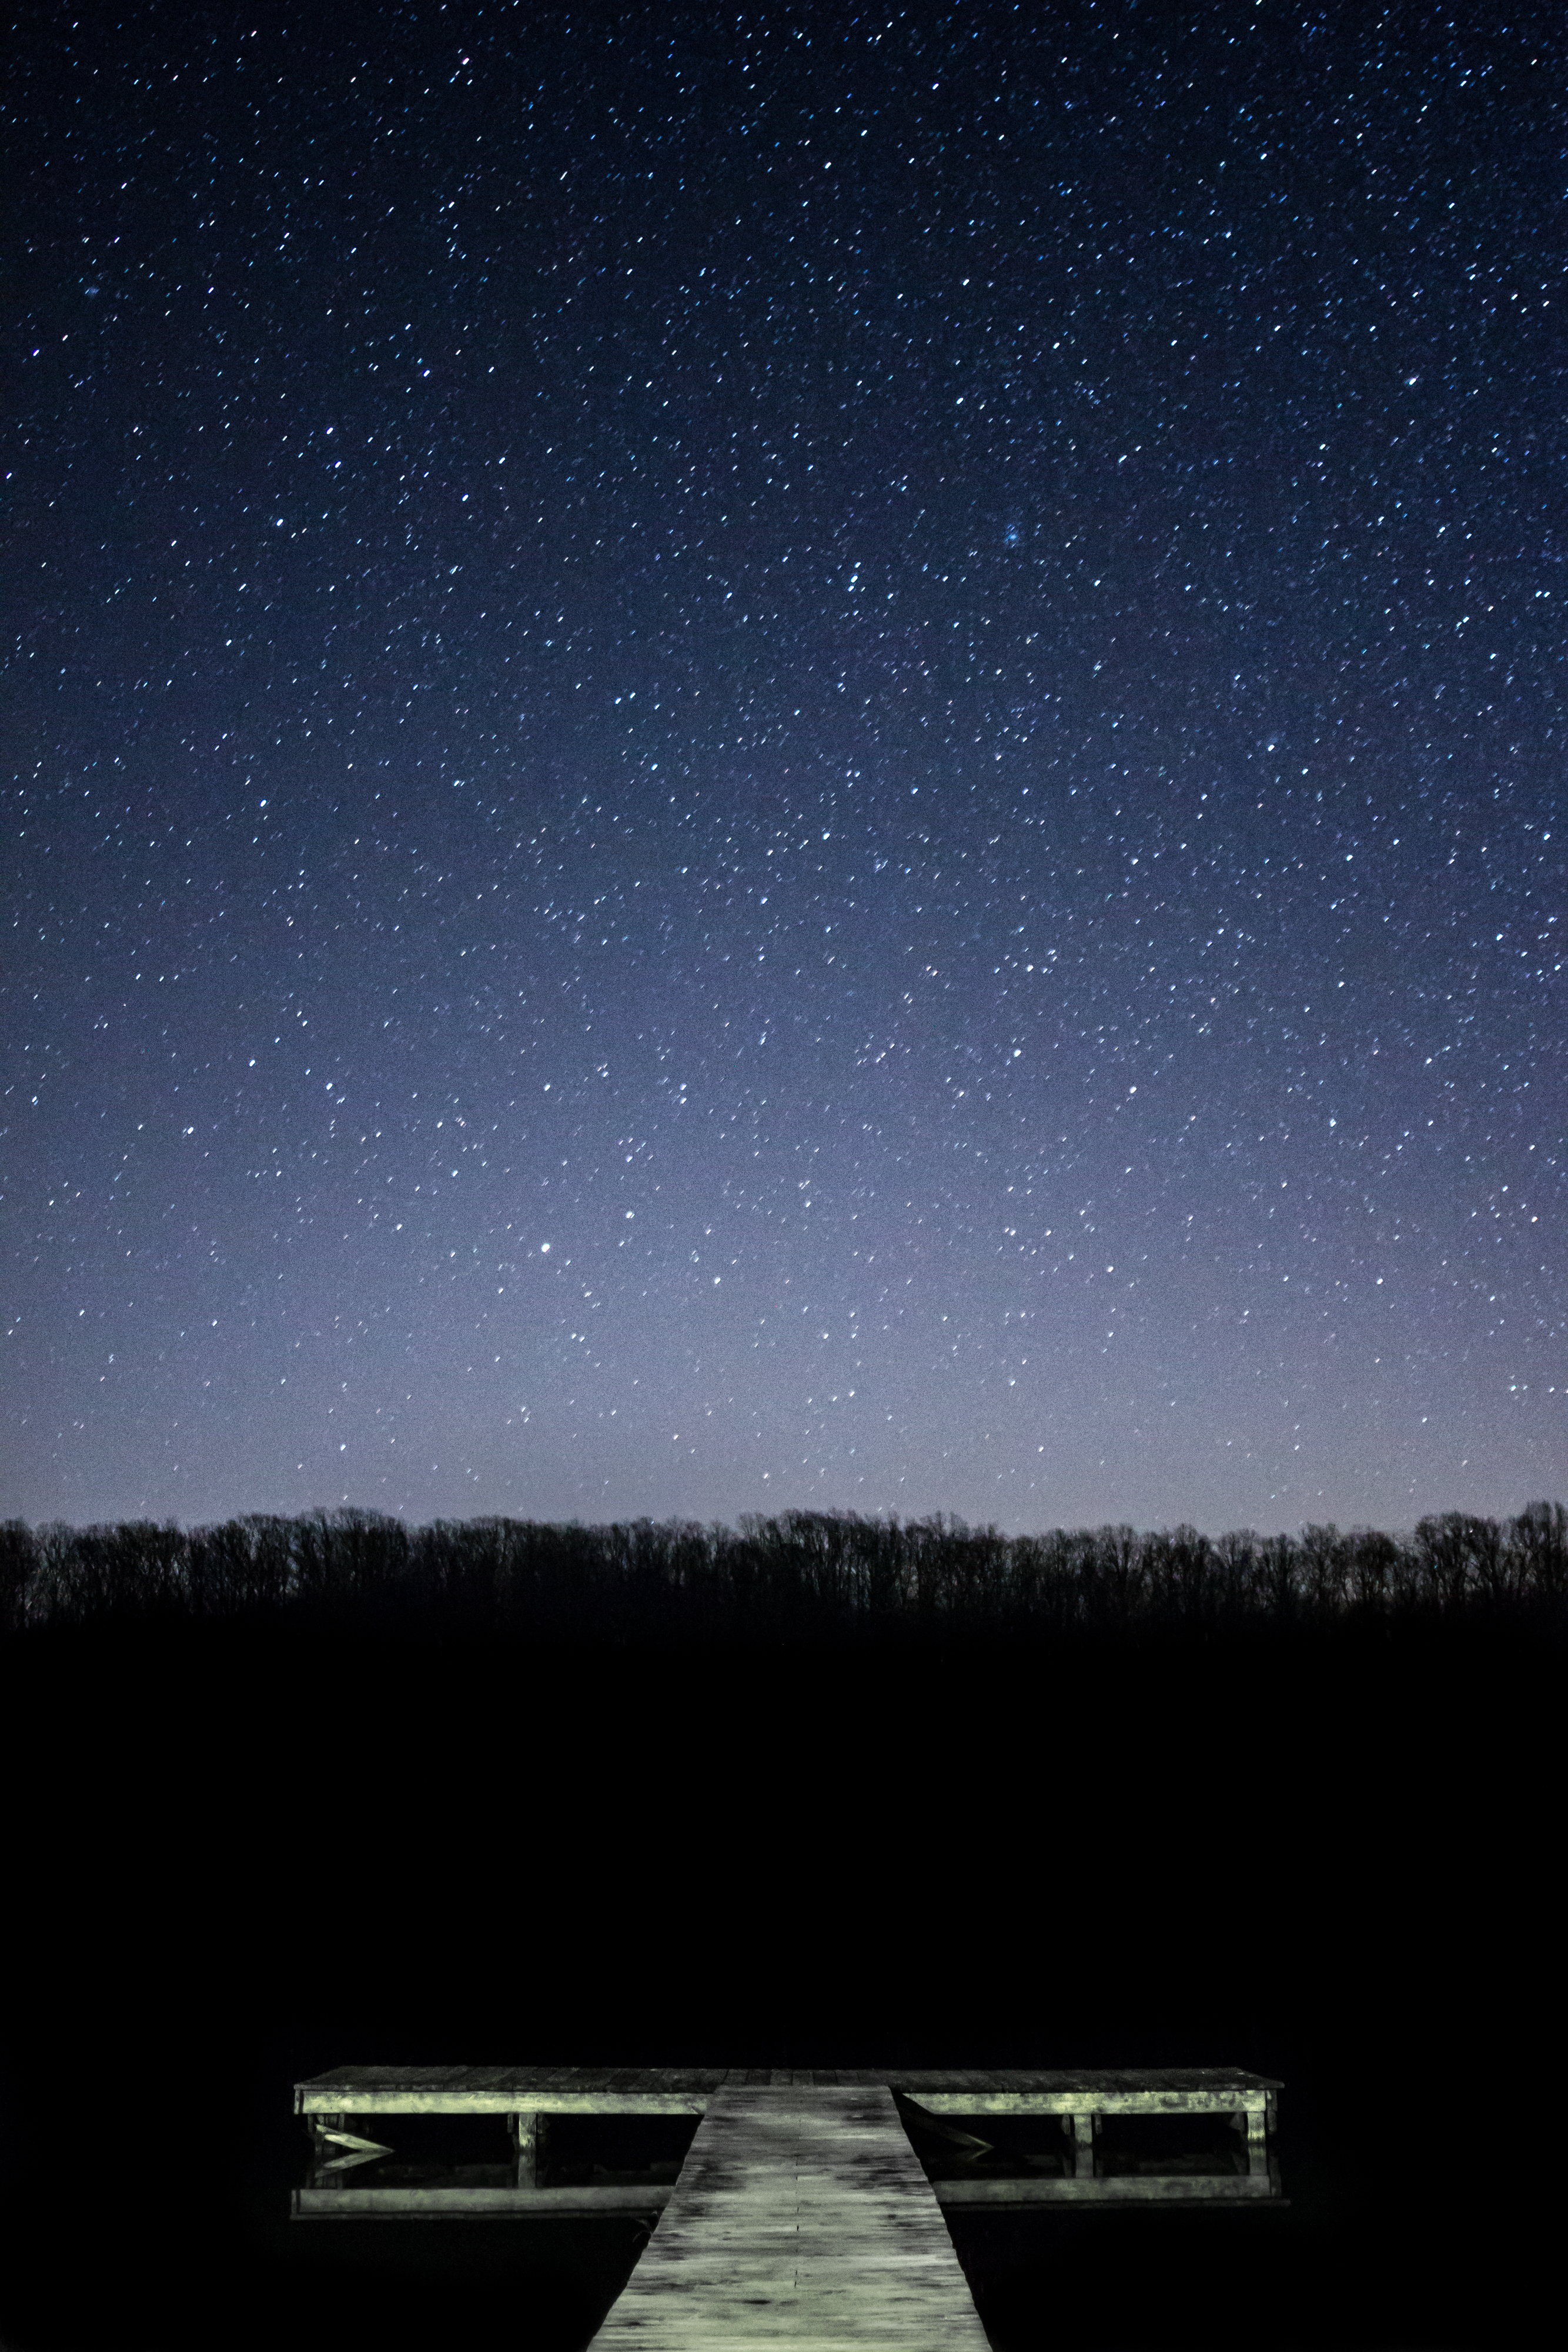
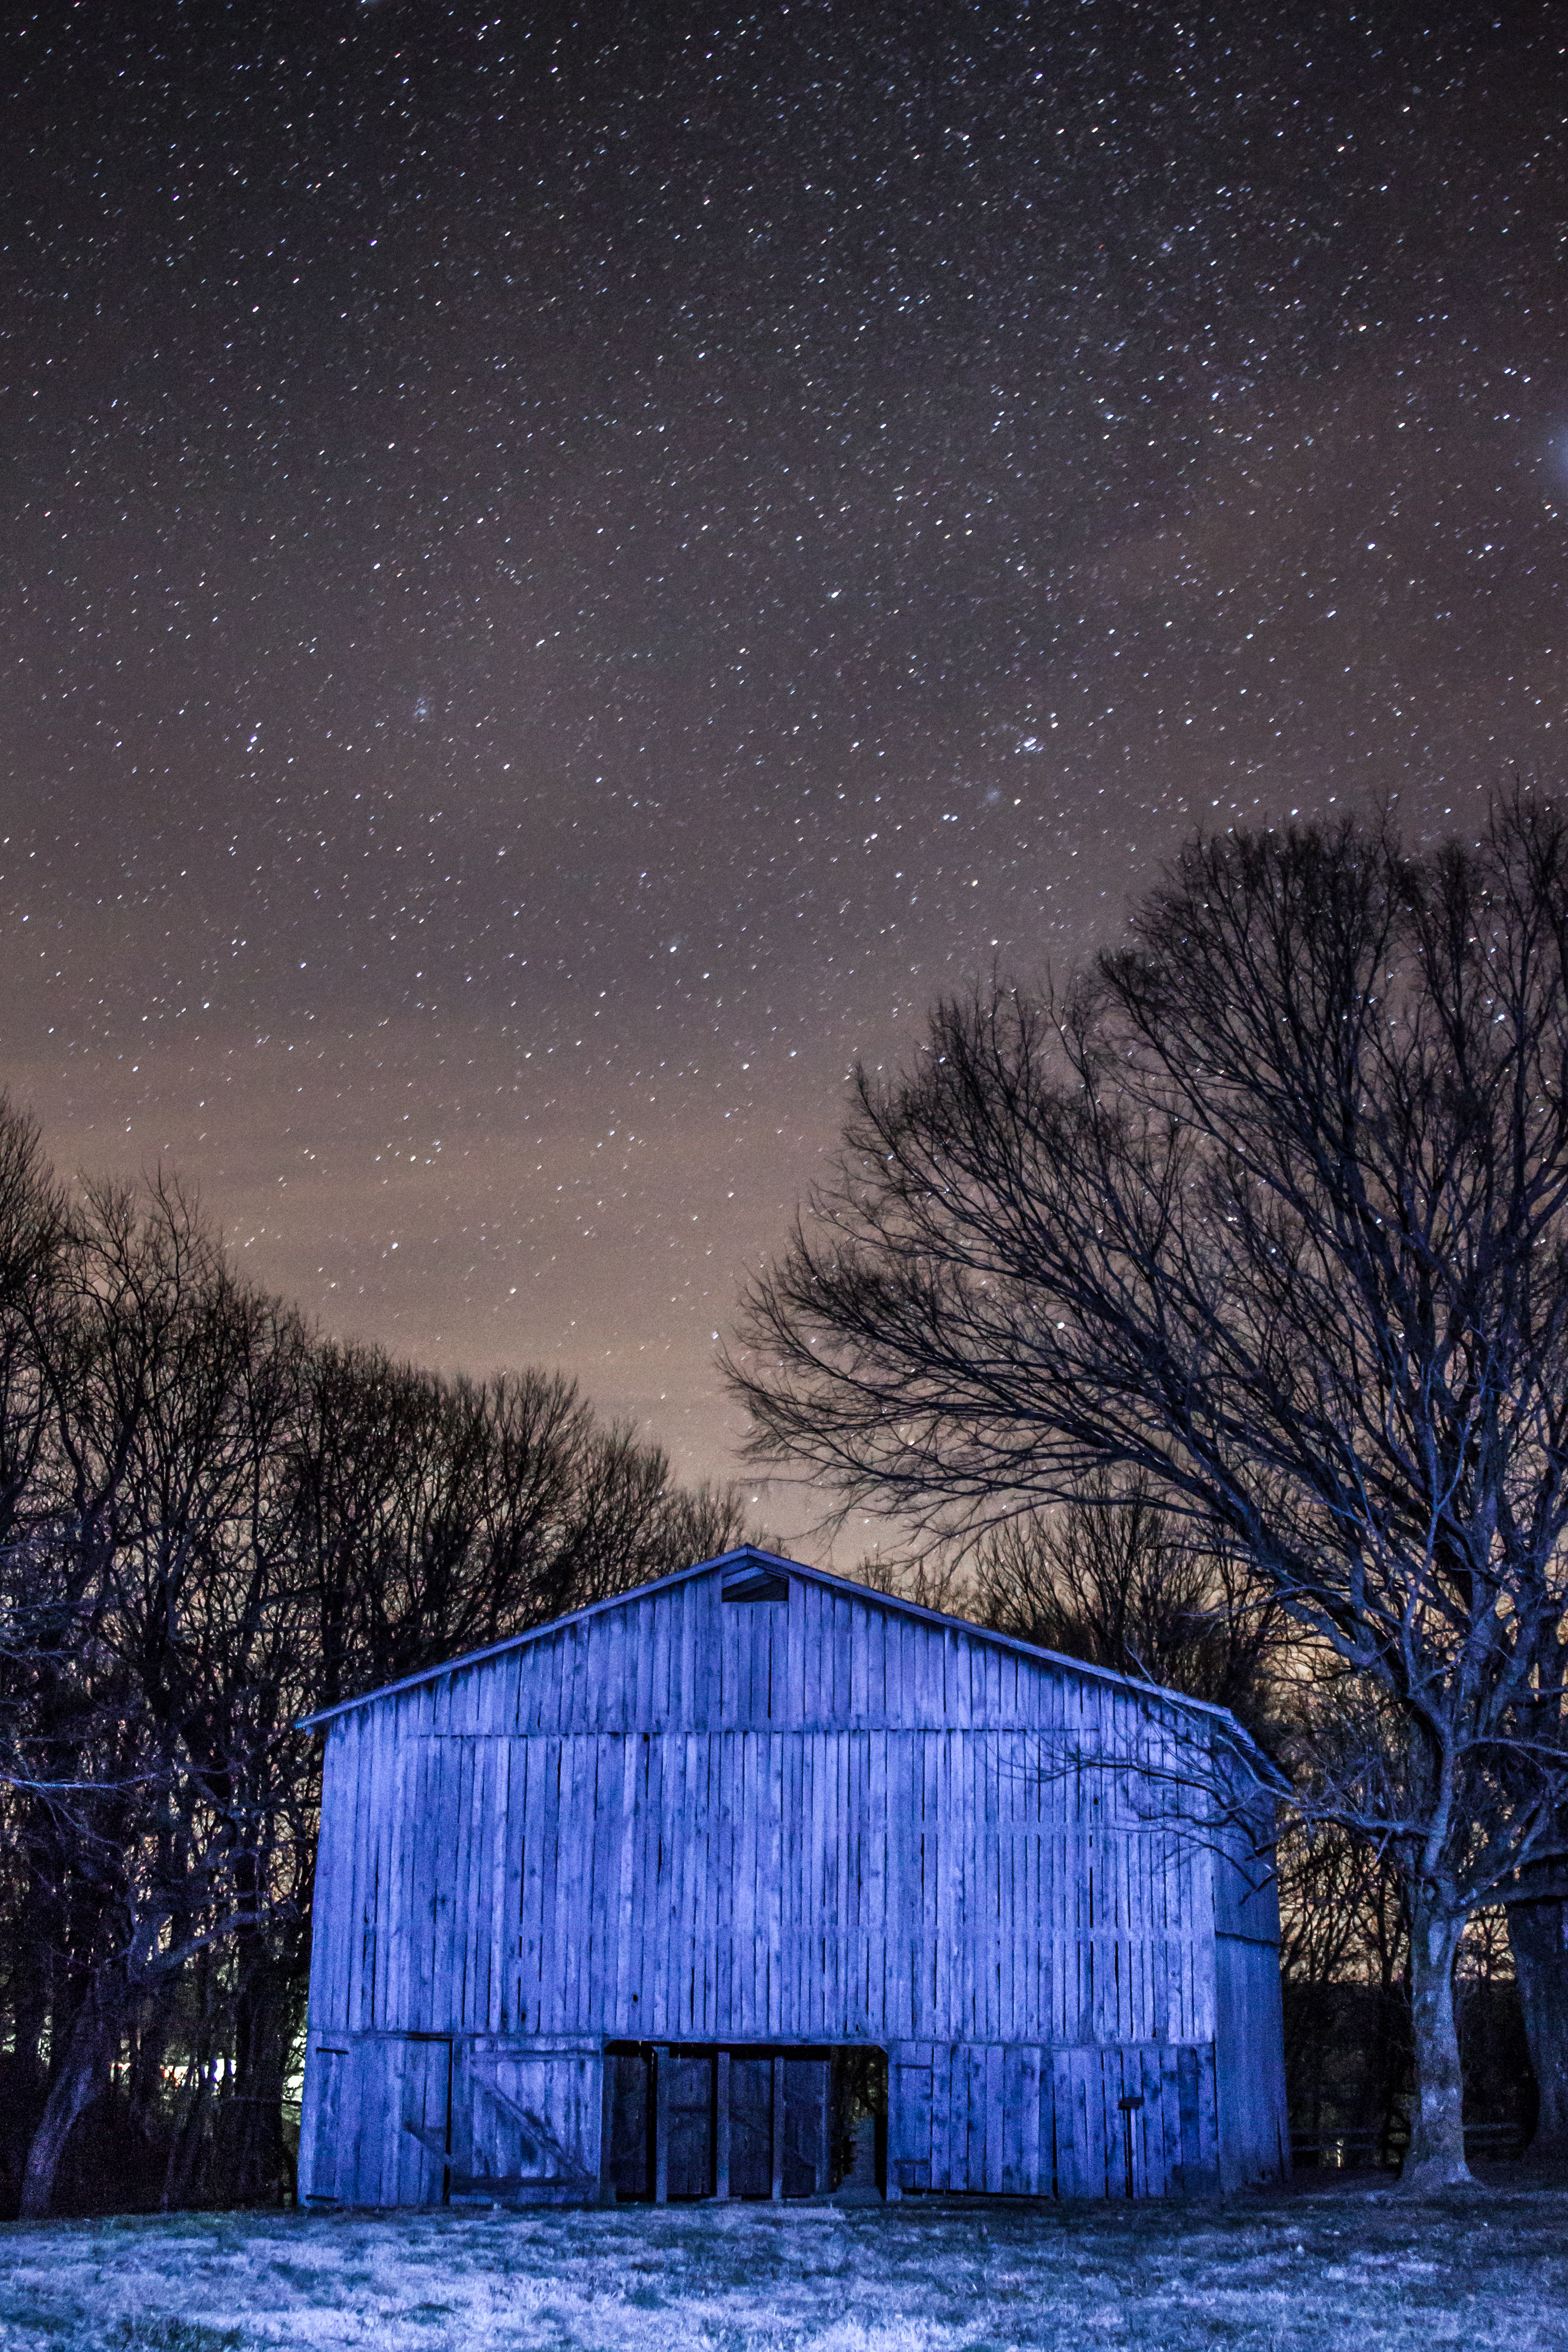
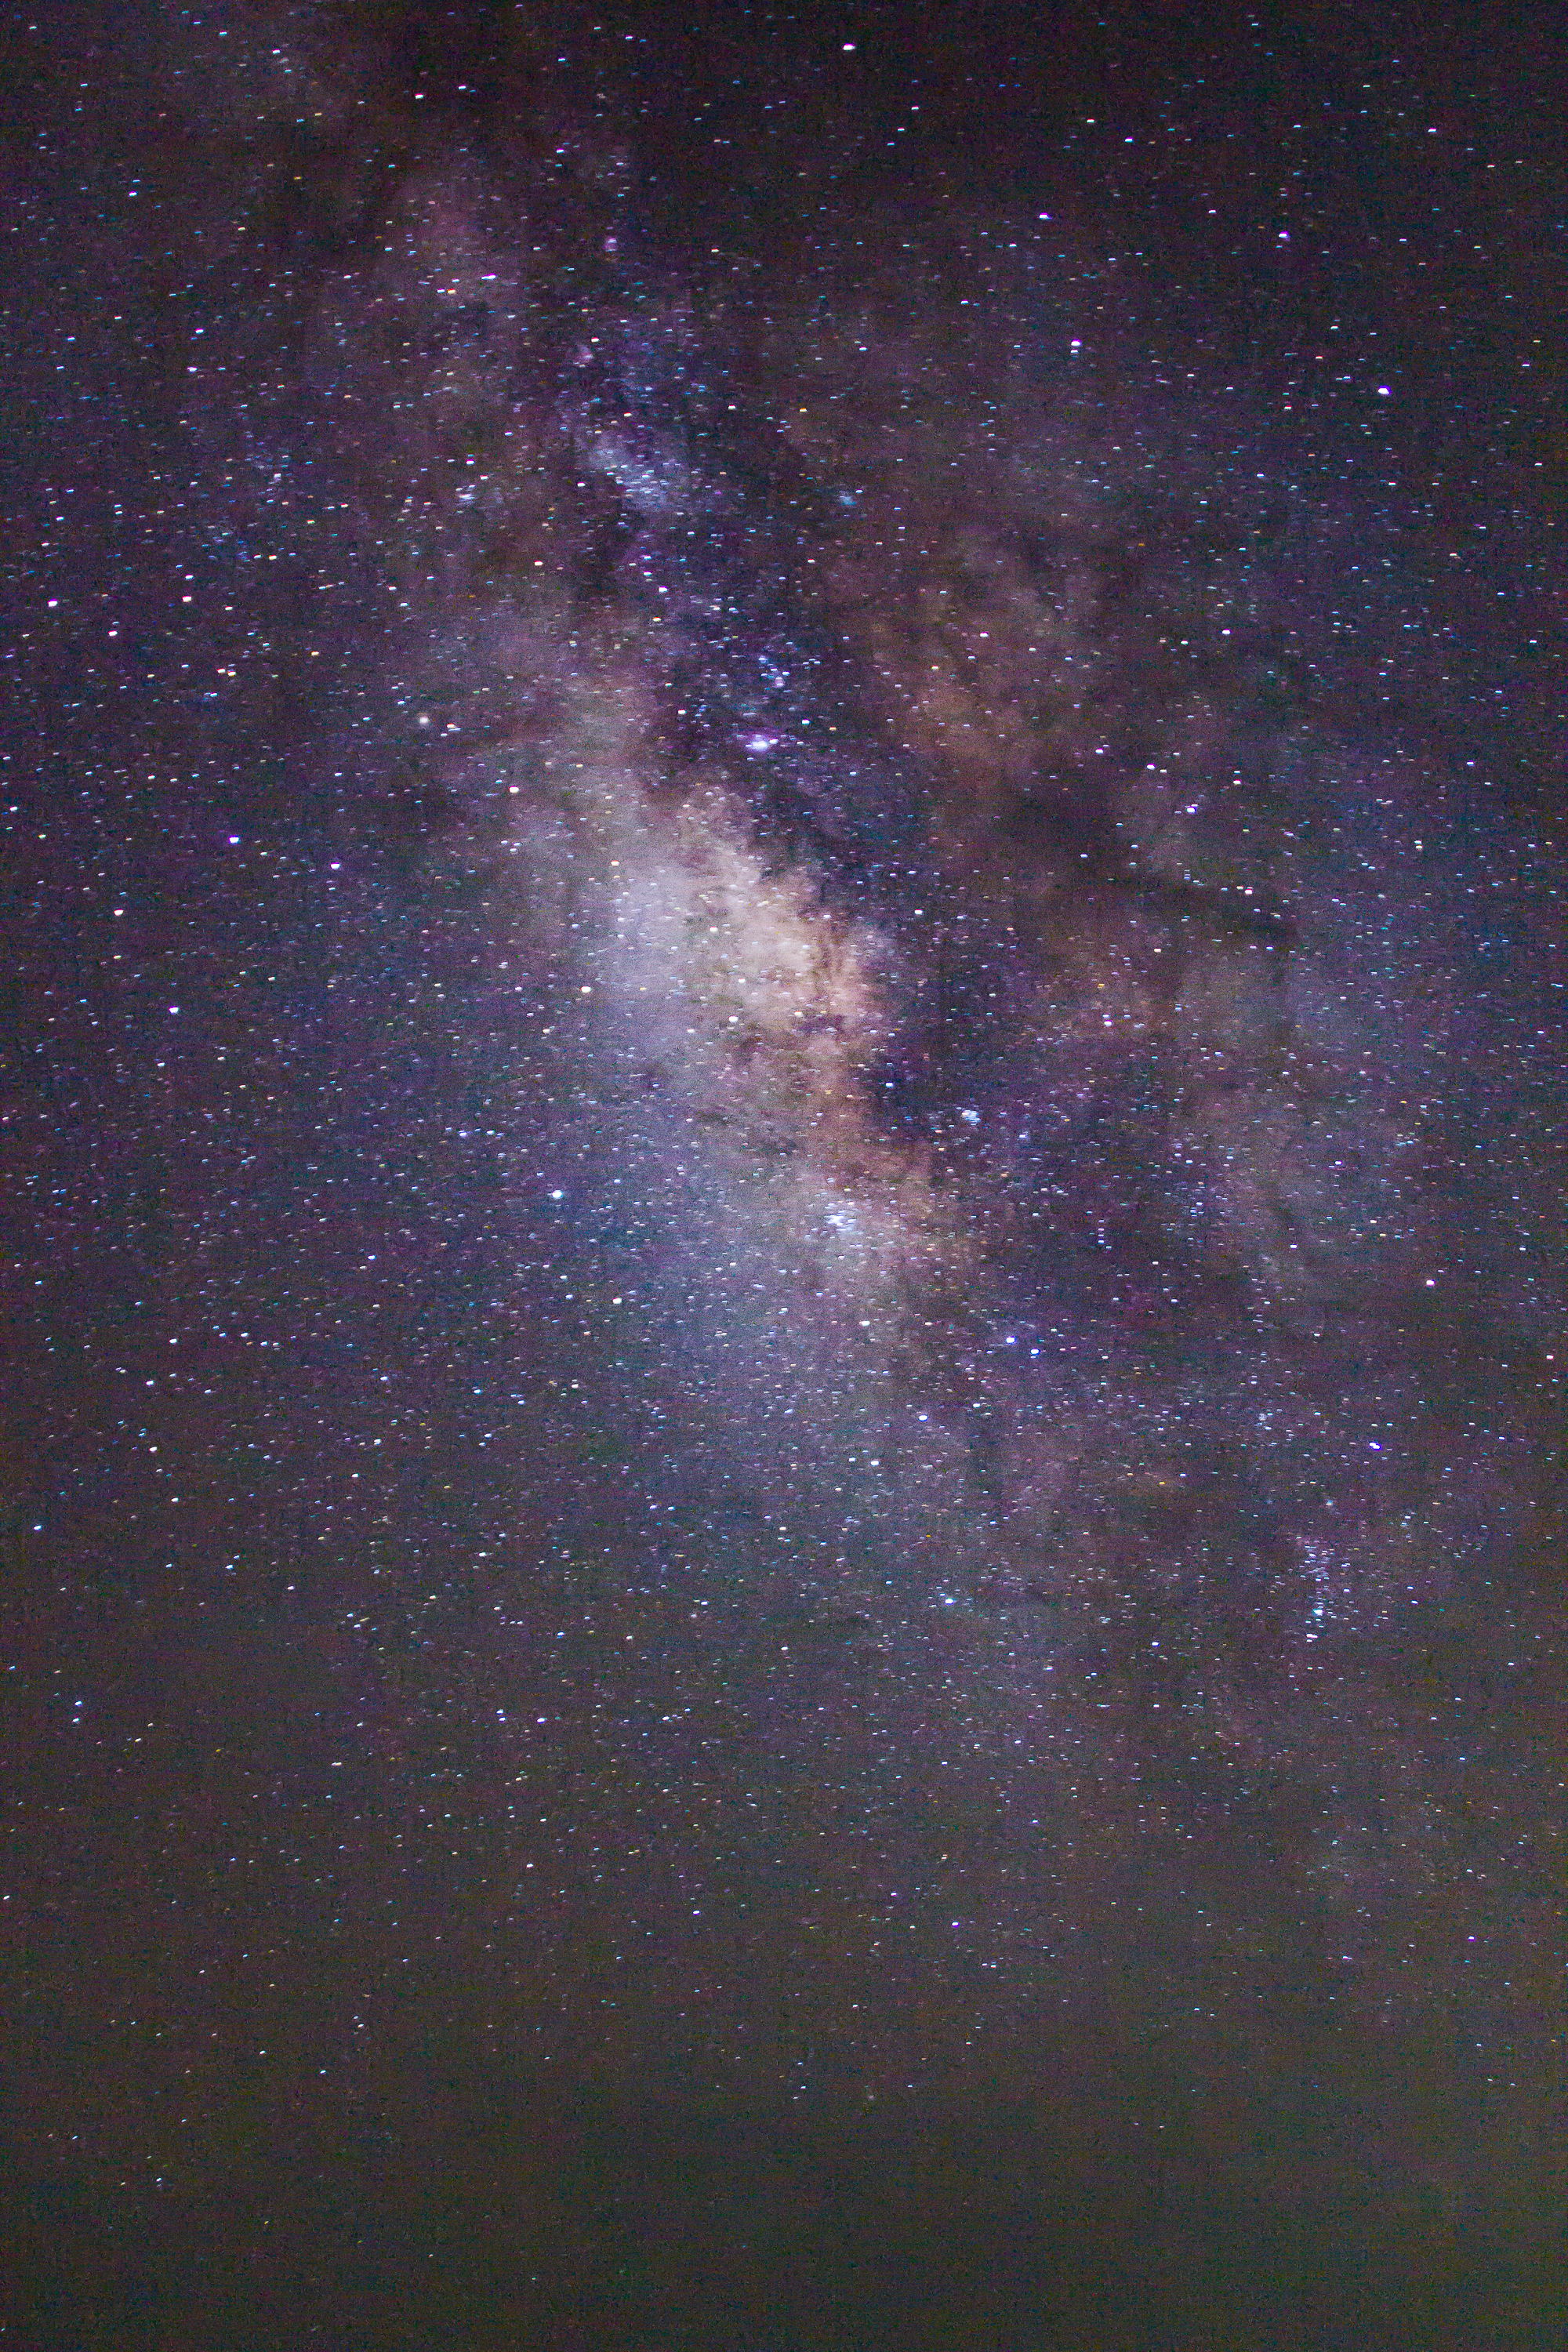
Are the photos in this article good or bad examples? They need captions if they are "bad" examples. A couple have star trails the green tent is out of focus, The header image maybe (?) in focus, but perhaps the noise reduction has blurred it? And the last mikyway photo is sort of in that camp too with a slight star trail as well.
I love the article it was very helpful. I use my 500mm telephoto is that a good lens or what should I use.
I have yet to start shooting with a Full Frame Camera, I currently have a Nikon D7100 and I love shooting the Night sky. https://www.flickr.com/photos/139659377@N04/38868136445/in/dateposted-friend/
David, what lens did you use and what were the camera settings. Thank you