How to Add Music to Outdoor Time-Lapse Photography
David Johnston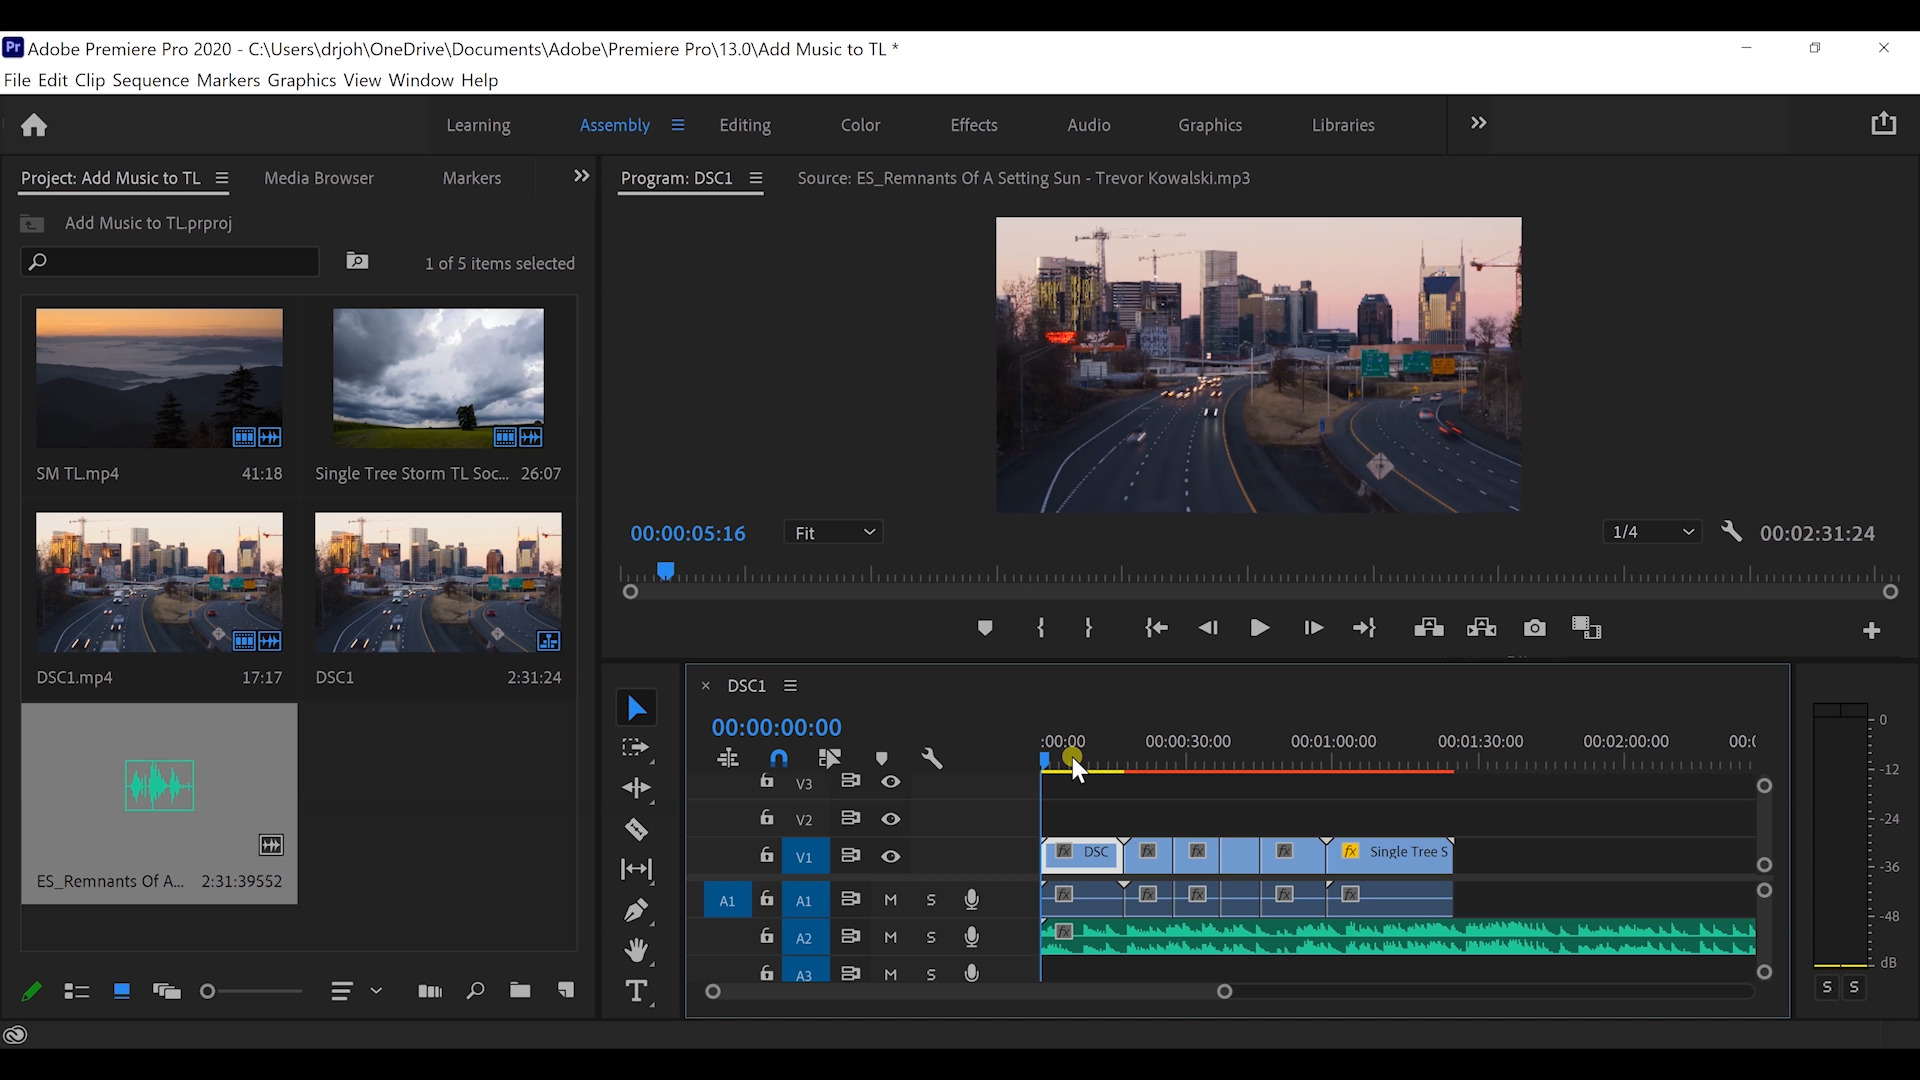
Video Player is loading.
Creating a time-lapse image takes patience, but it can be a lot of fun. Without music, the result can seem a little boring. Learn how to add music, which can create that feeling of motion, in this premium video lesson with Outdoor Photography Guide’s professional nature photographer David Johnston. He’ll show you how to add music to create more compelling time-lapse images.
For his music software, David uses Adobe Premiere Pro. For editing his time-lapse sequences, he has stored a multitude of royalty-free music clips. The first principle in how to add music is to select music slips that have a lot of jumps, meaning jagged wavelengths on the audio file graph. These represent the “beats” to match your cuts with your video sequences. This is when adding music begins.
First, he drags his music clip into the timeline sequence of night-time traffic in an urban freeway scene. He then makes the music cuts at the points where his next time-lapse sequences appear: a mountain sunrise image, and then a series of outdoor scenes. In the process of adding music to your own time-lapse images, you need to experiment with where the cuts work best.
Throughout this workflow of how to add music, David is matching the speed of the music to the speed of the time-lapse videos. If you want to create zoom movement on any one of your images, you select the effects tab and match the zoom effect to the music bed. At the end of your video, editing in a fade-out is a nice way to finish it off.
