Contrast Depth
Matt Bishop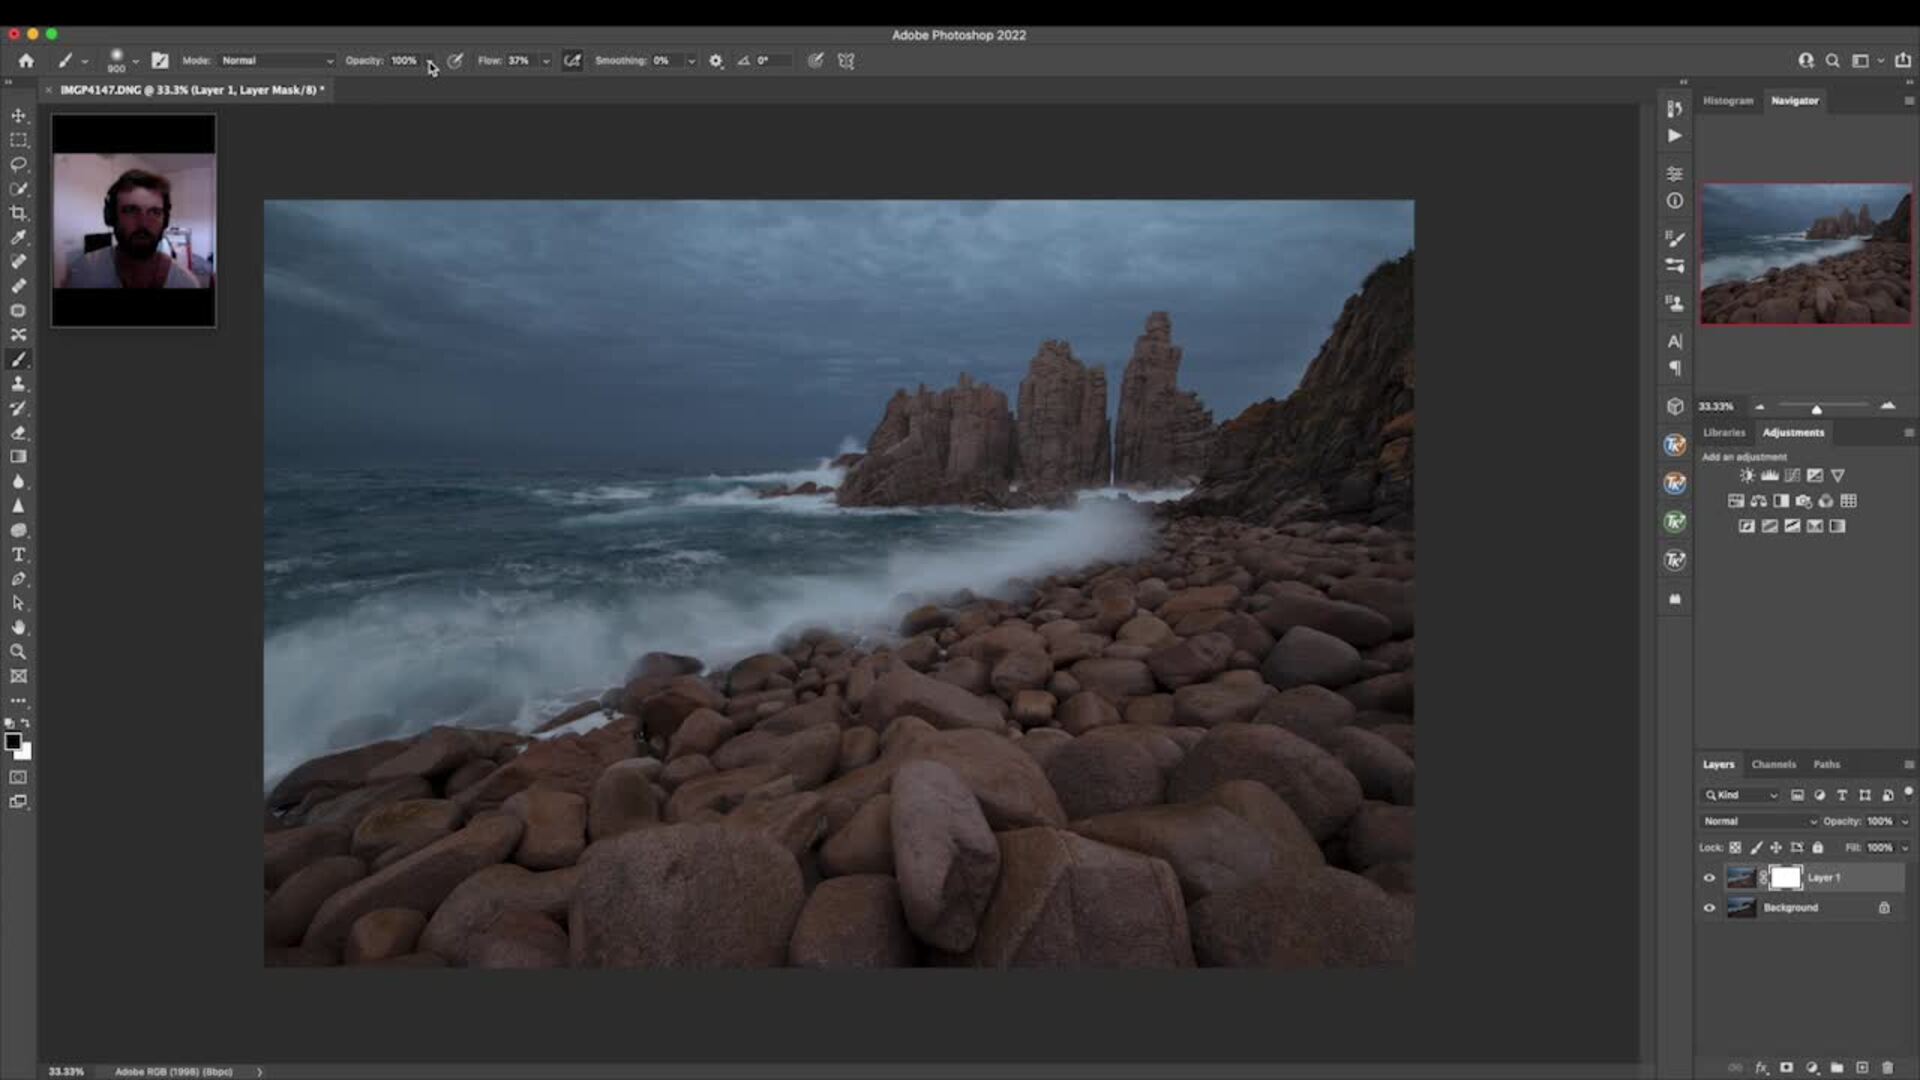
Video Player is loading.
There are times when you might capture a wonderful outdoor photograph, but when you bring up the file in your edit suite, that file appears kind of dull and flat. There is a solution, and it’s called contrast depth, the tonal values between the lights and the shadows. In this video lesson, Outdoor Photography Guide’s pro photographer Matt Bishop demonstrates various editing tools to help you create contrast depth in your images.
For a landscape photograph to really create drama, you need dimension, foreground to background. In post production, Matt brings up an Australian coastal image, which is underexposed with minimal contrast. Using a brush in Photoshop Camera Raw, he increases the exposure and the whites, and then paints over the dark rocks to bring them to life.
Moving back and forth between Camera Raw and Photoshop, Matt creates layers and masks and uses various editing tools to increase and reduce the shadows and highlights in the rocks, ocean and sky. This procedure takes time and patience, but it builds a beautiful contrast. The final task is working with the clarity and opacity sliders to add drama. When you’ve completed your edit, walk away, give yourself time before evaluating your work.
Most likely, you will have missed something and need to tweak your edits. When you are finally satisfied with your edited image, it’s always a good idea to compare the before and after in the post-processing of your image.
If you are looking to enhance a landscape or outdoor image, you will need to make subtle changes to the highlights and shadows in order to create an overall contrast depth. Join Outdoor Photography Guide’s professional photographer Matt Bishop in his step-by-step editing method to add just the right contrast to your outdoor images.
