Let’s talk about the importance of a post-processing workflow. Workflows in the field can consist of planning, composition, framing, and shooting. Similarly, a post-processing workflow also contains steps that established photographers follow almost religiously to create their photographs. In this case in particular, we will look at how to follow a post-processing workflow when combining multiple frame shots like panoramas.
The natural push back that I hear from some photographers is the resistance to a consistent workflow. I mean every photograph is different right? Well, to an extent, yes. However, if you’re rationalizing with that thought, you’re actually wrong.
You see, we aren’t talking about the photograph. We are talking about the process leading up to the photograph and the process after the photograph is shot.
Painters are known for their style, consistent tendencies, and brush strokes (or even lack of brush strokes). The most educated art curators and collectors can tell you what separates a painting based on the painter’s workflow.
Photography is just like any other art. I should be able to scroll through images on Instagram and tell you which images belong to whom based on their post-processing style. And for the best photographers that I follow, I can!
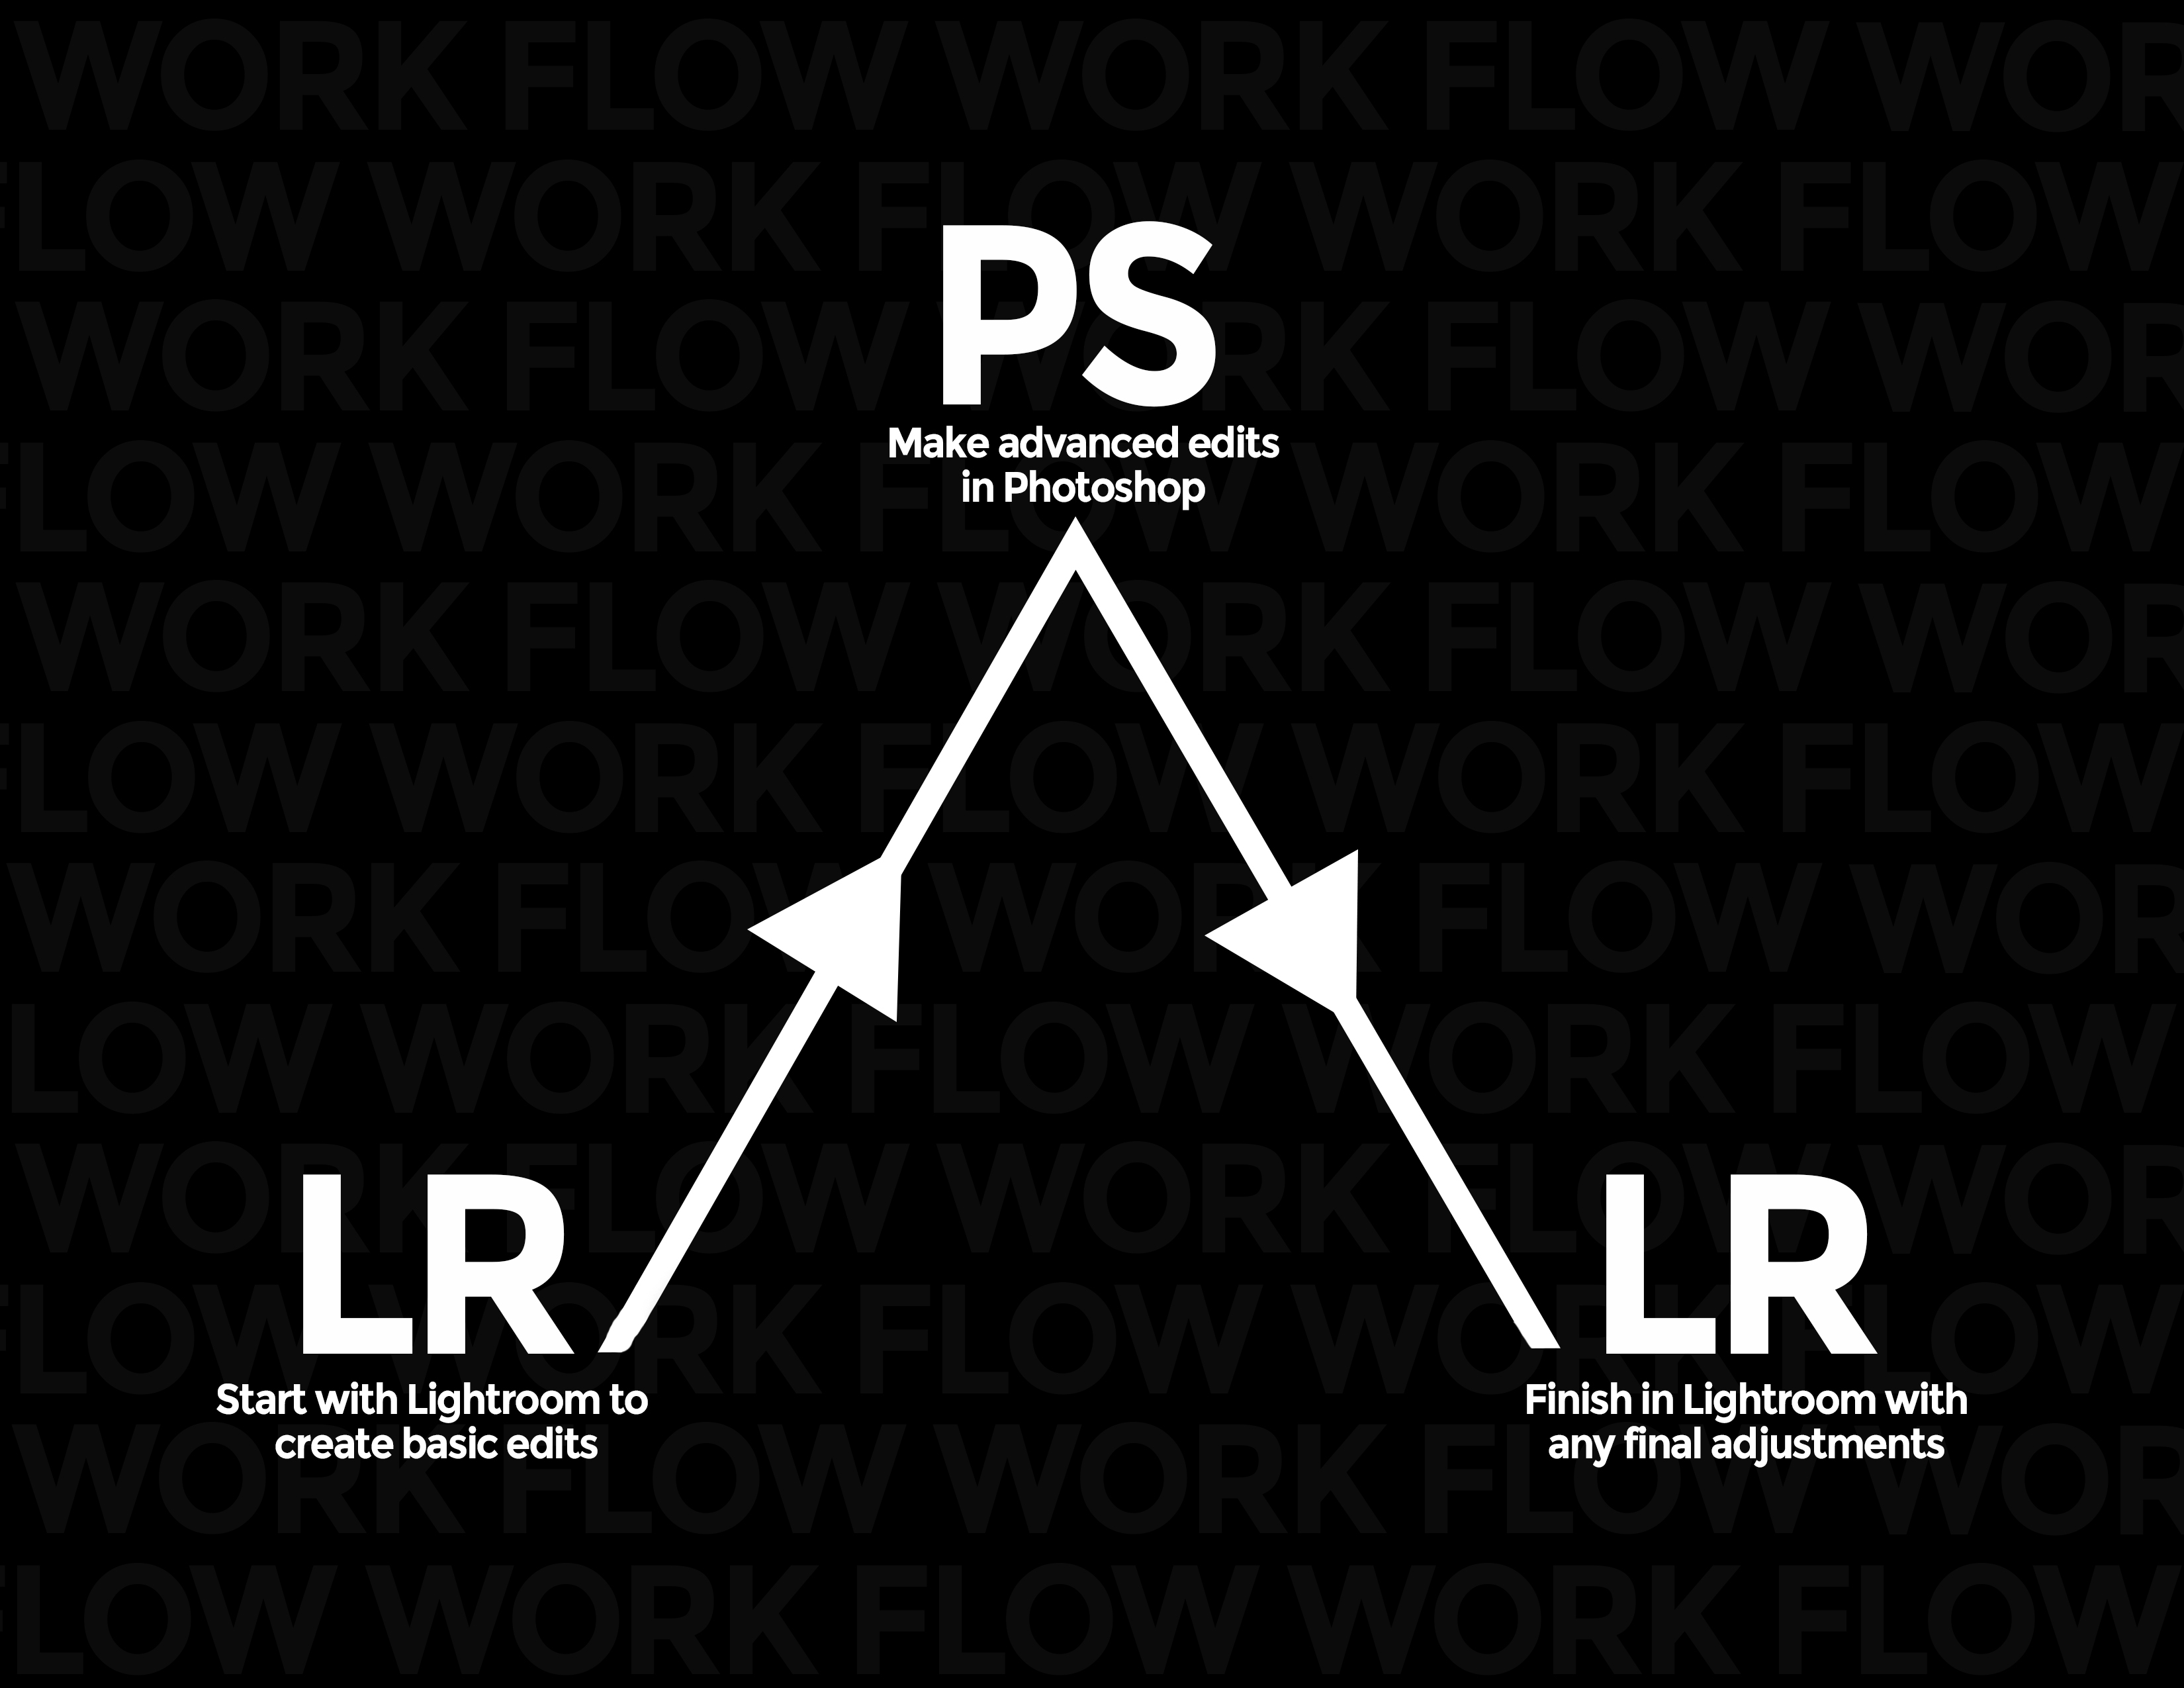
Below, I’ve provided a diagram to show you a good workflow to follow for your any multiple frame image merge.
So, if we are shooting a multiple framed photograph like a panorama, how can we assemble a consistent workflow that we follow every time?
I’m going to explain how to do that by going through the process that I’ve discovered is easiest for me.
The first step is choosing which sequence of images you like best. If you’re like me, you probably shoot multiple panorama sequences to get the best possible outcome. I usually separate my sequences by placing my hand over the lens for one shot that tells me the next photo will start the next sequence.
After I’ve decided which sequence I want to combine, I’ll make general edits to adjust the exposure, contrast, and a few colors. To be sure that all of the colors and exposures will match, I’ll sync my settings with every photograph in the sequence in Lightroom. I want all of them to match, because when I actually combine the images, I want Lightroom to read them correctly and merge them into a panorama.

Next, select all of the images in the sequence by selecting the first photo, holding down the shift key, and selecting the last photo. Right click on the selected images and choose “Photo Merge” then “Panorama.”
A window will appear that has a lot of options for how the photo merge will look. Everyone has different tastes so I’ll allow you to select which options you want for this step.
Next, hit Merge!
Once the image is merged and you have your panorama saved, right click on the image and select “Edit In” and “Edit in Adobe Photoshop” if your usual post-processing workflow involves Photoshop. Remember, you don’t need to make general adjustments in Lightroom to the merged Panorama because we did all of that before the actual merge.
Based on your post-processing style, you can make the adjustments in Photoshop you feel are necessary and reasonable to your creative vision and then save the final image.

It is my firm belief that photographers should strive for consistent workflows. It’s something that I preach in teaching.
Why?
Because if you are consistent in your shooting and post-processing, you’ll be rewarded with consistently great photographs once you get the hang of a workflow.
This intermediate level class, Merging Panoramas and Multiple Exposures, was originally recorded live, and is now available for full download in the Outdoor Photography Guide Shop. You can take a look and watch a preview of the class here.

About the author: When David Johnston isn’t leading photography workshops and tutorials or hosting his popular photography podcast, Photography Roundtable, he can be found traveling the world taking photos to awe and inspire his viewers. David has a passion for sharing his knowledge of photography and has many educational offerings designed to help photographers improve their work. Visit his website at https://www.davidjohnstonart.com/.
Have something to add to the story? Leave a comment or email editor@outdoorphotographyguide.com.

Old (2017) Clickbait. My email's topic was "The Importance of Dodging and Burning Your Photos" not a teaser on creating a panorama or selling a class on post processing workflows. While I knew better, I fell for it anyway. UGH!