You’ve no doubt heard the saying, “Failing to prepare is preparing to fail.” This could apply to all seasonal photography but it is critical to taking successful photos in the winter. Here are some tips for winter photography to help you stay safe and comfortable while shooting and ensure you come away with some great shots.
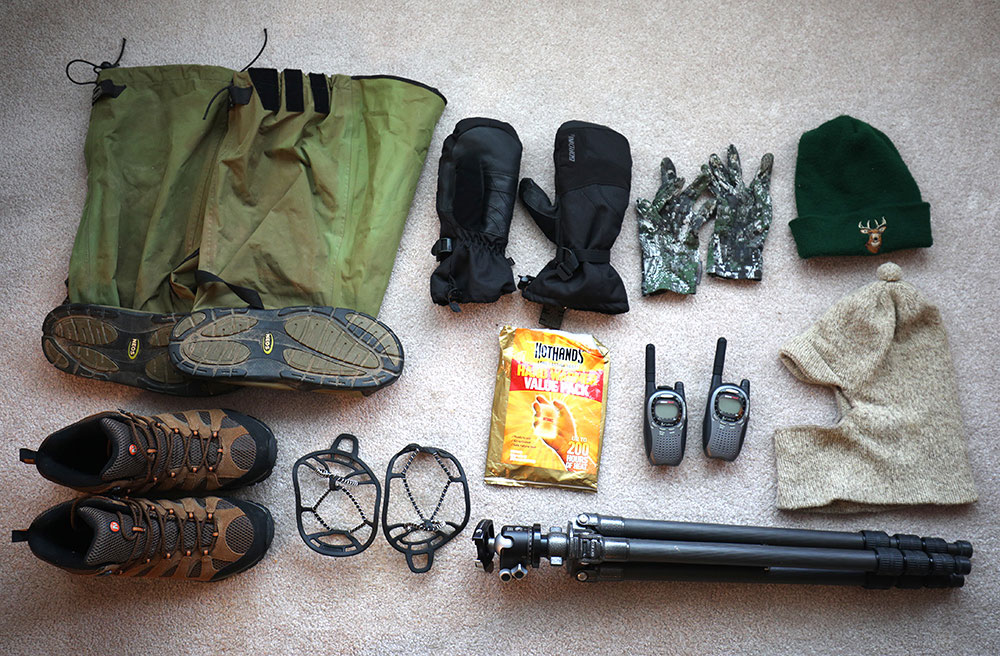
Essential Gear
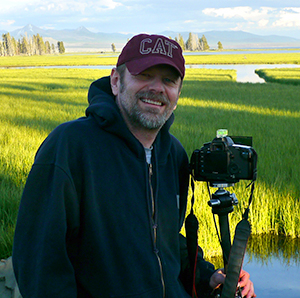
I live in a college town where some of the kids wear shorts and flip flops in fifteen degree weather. Most of them don’t have hairy legs either. Clearly these kids are not ready for winter photography. You have to match your clothing to the weather conditions if you are going to survive winter photography.
Boots: Over the years I have worn big heavy pack boots for my footwear that have never kept my feet warm. I have since switched to regular hiking boots plus a pair of waterproof overshoes to keep my feet warm and dry in the coldest conditions. They are very easy to take off and put on. I also carry a pair of ice grippers that fit over my overshoes. I haven’t tried hip waiters but that is an option if you are going to photograph in very wet conditions or wade into a river, lake, or stream. In extreme cold conditions you can purchase toe warmers that fit inside your boots.
Tip: Do not put on cold boots and then head out the door. Warm up your boots first. If there is no way to heat them up, blow your warm breath into the boots. You’ll be surprised how much this helps to keep your feet toasty warm.
Gloves: It’s worth every penny to invest in several pairs of gloves. If you can’t use your hands you might as well stay home. A thin pair of gloves will provide you with some protection and still allow you to use your camera settings but if it is really cold out I will use down mittens with hand warmers inside. On the outside of my down mittens I use wool liners. I then remove the mittens, already clipped to my coat, when I am ready to shoot.
Tip: Do not buy fingerless gloves. Take it from me – I dropped one of my cameras in the Gallatin River because my fingertips were frozen from wearing these.
Outside Clothing: Always wear layered clothing, preferably of material that wicks away moisture from the skin, not cotton. I always seem to wear too much clothing when I leave the car to hike to my destination and my clothing becomes wet from sweat. Remember that when you get really warmed up from a strenuous hike in the snow, remove some of your layering. A GORE-TEX coat is great protection in a heavy wet snow storm. Most of the time I wear a regular winter coat on the outside with either a hoodie or a down vest and I always protect my head with a wool balaclava or a plain beanie. I wear wool pants for my bottom half, very warm and water resistant. A small backpack comes in handy for my gear and a place for my layered clothing.
Related video: Winter Weather Photography Gear and Clothing Tips
Tripod: I carry a tripod on most of my photo trips in the summer and the winter to get the sharpest exposures possible. If your tripod is made out of metal, it will quickly freeze your hands. You can buy tripod leg warmers from www.bhphoto.com for keeping your hands warm, or check out the DIY tip below. Graphite tripods weigh less than metal tripods making them easier to carry, and they will not freeze your hands. Make sure you have a quick release plate on your camera. This is so you do not have to fiddle with screwing the camera onto the tripod, which is even harder in the winter.
Tip: If a metal tripod is your only option for winter photography, make your own tripod leg warmers from foam pipe insulators found at any hardware store. Use electrical tape to secure the pipe insulators to the tripod.
Camera: Live view DSLRs eat batteries for breakfast. Always carry a spare battery or two and make sure they are both charged up and warm. If I am not too far away from the car, I take along a converter that plugs into the cigarette lighter to recharge my batteries.
It drives me nutty when my LCD fogs over in the winter. Be careful not to breathe on your camera viewfinder, lenses, filters, or LCD. If your viewfinder fogs over, carry a few Q-tips with you to wipe off the moisture. Wear a balaclava or handkerchief over your nose and mouth to prevent this from happening. Another suggestion is to wear a snorkel to keep your breath away from the camera. Might look kind of dorky but if it works it works right? Always carry a lens cloth and a towel to wipe moisture from the lens and other equipment.
Tip: Keep your camera cold – don’t put it under your coat. When you are done shooting in a cold environment always put your camera back in the camera bag to prevent water damage.
Collecting Information
Location: Everything takes longer in the winter and winter days are shorter in the Rockies where I live. Give yourself plenty of travel time to get to your photo location. If possible, have someone with you that can drop you off and pick you up during your photo stops.
Weather: The first thing I do when getting ready to take pictures in the winter is check the weather report. My preferred site for weather conditions is www.wunderground.com. On this site you can check the dew point, cloud cover percentage, sunrise and sunset times, winter storm warnings, and more. Look for atmospheric conditions such as fog that can add mood and drama to an image. You can predict fog by matching the temperature to the dew point and then look for higher humidity numbers.
Tip: Webcams can be a great resource to see what is happening with the weather near your planned location. Check online to see if one is available for your destination.
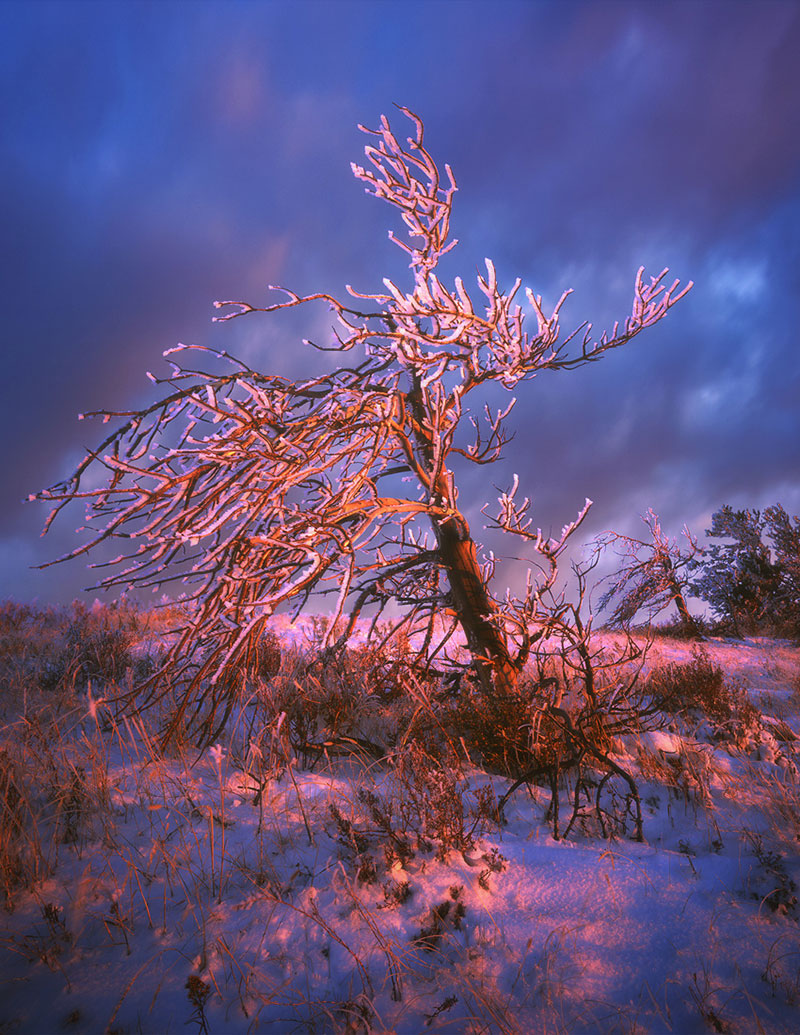
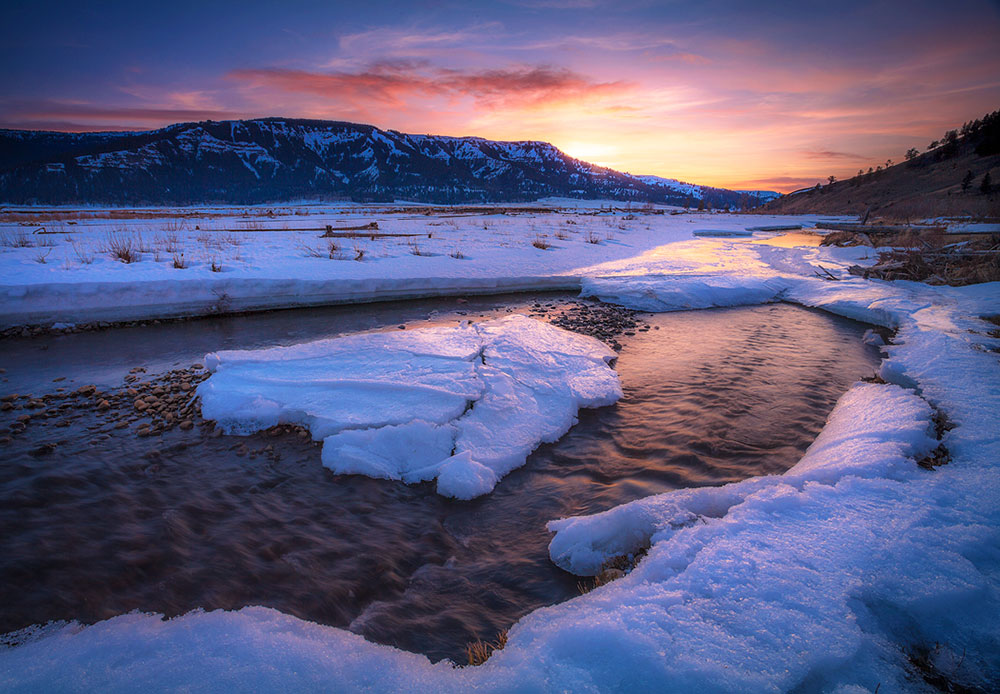
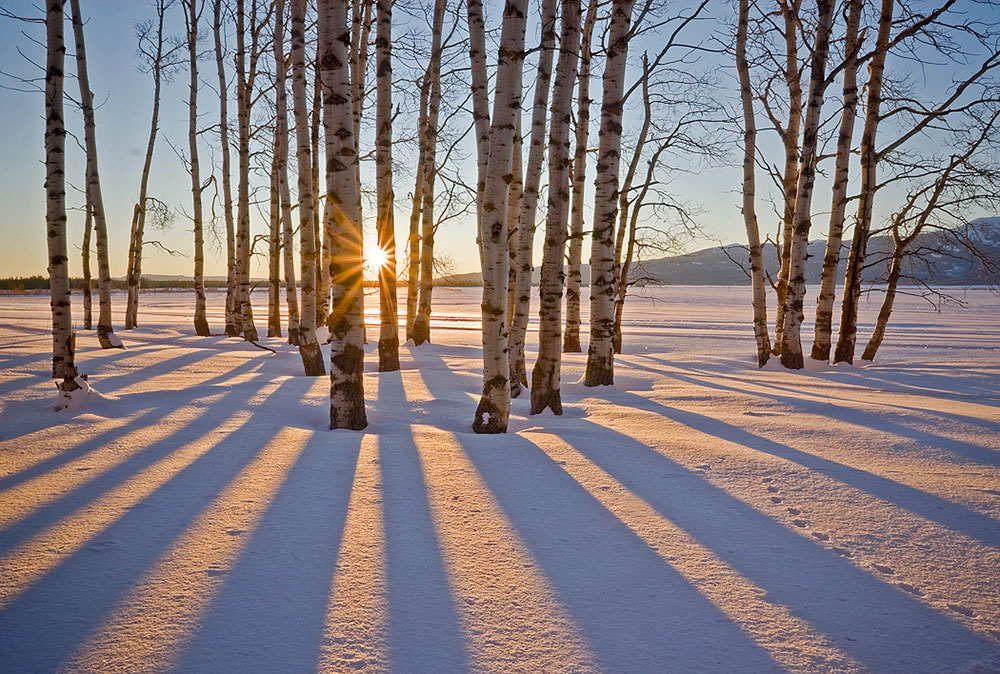
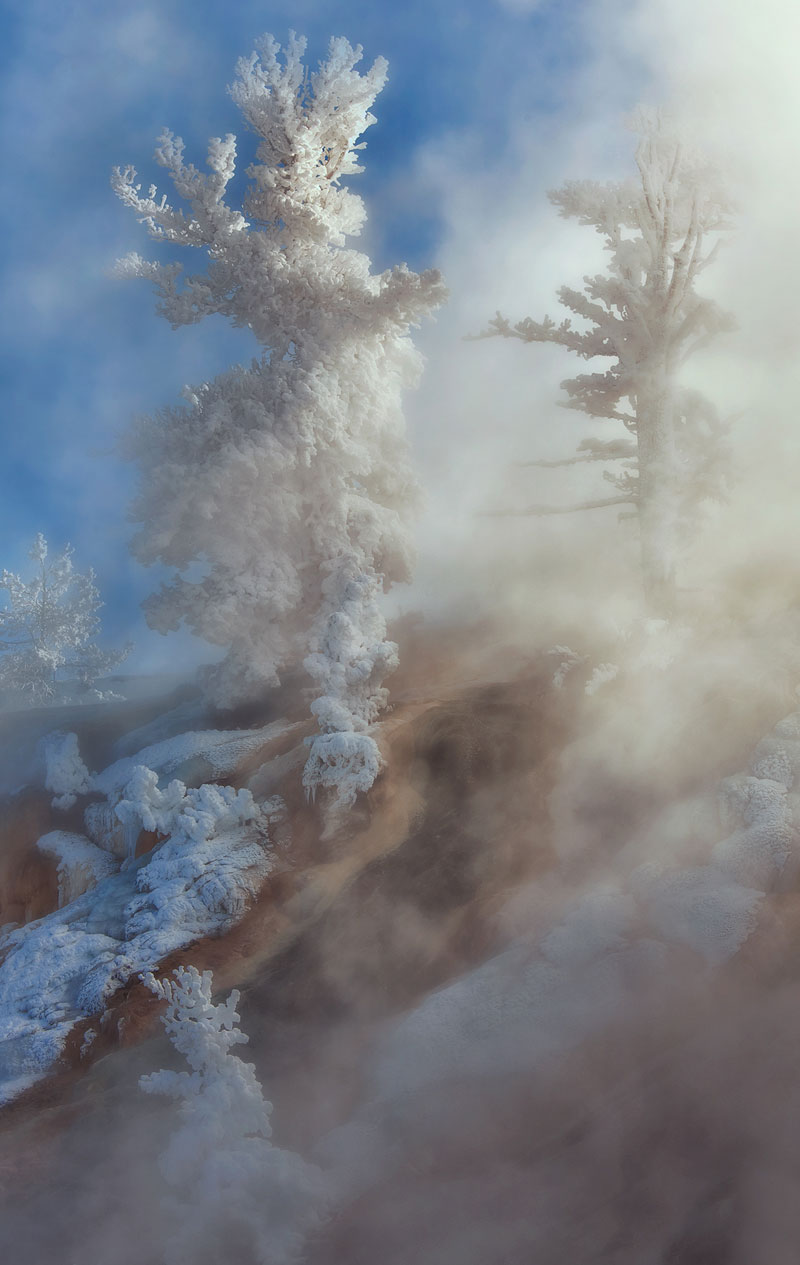
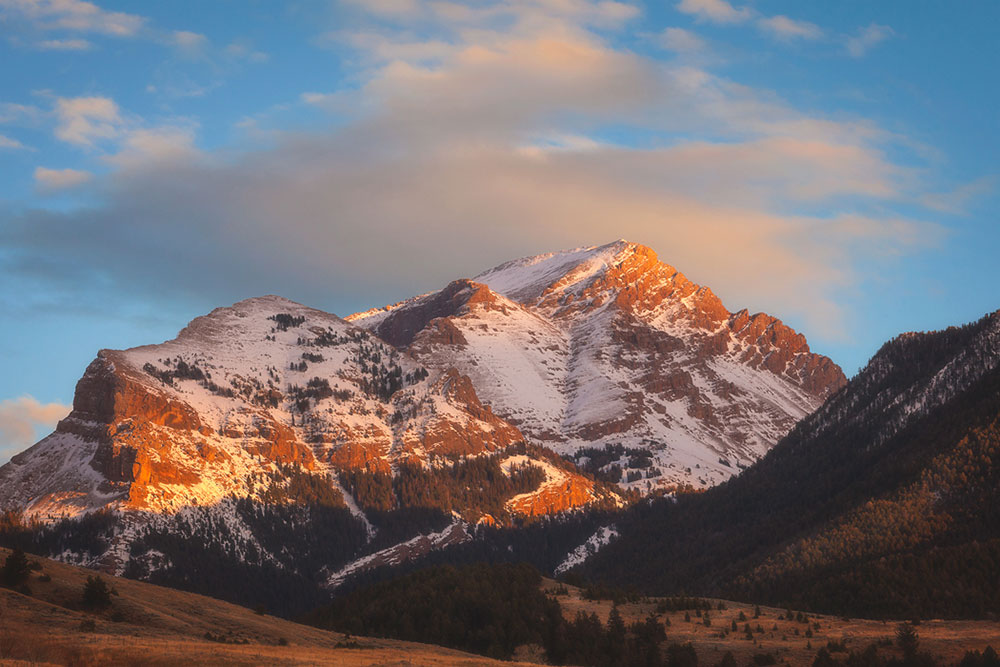
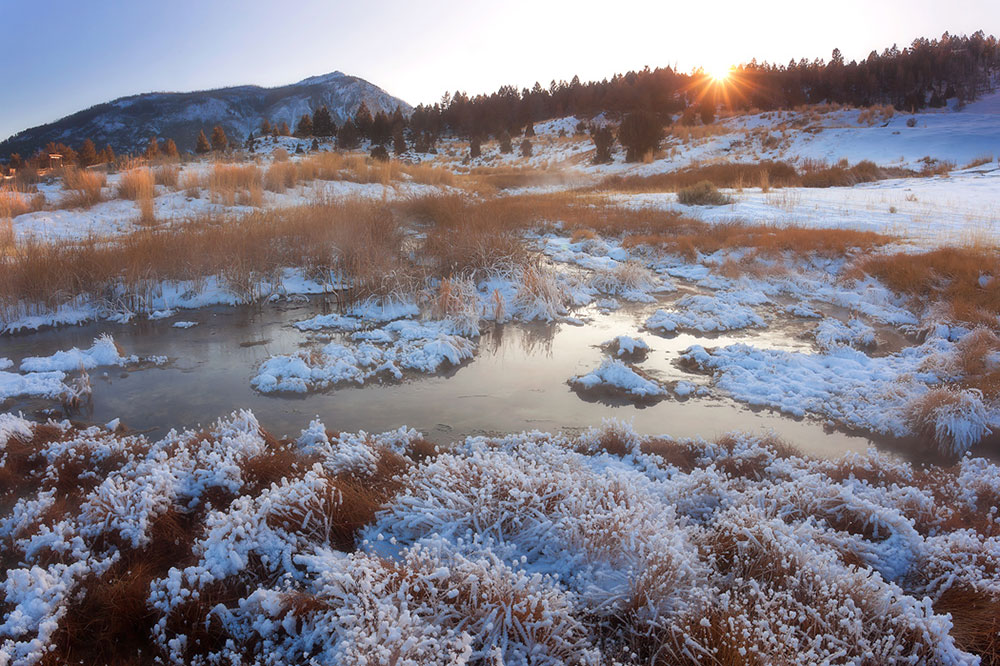
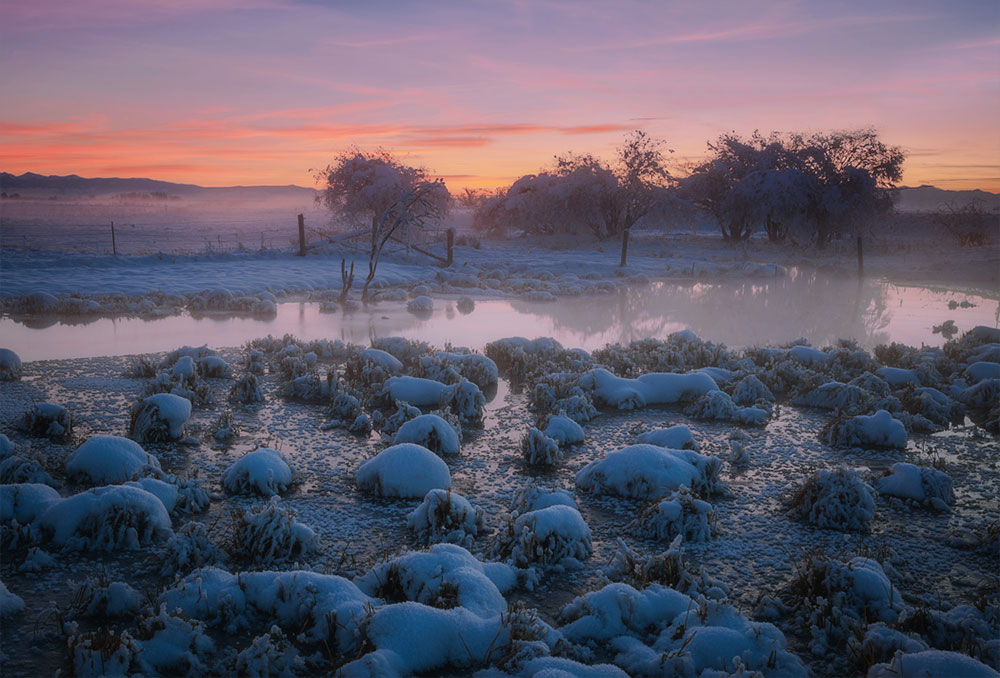
Best Conditions: Weather conditions can be as variable as the variety of photos you can take in them. In my opinion, stormy weather is the best time to be out taking photographs, but I love it when the sky opens up with sunlight and partially brightens a mountainside or landscape. In cold, foggy conditions, ice crystals build up on trees and bushes called hoarfrost. I usually like my precipitation numbers to be around thirty percent or higher which brings in a good match of clouds and sun. I rarely photograph during blue sky days unless I can find a good foreground to background combination to cut the sky out or fill the sky with objects like a forest of trees. In the winter you can take photos at all times of the day. As in other seasons, the best times are around sunrise and sunset but be aware that these are the coldest times of the day during the winter months.
Related article: 6 Tips for Bad Weather Photography

Keep Yourself Safe
Road Conditions: Call your state highway office to get a report on road conditions, install winter treads on your car, and make a list of your gear. County and state roads are plowed but many of the turnouts along these roads are not. If you spend hours in your car waiting for conditions to change, leave your car window open slightly in case of carbon monoxide entering your vehicle.
Back Country Snow Conditions: In the Northern Rockies we have an avalanche center with daily reports of avalanche conditions for back country winter activities. If you plan to hike or ski in mountain terrain, check for an avalanche report in your area.
Take a Partner: Every year in Montana someone goes alone into the mountains and does not come home. Sometimes they are never found. If you must go alone, always let someone know where you are going and what time you will return.
Tip: Use walkie talkies or GPS/satellite communication to communicate with your partner if cell service is not available in your area.
Stay Dry: Once your clothes get wet it can be potentially dangerous in cold conditions which can lead to hypothermia. The first symptom is shivering, then confusion and fatigue. A few years ago while backpacking in the Absaroka-Beartooth wilderness I experienced hypothermia. After a long, strenuous hike, my clothes were drenched with sweat and my boots were also wet. The temperature dropped and I knew I was in trouble. (Don’t tell my wife.) I immediately set up the tent, put my long johns on and crawled into my sleeping bag. It took a couple of hours for the shivering to stop and into the next day to feel fully recovered. And this was in the summer! It can happen anytime but especially in the winter. Always carry some type of fire starter and extra clothing; I also carry matches and paper in a plastic zip-lock bag everywhere I go. It could save your life.
Related course: Winter Photography Tips: Exposure, Composition, and Details
Conclusion
The better prepared you are for winter photography, the better experience you will have, which will lead to better images. If you have any other tips for winter photography to stay safe and comfortable when shooting in the cold, let us know in the comments.
Stay warm and be safe!
About the author: Dean Sauskojus is a professional nature and landscape photographer with a passion for capturing the beauty of the great outdoors, particularly Yellowstone National Park and surrounding areas. His photography has been published in Smithsonian Nature Guides, Browntrout Publishers Calendars, Outdoor Photographer, and many regional publications like Northwest Travel. Dean’s images have appeared in galleries and at art fairs, and have sold nationally and internationally. You can find his brand new portfolio at www.dsprophoto.com.
Have something to add to the story? Leave a comment or email editor@outdoorphotographyguide.com.

No offense, but my winter does not and has never looked like this. I live in the southeastern part of GA and your tips while helpful for many people, simple doesn't apply to me or a lot of other Southerners. We still have to contend with snakes, spiders, bugs, and warm weather. Appreciate your experience, effort, and talent. The photos are amazing!
What types of glove liners work with camera touchscreens? Any specific suggestions would be greatly appreciated!
Awesome
Good article, lot of good tips, and love the photographs. If I can add my two cents, always ALWAYS bring some kind of ice gripper for your shoes, even if you think you won't need it. Me and my dad made that very bad decision back in May out in the Rockies. Forgetting the yaktraks in the car, we got to the trailhead and the snow didn't seem all that slick, so we opted to not go back and get them. Going up wasn't bad, but apparently the snow re-froze during the time we were there, and almost as soon as we turned back, my dad slipped and fell and broke his arm. In hind sight feel pretty dumb about it. But that leads me to another tip. On the return hike, we were just slipping and sliding, but, the thought came to my head of something I saw on a survival show. Putting wool socks over your shoes gives you traction. So I had my dad do that and he had no more issues with traction and we got down safely. I thank God for getting us back. If we had brought those grippers it's likely we wouldn't of had that happen. Thanks again for the article. God bless.
... and don't forget the ten essentials: 1. Navigation - map/compass/GPS (map & compass in case GPS batteries die) 2. Sun protection (sunglasses and sunscreen) 3. Headlamp/flashlight (or in Europe, a "torch") 4. Extra clothing 5. First aid kit 6. Extra food 7. Firestarter 8. Matches + lighter (if matches or lighter fails, one backs up the other) 9. Water/Hydration 10. Protection from the elements (outerwear, emergency blanket) "Be Prepared" so says the Boy Scouts!
As I found out last March in Fairbanks at 10 below, don't breathe on the ball head either - they don't move when they are frozen.