Exporting Different Media in Lightroom
Matt BishopYou’ve researched and found an ideal outdoor location, you’ve traveled there, captured the image, and taken your time retouching to achieve the desired effect. But the next step may be the most important: exporting your final image. In this video lesson, Outdoor Photography Guide’s pro photographer Matt Bishop shows you three methods for exporting different media in Lightroom.
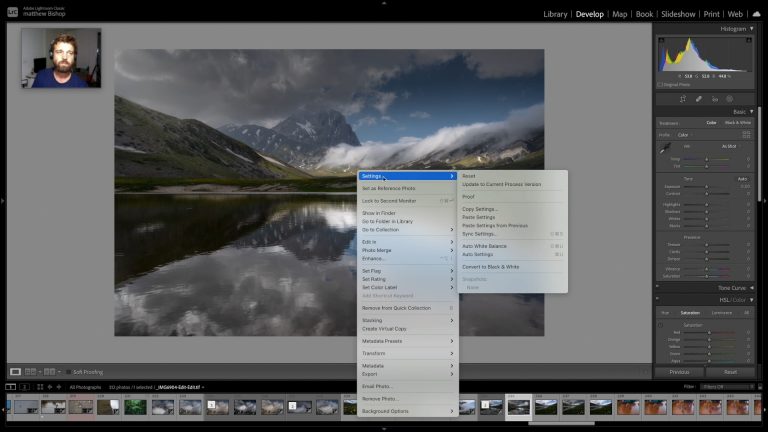
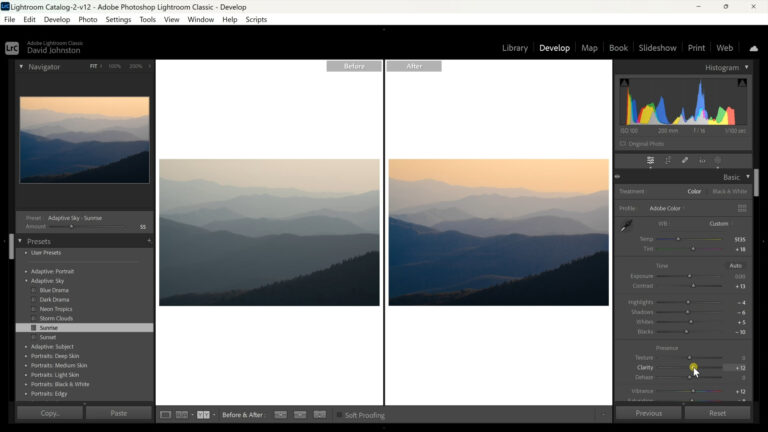
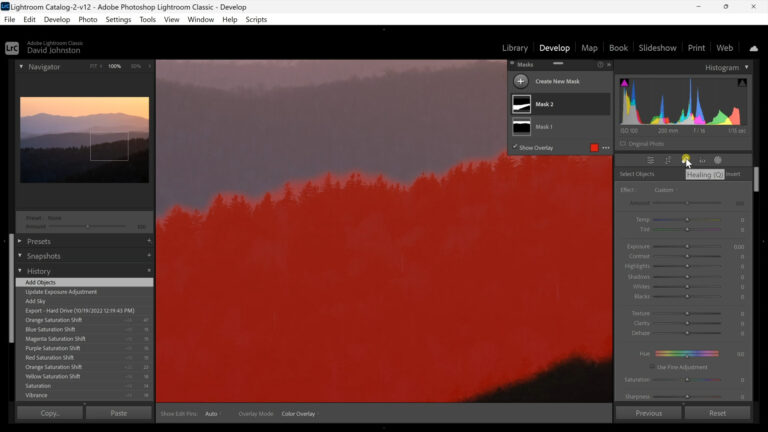
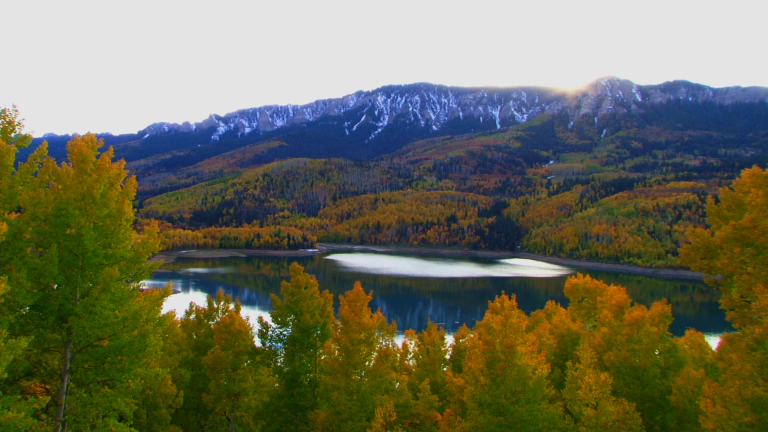
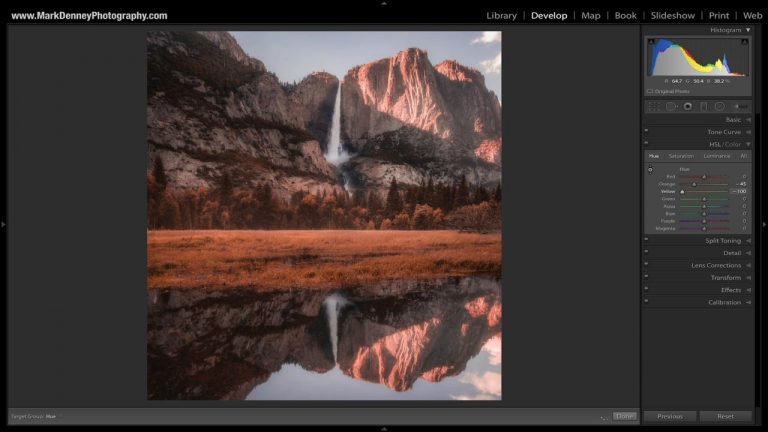
Matt starts with his retouched image of a mountain lake and transfers it into “Export The Image.” The destination for his file is a professional print lab. He indicates the file settings, ignores output sharpening, names the file, and exports it to his desired location. This completes the first method of exporting media in Lightroom.
The second method is preparing the image for the web. Begin by naming your file, then save the format as jpeg, the color space as srgb, set the Output Sharpening as Sharpening for Screen, and set the amount as Standard. Then, you are ready to export.
The third method is for social media sites such as Instagram, Facebook, and more. Under File Naming, you’ll want to save your image in Custom Text as “social media.” File settings should be set as jpeg and srgb, then resize the image as Long Edge, and set the pixels to Facebook’s preferences – 2048 pixels. Finally, Matt suggests creating a watermark to protect your photograph.
The key takeaway to remember is that when exporting your image files, it’s important to keep its ultimate destination in mind and export your photos accordingly.
Explore videos by Matt Bishop
You may be interested in


Premium Membership
Unlock exclusive member content from our industry experts.
- 24/7 Access to Premium Photography Videos, Tips, and Techniques
- Step-by-Step Instructional Demos and Guides
- 50% Off Video Downloads Purchased in the Outdoor Photography Guide Shop
- Access to Ask the Expert Program
Unlock exclusive member content from our industry experts.
- 24/7 Access to Premium Photography Videos, Tips, and Techniques
- Step-by-Step Instructional Demos and Guides
- 2 Full-Length Video Downloads to Watch Offline
- 50% Off Video Downloads Purchased in the Outdoor Photography Guide Shop
- Access to Ask the Expert Program
Gold Membership
$463 Value
Get everything included in Premium plus exclusive Gold Membership benefits.
- 24/7 Access to Premium Photography Videos, Tips, and Techniques
- Step-by-Step Instructional Demos and Guides
- 8 Full-Length Video Downloads to Watch Offline
- 2 Full-Length Photography Classes to Keep for Life
- "How to Shoot Creatively" Educational Track
- Discounts on Purchase-to-Own Content in the Outdoor Photography Guide Shop
- Access to Ask the Expert Program
- Exclusive GOLD LIVE Streaming Events