Night photography offers a virtual “blank canvas” and a chance to make unique images. During twilight, long exposures allow the photographer to “paint” across the image frame using moving elements such as clouds or waves. And when all is covered in darkness, the photographer can use flash and other artificial light sources to reveal only those elements of the scene that he or she chooses. Night photography is difficult work, requiring equal parts planning, patience, caffeine, and fortitude to brave the things that go bump in the night. But the reward is the chance to see the world as few ever do.
In this week's assignment for the Outdoor Photography Guide Photo Challenge, you’re going to supercharge your vision by exploring the wonders of night photography. Read through this post for specific tips and creative ideas for shooting at night, and make sure to check out the inspiration gallery below.
But first, watch this video for some words of advice on night photography from this week's guest expert, David Culp:
Remember to join the Photo Challenge Facebook Group to share your shots from this week’s assignment!
Tips for night photography
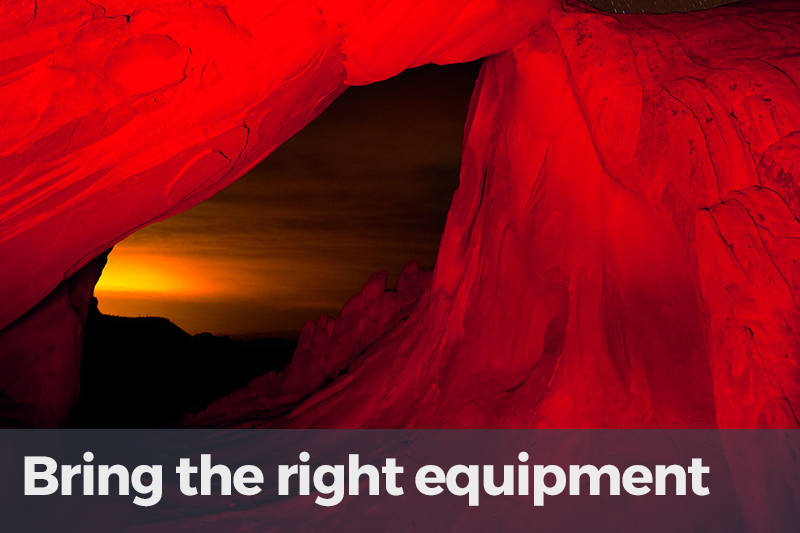
A powerful flashlight is a must for navigation, composing, focusing, and operating camera controls in low light. Other artificial light sources may be useful for “light painting,” such as a flashlight, lantern, tea candles, or spotlight. For long exposures, you need a remote electronic shutter cable with a locking mechanism; use your camera’s Bulb setting for exposures longer than 30 seconds, and turn on your camera’s long exposure noise reduction feature (although this will double your exposure time). In order to let as much light as possible into the camera, use the widest aperture you can without sacrificing depth of field. Make sure your camera battery is fully charged and that you have at least one spare on hand. Finally, you absolutely need a sturdy tripod! Photo by Ian Plant. Virgin Mountains, USA. Canon 5DII, 14mm, ISO 400, f/5.6, 30 seconds.
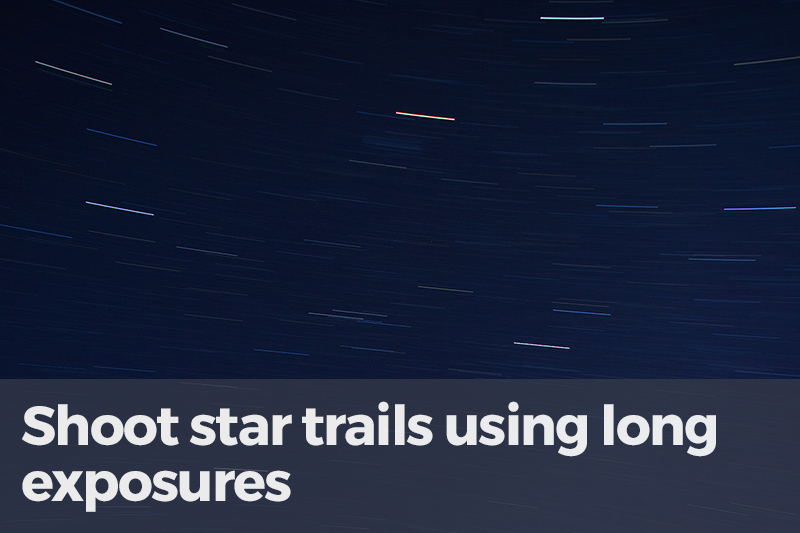
Stars are best visible on cloudless and moonless nights in areas where there isn’t a lot of light pollution from nearby human habitation. As the Earth rotates on its axis, stars appear to move across the sky. With your camera on a sturdy tripod, you can record moving stars as “star trails” with exposures ranging from ten minutes to two hours; the longer the exposure, the longer the star trails. Make sure you have a fully charged battery for longer exposures (especially if you are using your camera’s long exposure noise reduction feature). Photo by Ian Plant. Arches National Park, USA. Canon 5DII, 17mm, ISO 200, f/5.6, 20 minutes.

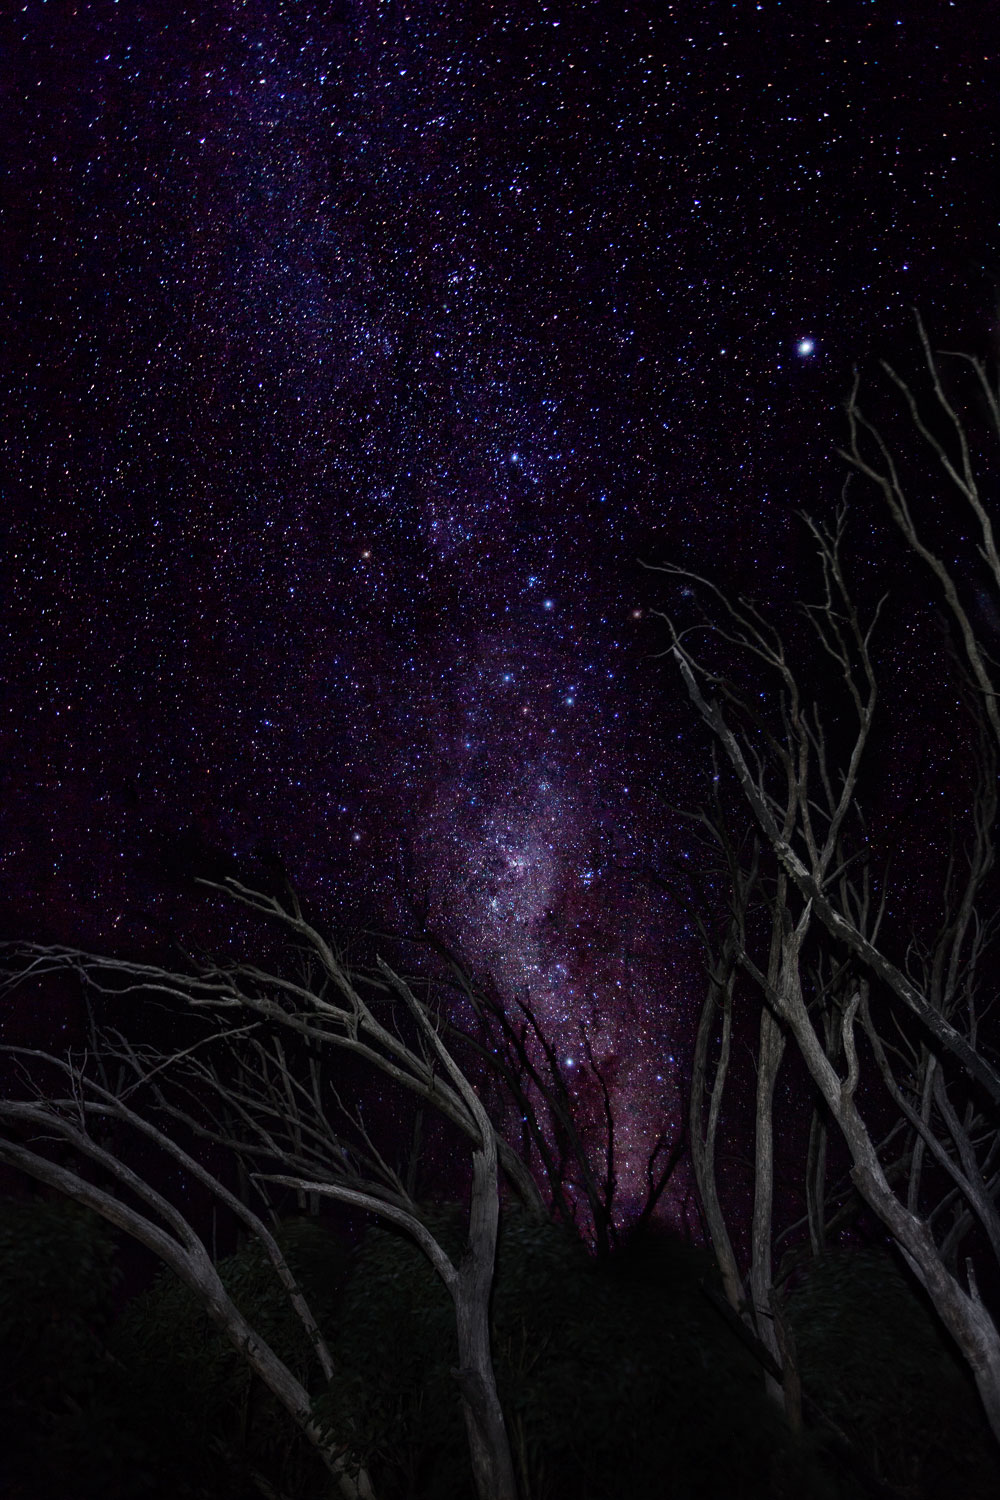
For a different look, try recording a static star field image, using a wide aperture, high ISO (1600 or higher), and a shutter speed of no greater than 15 or 30 seconds. For this image of a glacier-capped mountain lit by the moon, I did a 30-second exposure with a wide angle lens to capture the stars as pinpoints of light. Photo by Ian Plant. Cotopaxi National Park, Ecuador. Canon 5DIII, 15mm, ISO 400, f/2.8, 30 seconds.
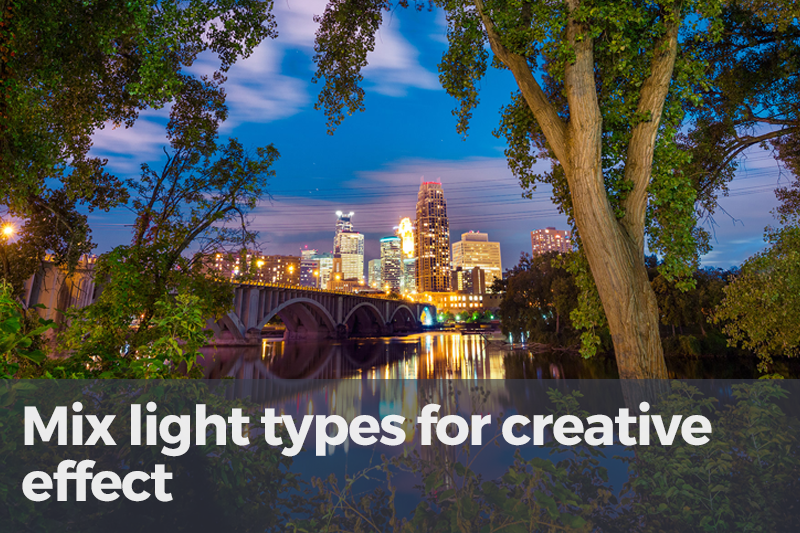
When shooting “cityscapes,” I especially love the mix of artificial and ambient light at night. Timing is often critical; this image required sufficient ambient light in the dusk sky, but I also needed the city lights and the street lights behind me (which illuminated the foreground frame of trees) to be on—and, more than that, I needed a relatively equal mix of all three. Photo by Ian Plant. Minneapolis, USA. Canon 5DIII, 15mm, ISO 400, f/8, 30 seconds.
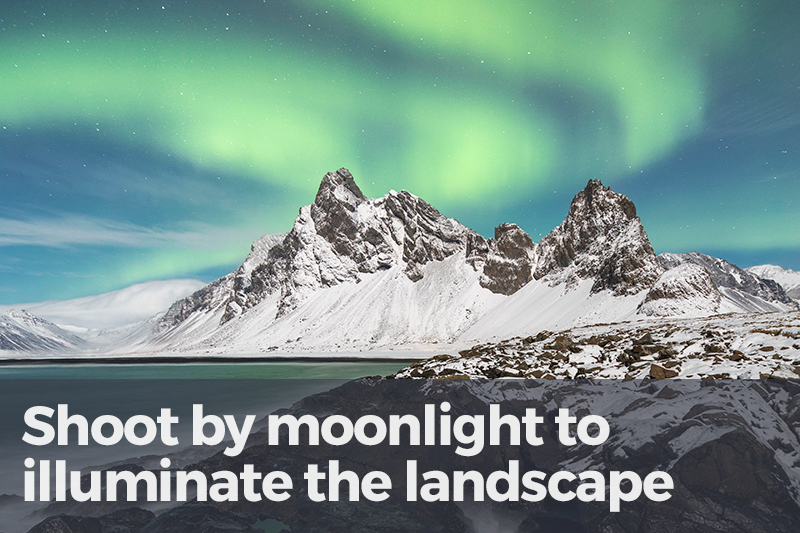
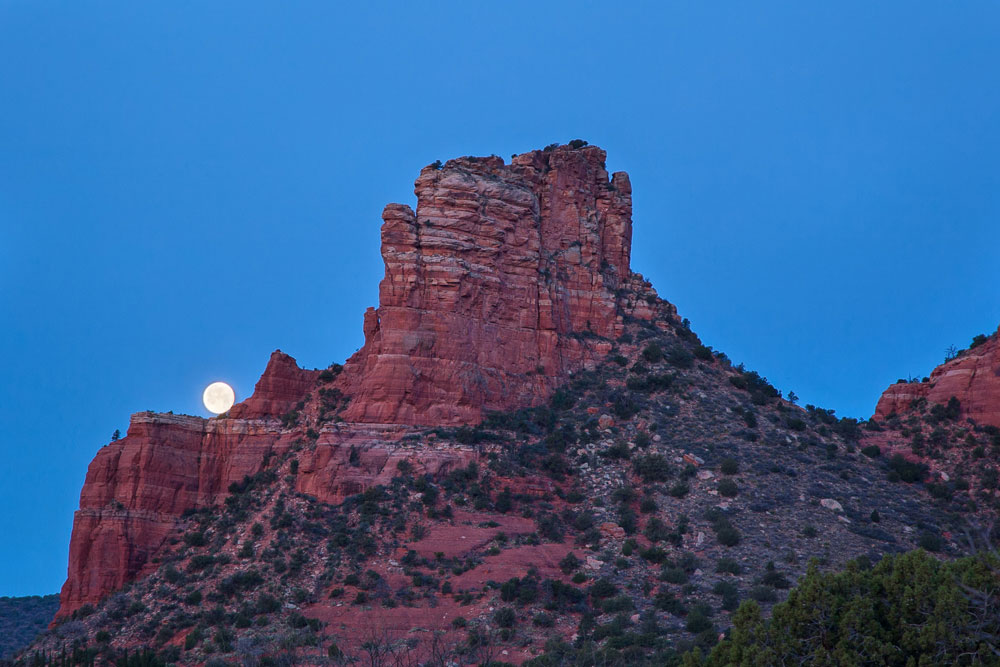
Because the moon is reflecting sunlight back to Earth, scenes lit by moonlight will look vaguely similar to scenes lit by daylight. Because the moon isn’t nearly as bright as the sun, the light will appear softer than daylight. Also, the sky will look different during the day, and if clear you will see stars. Exposure times will vary greatly depending on your chosen aperture, ISO, and the phase of the moon; a scene lit by full moon will require less exposure than one lit by a crescent moon. For this image of the aurora borealis, a nearly full moon lit the overall scene, allowing me to use a relatively short 30-second exposure (short for a night exposure, that is). Photo by Ian Plant. Lonsfjordur, Iceland. Canon 5DIII, 15mm, ISO 800, f/4, 30 seconds.
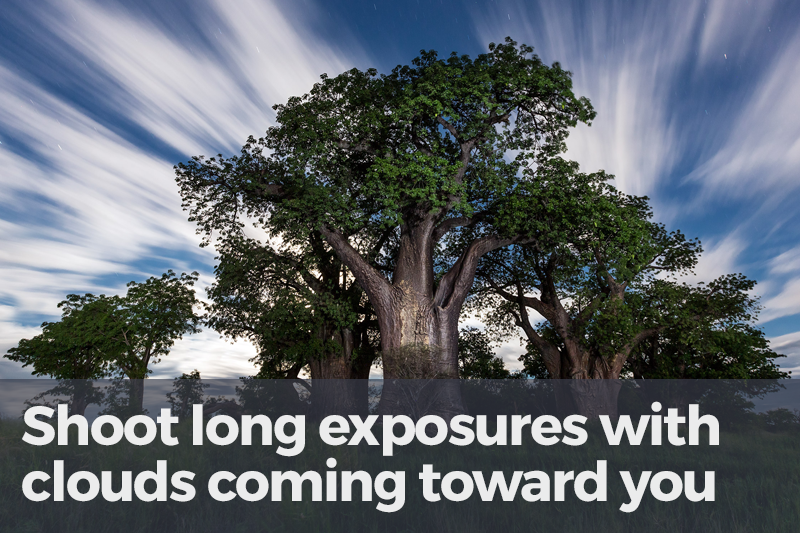
Streaking clouds on a moonlit night can be a lot of fun. Just make sure to choose a camera position so that the clouds are heading directly towards you. A wide angle lens ensures that the streaking clouds radiate diagonally. I always take plenty of test shots to determine optimum exposure and shutter speed, and to figure out the direction of motion of moving elements. Photo by Ian Plant. Nxai Pan National Park, Botswana. Canon 5DIII, 16mm, ISO 400, f/8, 2 minutes.

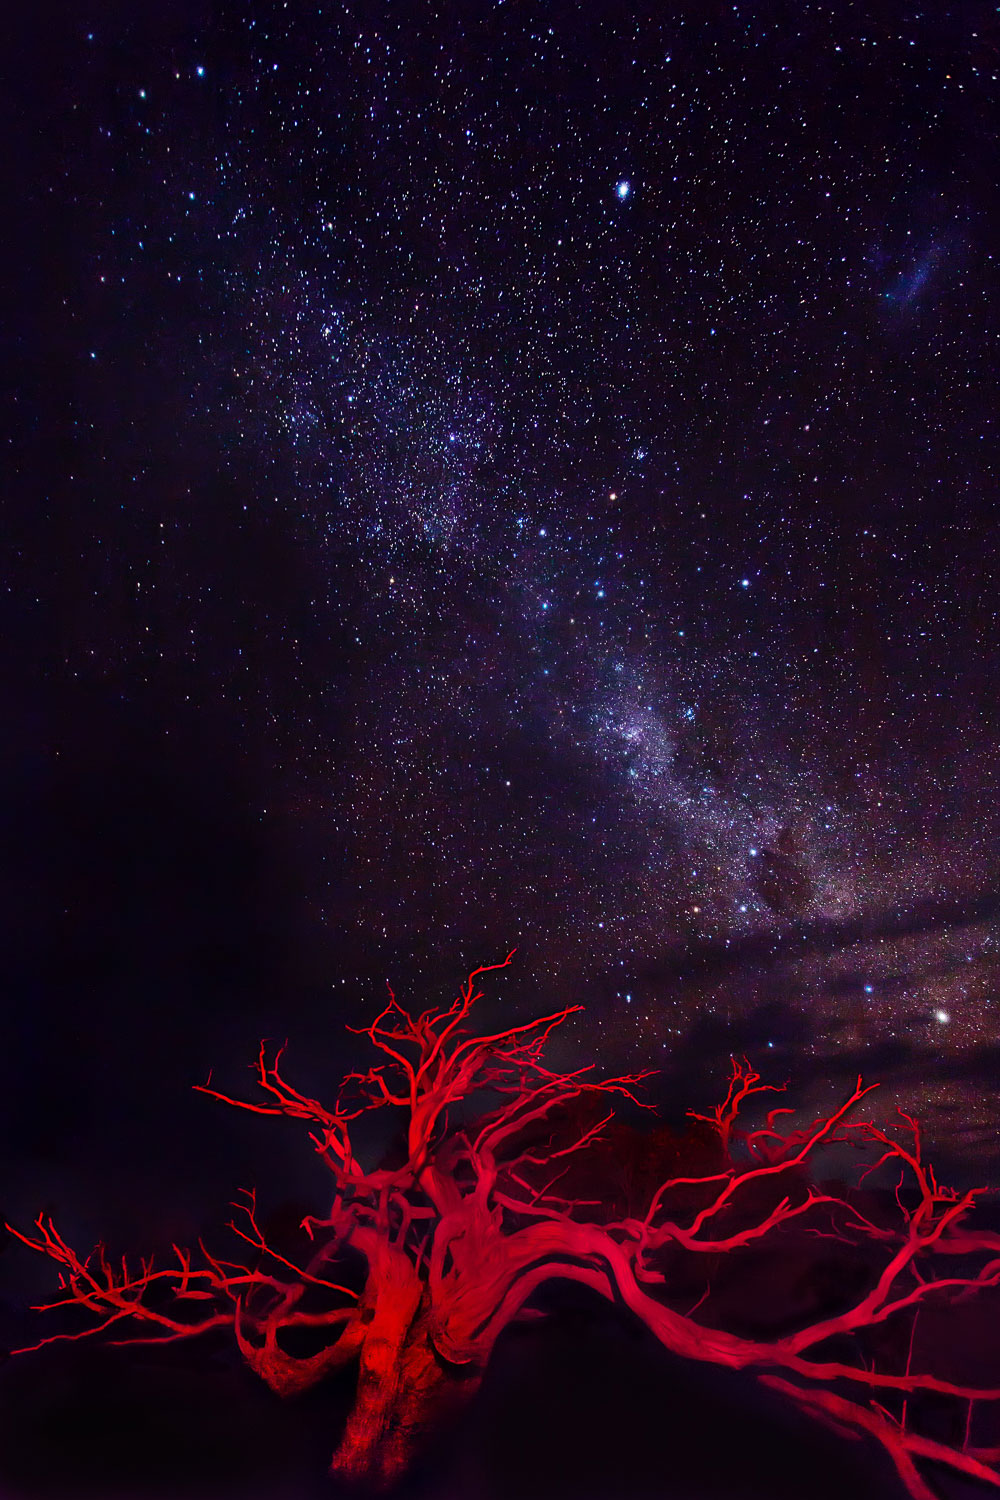
You can use flash or other artificial light sources to illuminate selective parts of the landscape. Direct light on a subject can sometimes be harsh; I often move the light source as far away as possible from the subject, or bounce light off a nearby rock, to ensure a soft, even glow. For a more surreal look or to get creative with color contrasts, cover your light sources with a colored filter. For this image of the rocky summit of Humpback Rocks in Virginia’s Blue Ridge Mountains, I used a red filter over my flash to illuminate the foreground rocks. I stood far back in order to softly illuminate the rocks. Photo by Ian Plant. Blue Ridge Parkway, USA. Canon 1DsII, 15mm fisheye, ISO 100, f/11, 2 minutes.
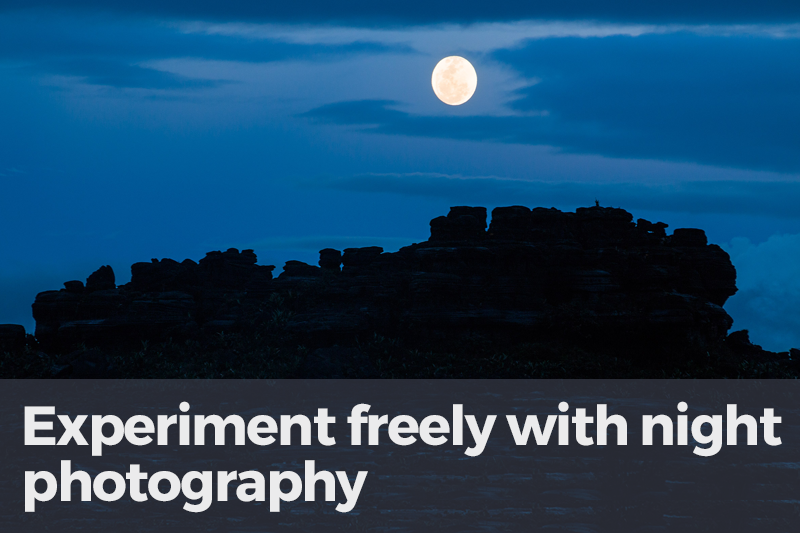
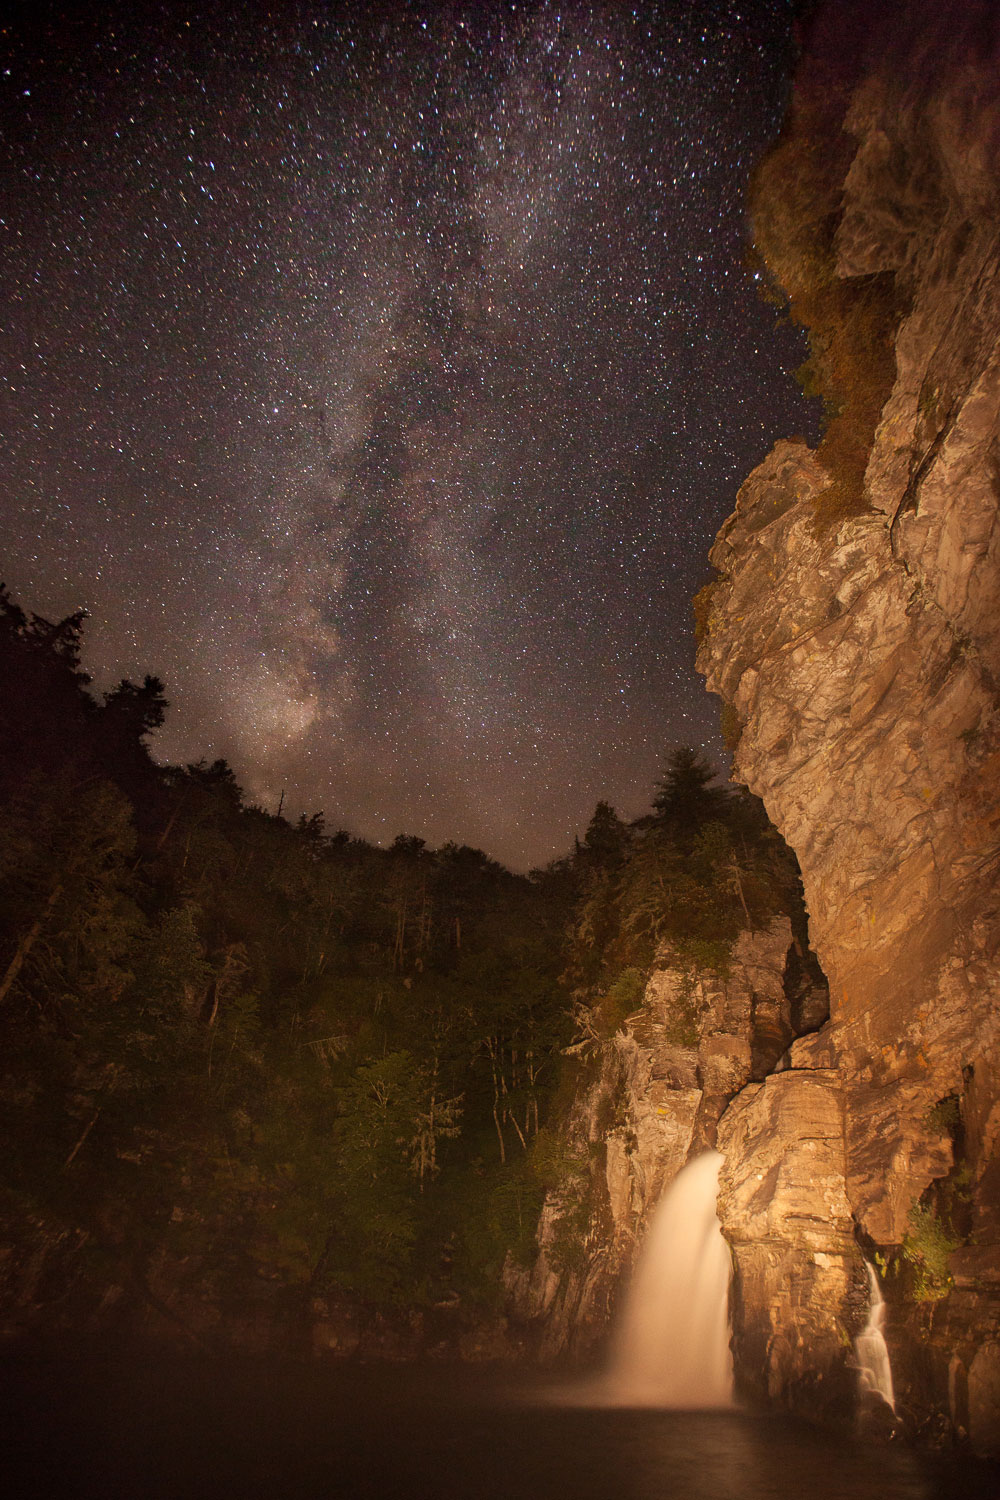
Working in near to total darkness can be challenging, and great results won’t just happen overnight (pardon the pun). Plan to practice often in order to get the hang of low-light photography, and remember to bring lots of coffee! Photo by Ian Plant. Canaima National Park, Venezuela. Canon 70D, 151mm, ISO 100, f/8, 1/25 second.
Inspiration gallery by David Culp


Share tips, start a discussion or ask other students a question. If you have a question for an expert, please click here.
Already a member?
No Responses to “Photo Challenge Assignment: Night”