
How to Unleash the Power of Split Toning
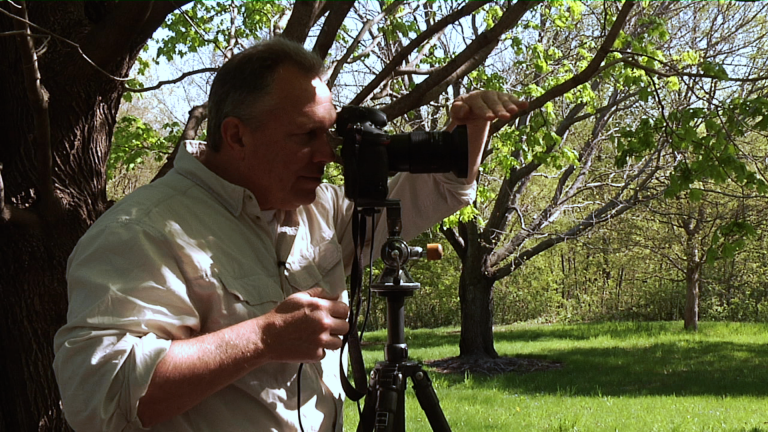
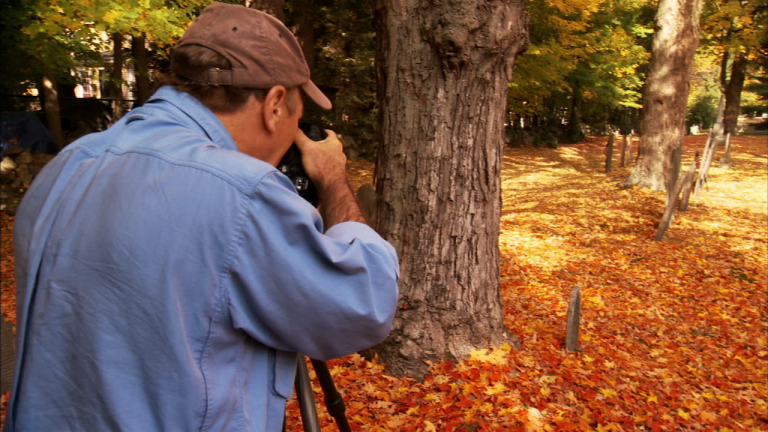
Mark DenneyYou are always eager to improve the quality of your images. An effective and powerful technique is Lightroom’s split toning. In this premium video, Outdoor Photography Guide’s professional photographer Mark Denney takes you into his studio for a tutorial on adding drama to your outdoor and landscape photographs.
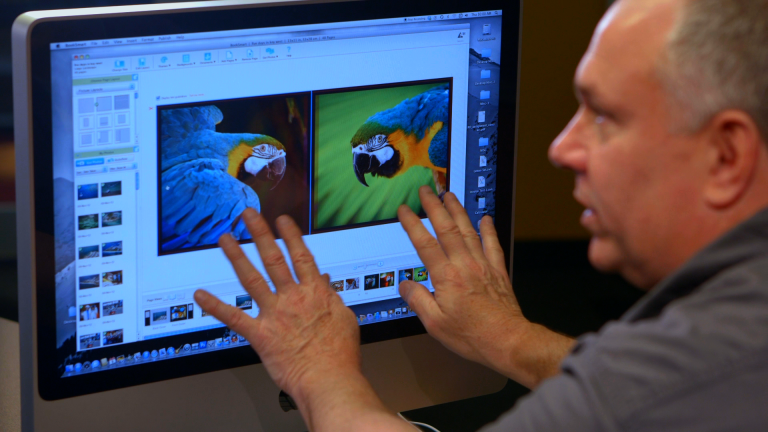
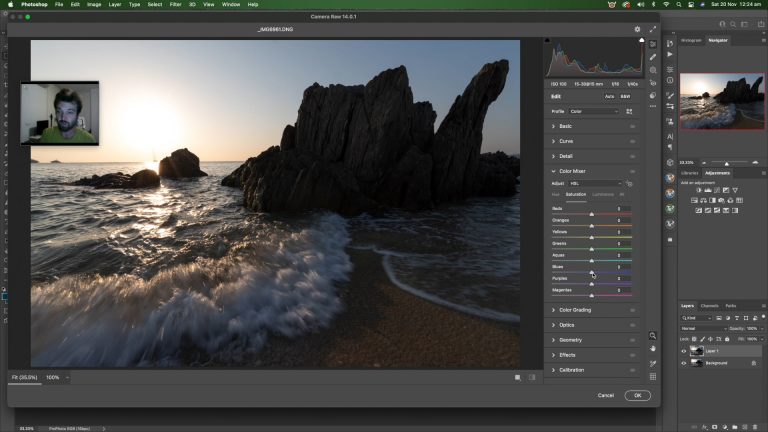
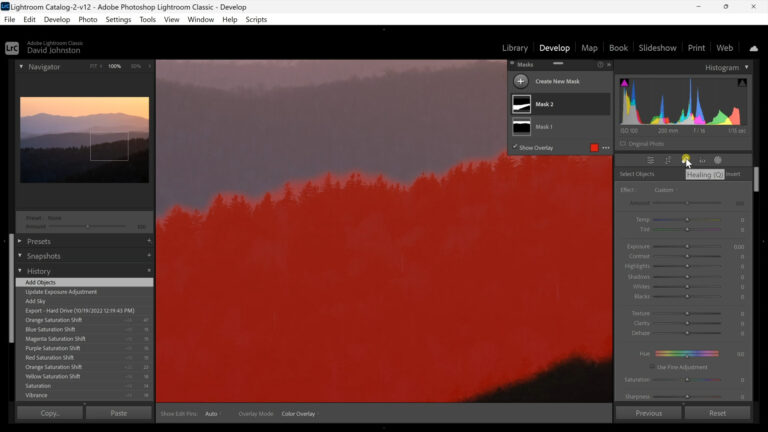
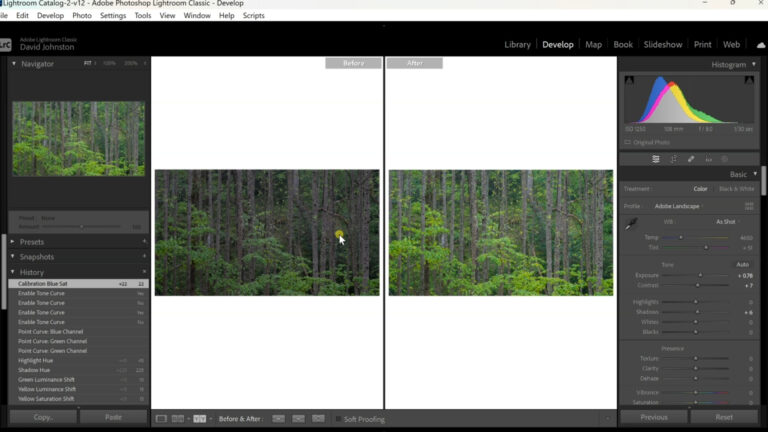
What is split toning? Put simply, it’s toning the highlights and shadows in specific colors. This process allows you to get more creative with your images. To show you this amazing technique, Mark uses his sunrise image of a North Carolina lighthouse. To add fiery colors to the sky, he uses the split toning dropdown menu, selects highlights, then maneuvers the eyedropper around to pop out the sky and highlight color tones. Adding saturation creates an even better image.
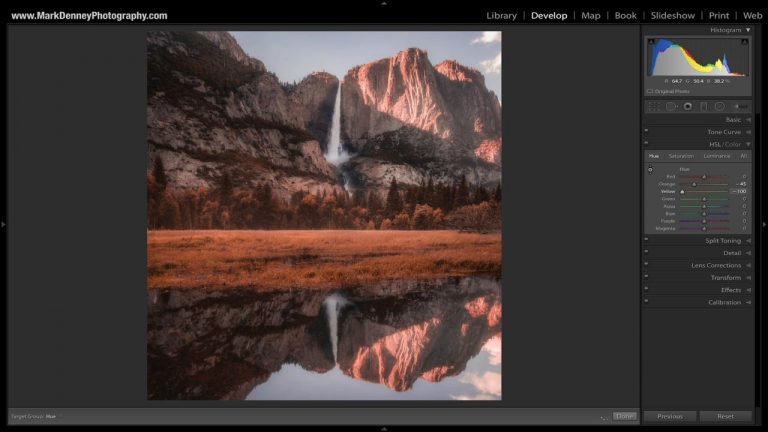
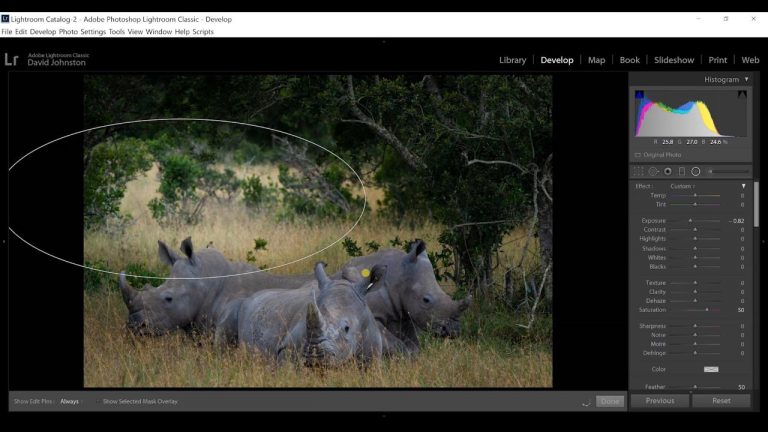
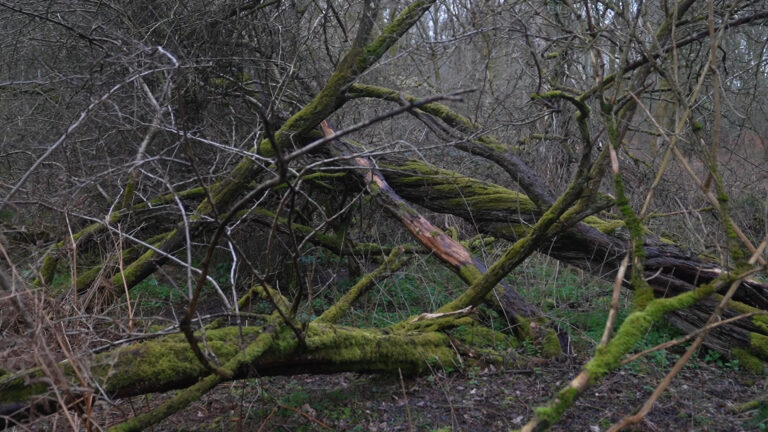
But what about the shadows? In many sunrise or sunset photos, shadows often show as cool blues. Mark works on his image of Yosemite’s Bridal Veil Falls that has too much contrast. Split toning to the rescue. Under the dropdown menu, he uses the shadows window and plays with the eyedropper tool to change those blues to warm golds. For more effect, he increases the saturation.
Split toning also allows you to be creative. For example, choose one of your ordinary landscape photographs and experiment with the eyedropper tool to severely alter the color mix. But in order to limit the saturation of color tints, try to stay on the lower part of the window. If you find a split toning combination of colors you like, you can save it as pre-set. Through this powerful post-processing technique, you will see significant improvement in the quality of your images.
Explore videos by Mark Denney

You may be interested in


Premium Membership
Unlock exclusive member content from our industry experts.
- 24/7 Access to Premium Photography Videos, Tips, and Techniques
- Step-by-Step Instructional Demos and Guides
- 50% Off Video Downloads Purchased in the Outdoor Photography Guide Shop
- Access to Ask the Expert Program
Unlock exclusive member content from our industry experts.
- 24/7 Access to Premium Photography Videos, Tips, and Techniques
- Step-by-Step Instructional Demos and Guides
- 2 Full-Length Video Downloads to Watch Offline
- 50% Off Video Downloads Purchased in the Outdoor Photography Guide Shop
- Access to Ask the Expert Program
Gold Membership
$463 Value
Get everything included in Premium plus exclusive Gold Membership benefits.
- 24/7 Access to Premium Photography Videos, Tips, and Techniques
- Step-by-Step Instructional Demos and Guides
- 8 Full-Length Video Downloads to Watch Offline
- 2 Full-Length Photography Classes to Keep for Life
- "How to Shoot Creatively" Educational Track
- Discounts on Purchase-to-Own Content in the Outdoor Photography Guide Shop
- Access to Ask the Expert Program
- Exclusive GOLD LIVE Streaming Events