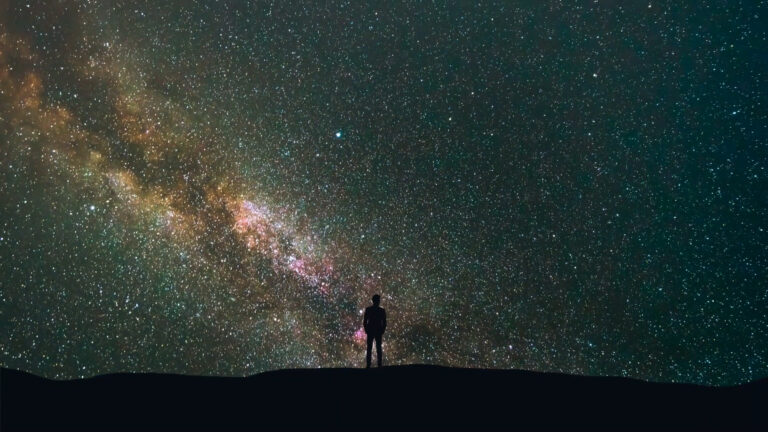
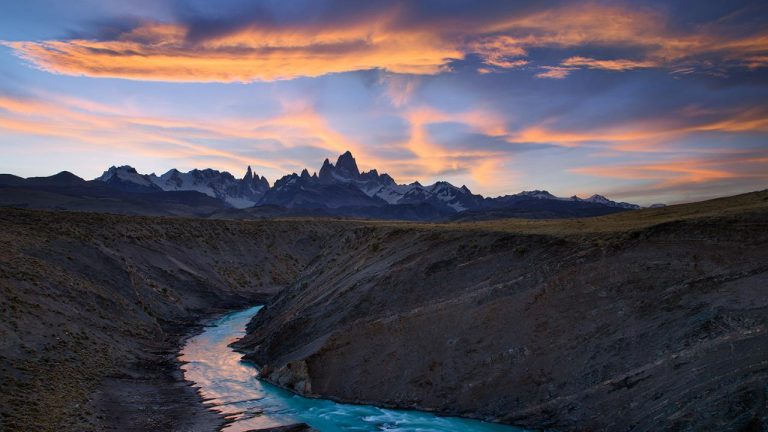
Adding the Right Atmosphere to Foggy Photos
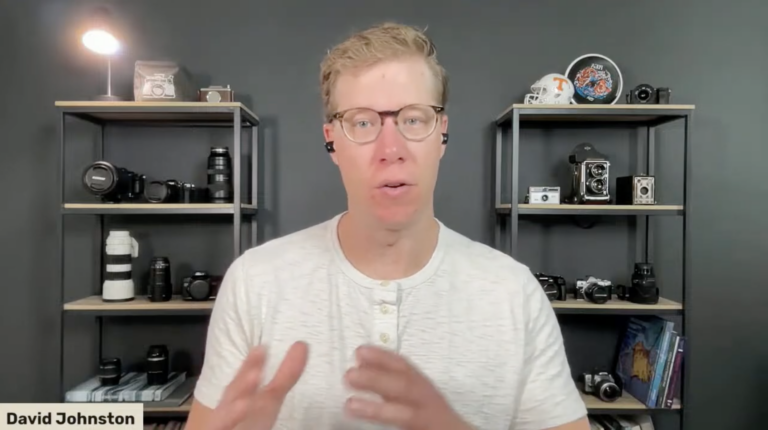
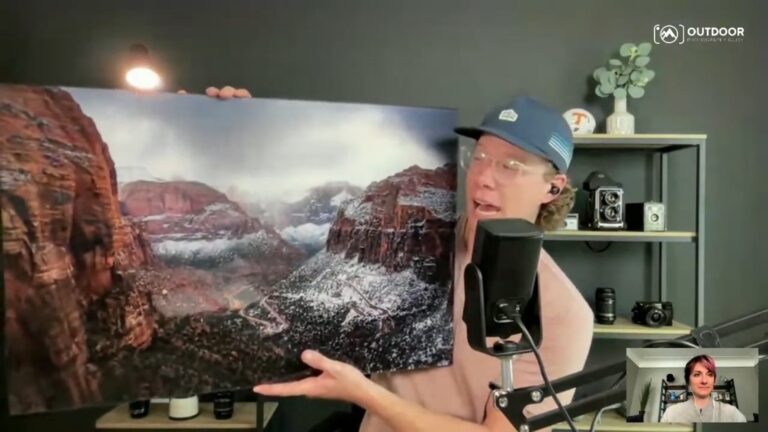
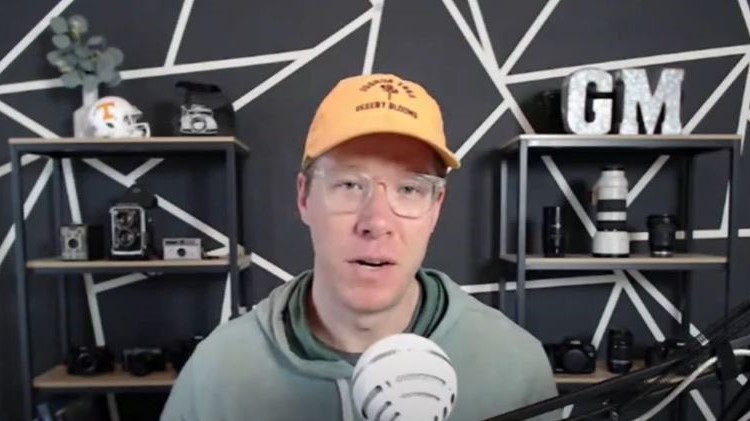
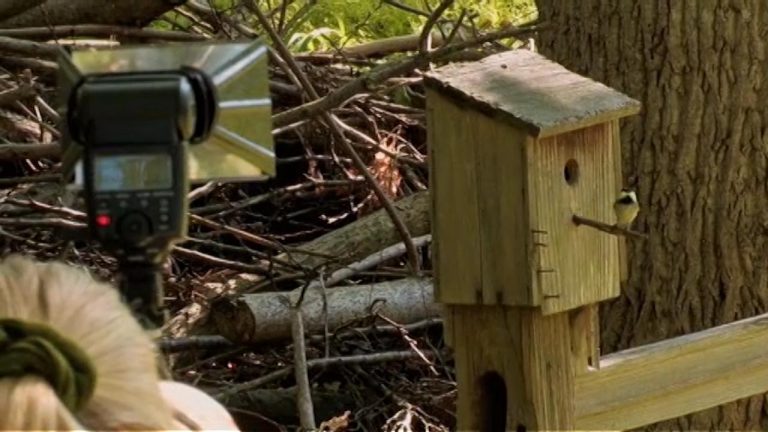
David JohnstonThere are advantages to post-production editing, and one is to create foggy photos out of a natural outdoor landscape. Foggy photos do not always start with a picture of a landscape dripping with fog and mist. In this premium video, Photography Guide’s David Johnston takes you into his editing suite and creates foggy photos through the magic of Photoshop Lightroom.
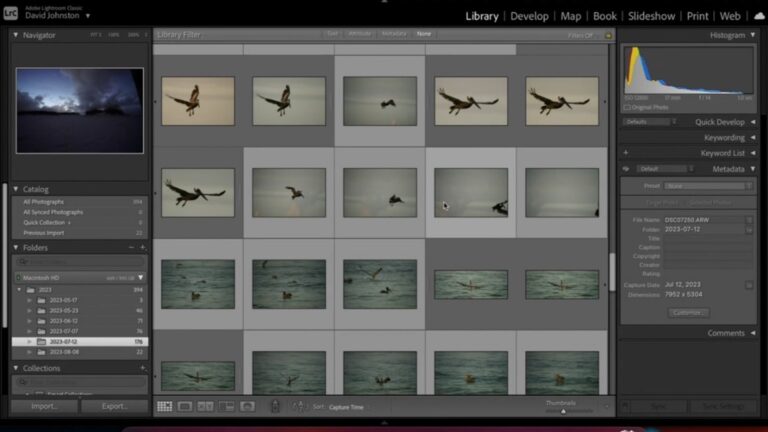
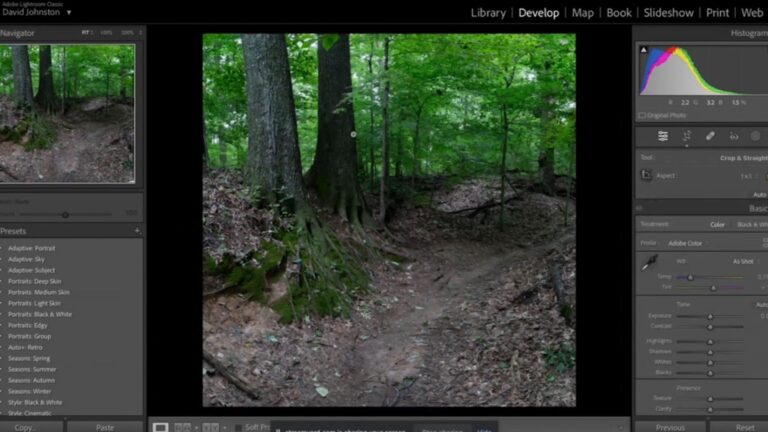
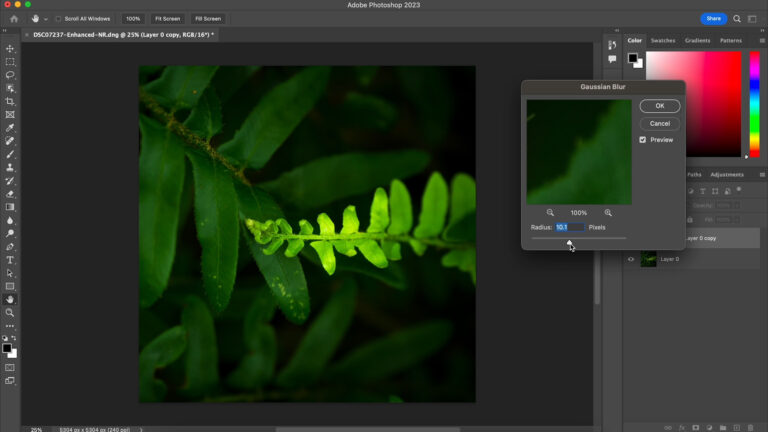
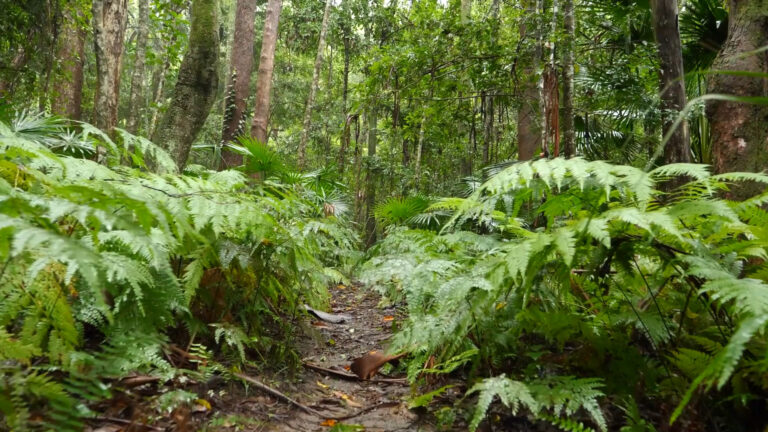
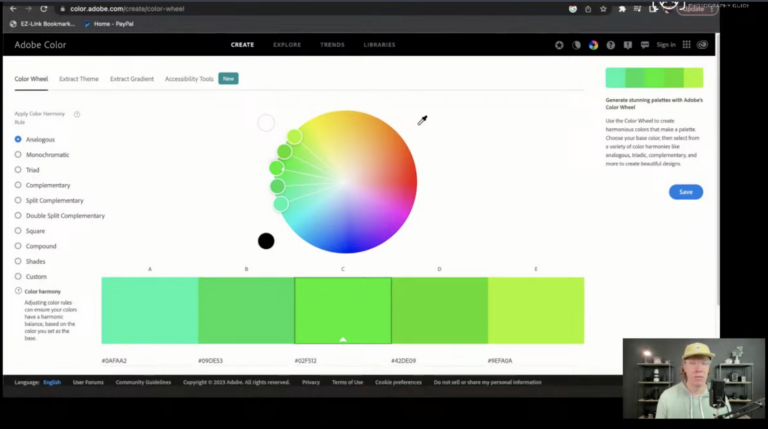
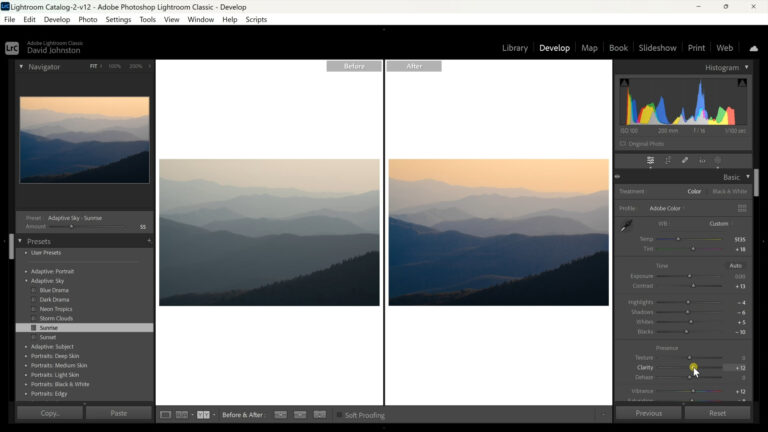
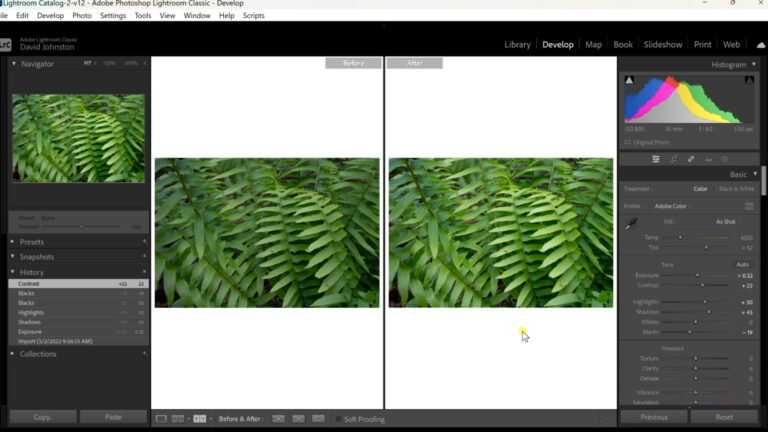
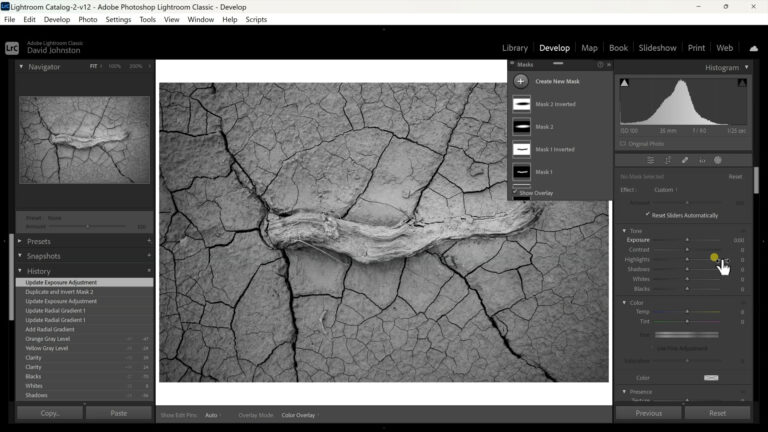
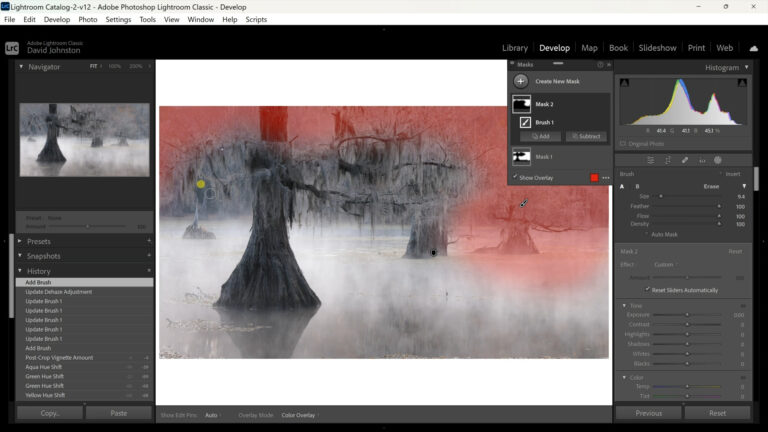
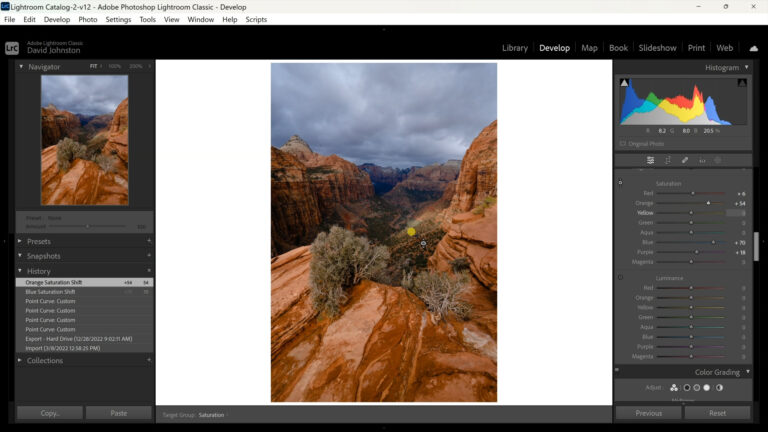
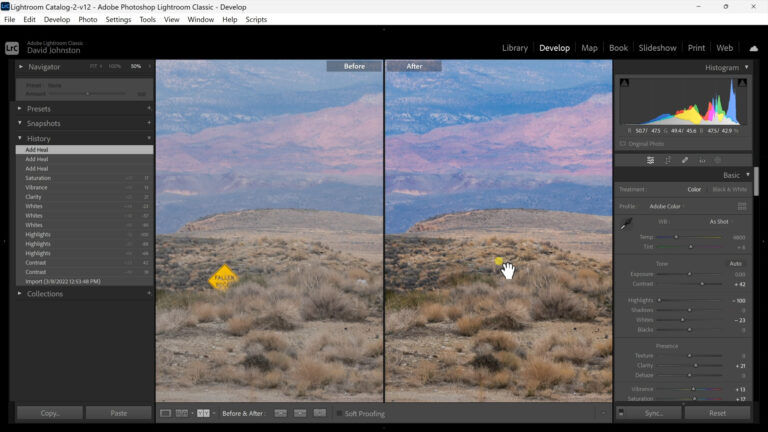
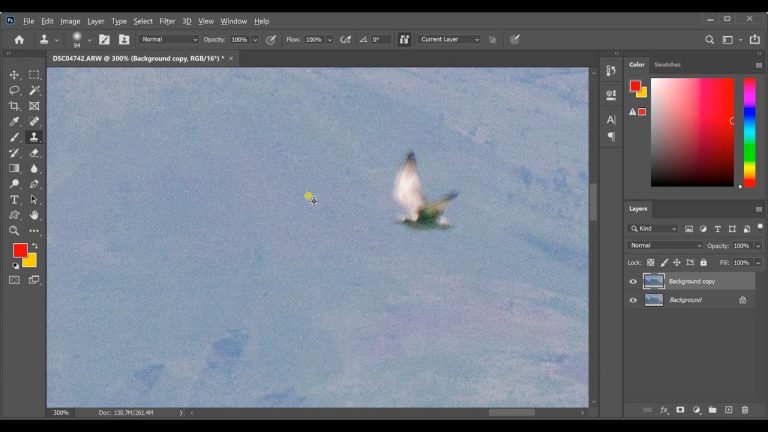
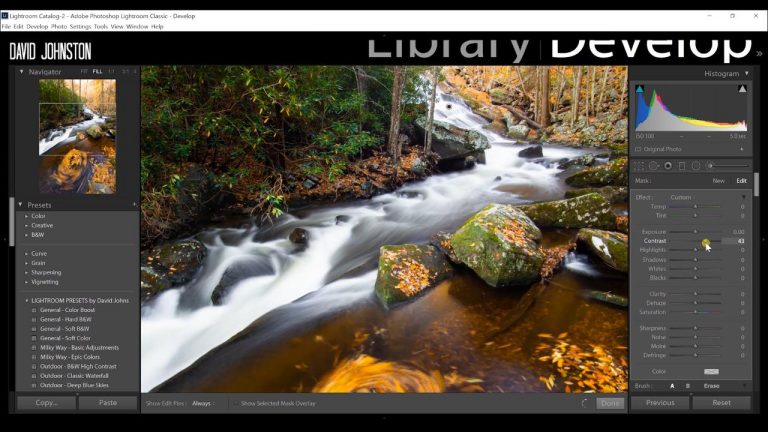
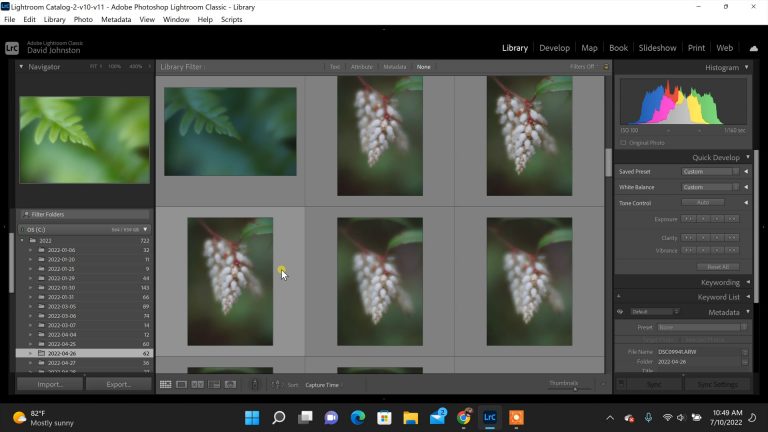
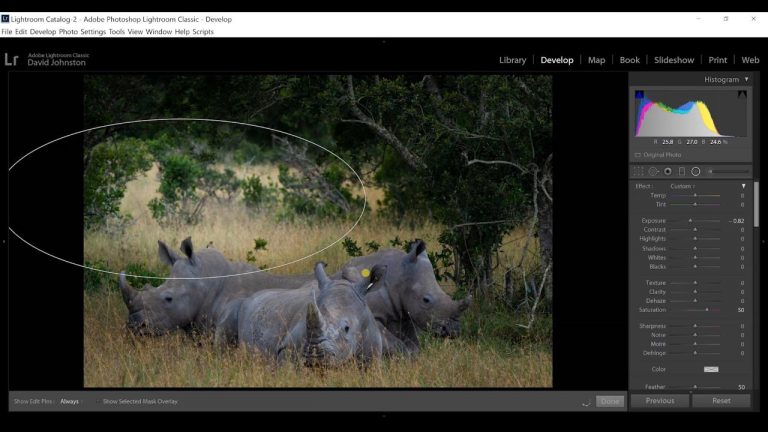
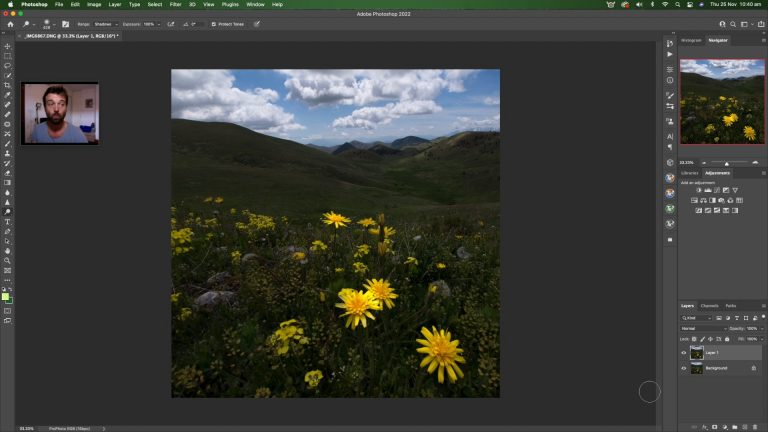
In Lightroom, David starts the editing process with his image of decaying trees in swamp water, a brown and black scene. Since the eye is normally drawn to the brightest section of a photo, he crops out the sky to lay emphasis on the Spanish moss on the cypress trees. To create foggy photos, it is usually best to decrease clarity and contrast. In foggy photos, the separation happens between foreground and background objects. He slightly lowers the Dehaze slider, then pumps up selected colors. He selects a masking brush tool and paints in fog around the main subject, the cypress tree, and the foreground of water.
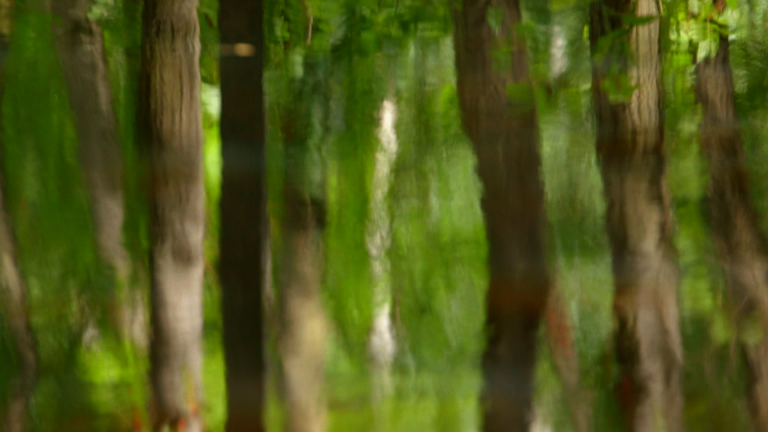
Next, he goes back to his Dehaze slider and decreases it, creating fog in the background. Finally, he selects a new mask and paints the far-off background. To add more exact edits, he reduces the size of his brush and paints over small areas. Finally, he dials back the Dehaze slider again. This whole sequence is designed to create a soft, blended effect. To create foggy photos. you can follow David’s editing process in his swamp image as a good template.
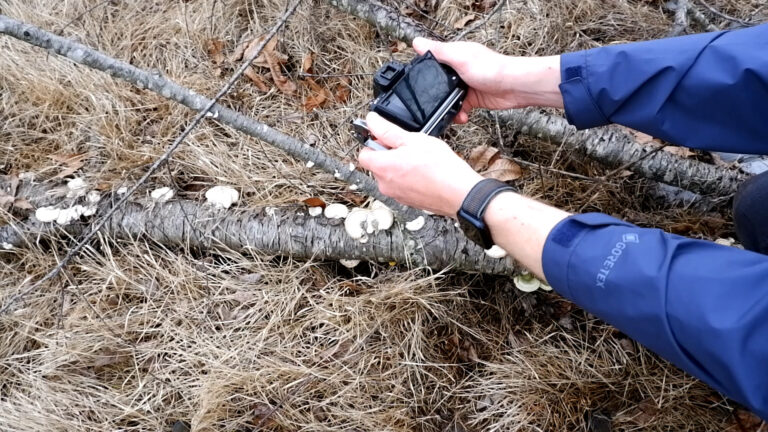
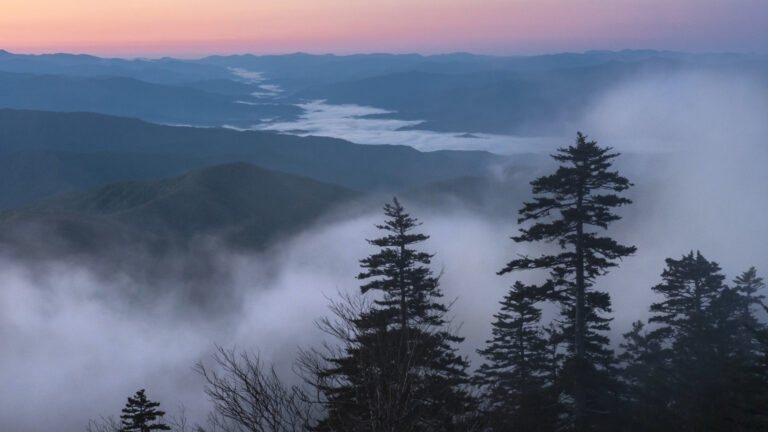
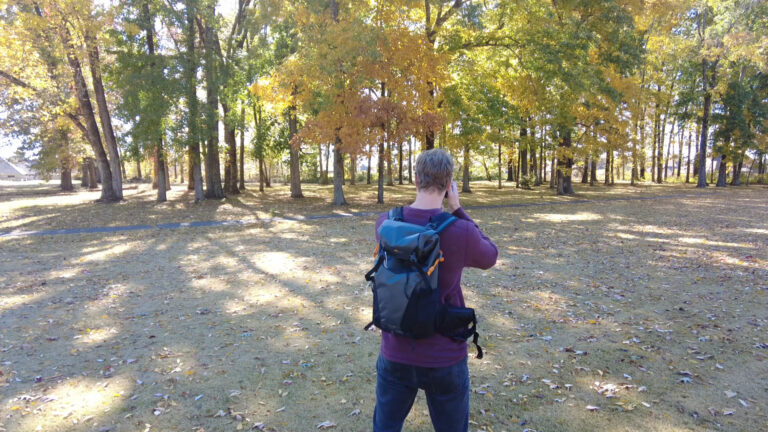
Even if you are capturing natural foggy photos, it pays to make adjustments in post-processing. You will be pleased with the results. In this premium video, Outdoor Photography Guide’s pro David Johnston creates an editing template to improve your foggy photos.
Explore videos by David Johnston


You may be interested in

Premium Membership
Unlock exclusive member content from our industry experts.
- 24/7 Access to Premium Photography Videos, Tips, and Techniques
- Step-by-Step Instructional Demos and Guides
- 50% Off Video Downloads Purchased in the Outdoor Photography Guide Shop
- Access to Ask the Expert Program
Unlock exclusive member content from our industry experts.
- 24/7 Access to Premium Photography Videos, Tips, and Techniques
- Step-by-Step Instructional Demos and Guides
- 2 Full-Length Video Downloads to Watch Offline
- 50% Off Video Downloads Purchased in the Outdoor Photography Guide Shop
- Access to Ask the Expert Program
Gold Membership
$463 Value
Get everything included in Premium plus exclusive Gold Membership benefits.
- 24/7 Access to Premium Photography Videos, Tips, and Techniques
- Step-by-Step Instructional Demos and Guides
- 8 Full-Length Video Downloads to Watch Offline
- 2 Full-Length Photography Classes to Keep for Life
- "How to Shoot Creatively" Educational Track
- Discounts on Purchase-to-Own Content in the Outdoor Photography Guide Shop
- Access to Ask the Expert Program
- Exclusive GOLD LIVE Streaming Events