How to Make Your Subjects Pop in Post-Processing
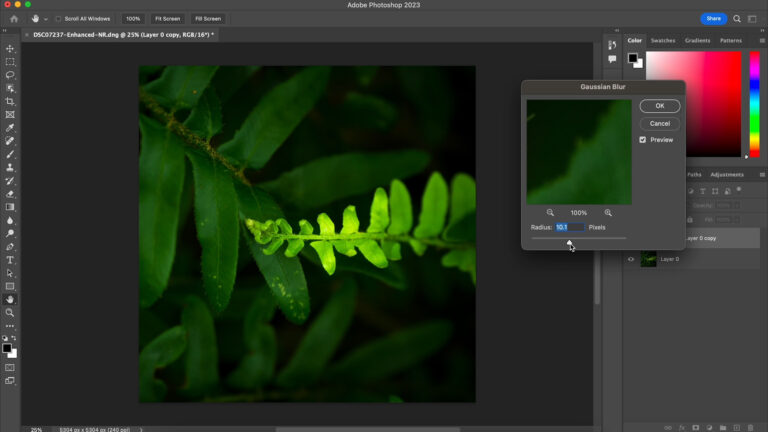
David JohnstonSometimes, you take a great outdoor photograph, but when you download the image into Lightroom, the main subject just doesn’t stand out the way you thought it would. But put on your edit hat. There is a solution. In this premium video lesson, Outdoor Photography Guide’s pro photographer David Johnston takes you through a few different ways of solving that problem.
By way of example, David shows you his image of a dark red barn sitting on a green field, the sky a lovely pastel orange. Right away, he sees that the barn is too dark. In Lightroom, he uses the adjustment brush, paints over the barn, and then works with various slider tools such as exposure, clarity, and temperature to brighten the barn and draw in the viewer’s eye.
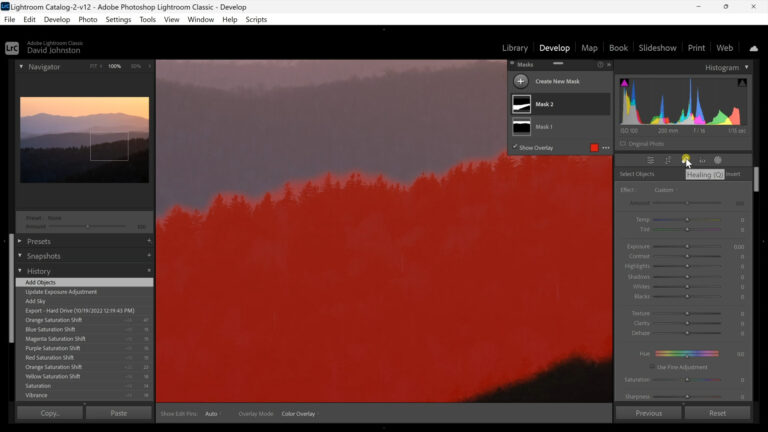
For a second method to make his subject pop, he turns to an image of a baby elephant centered in a grassland scene. In Lightroom, he selects the radial filter and creates an oval around the elephant, manipulating the outer ring. When he adjusts the exposure slider, everything outside the oval is affected. He lowers the exposure which darkens the outside area, causing the elephant to stand out. Then, selecting another radial filter, he inverts it, and creates another oval, then increases exposure, contrast and clarity on the elephant. Essentially, he is applying the opposite adjustments of what he processed on the outside of the oval ring.
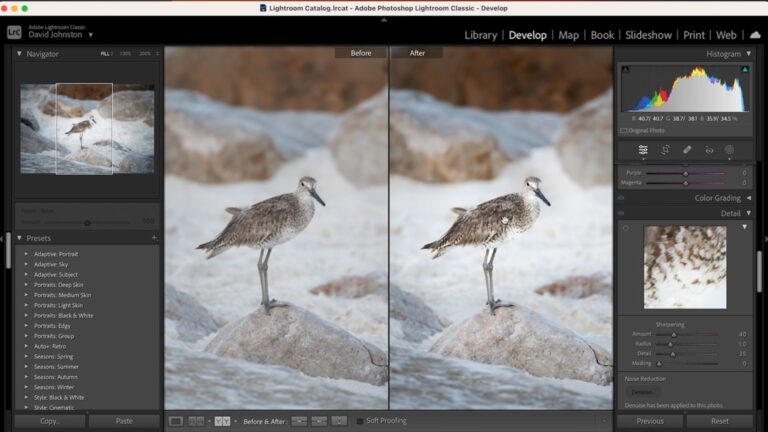
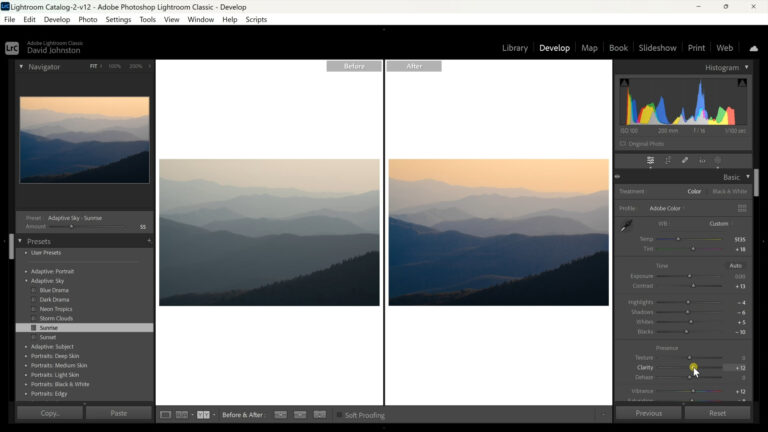
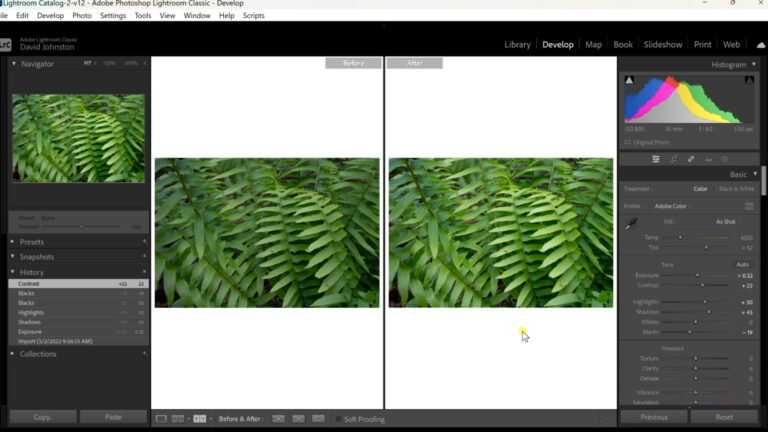
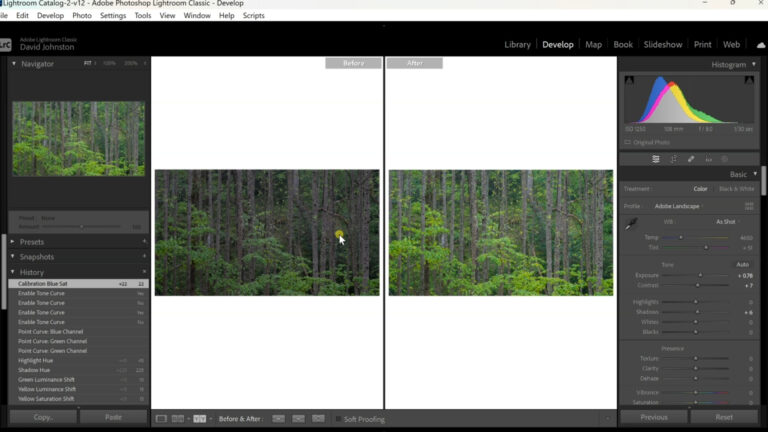
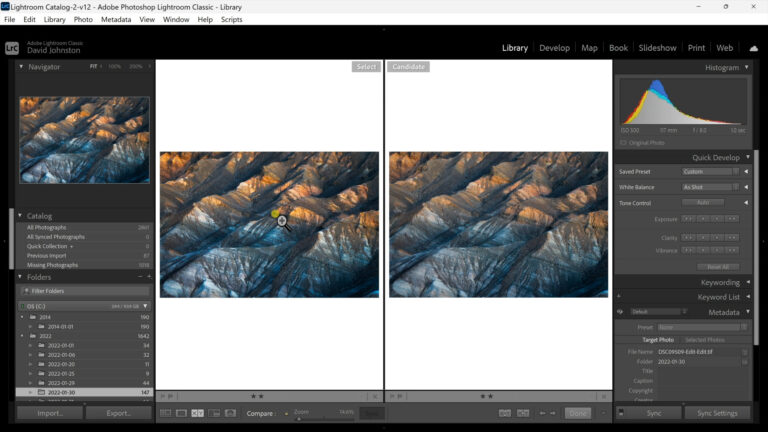
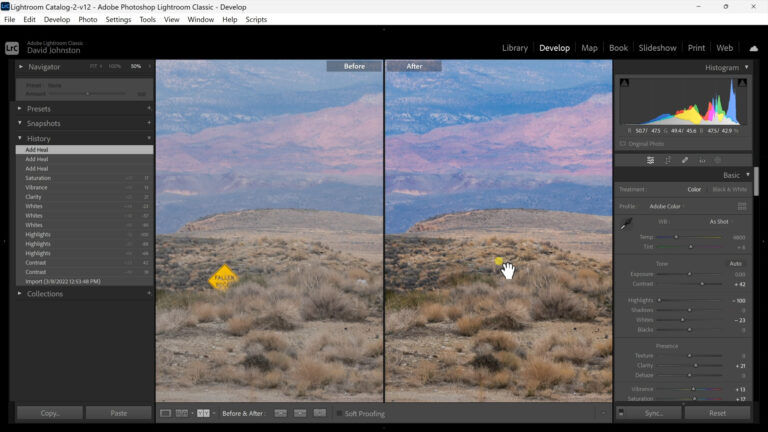
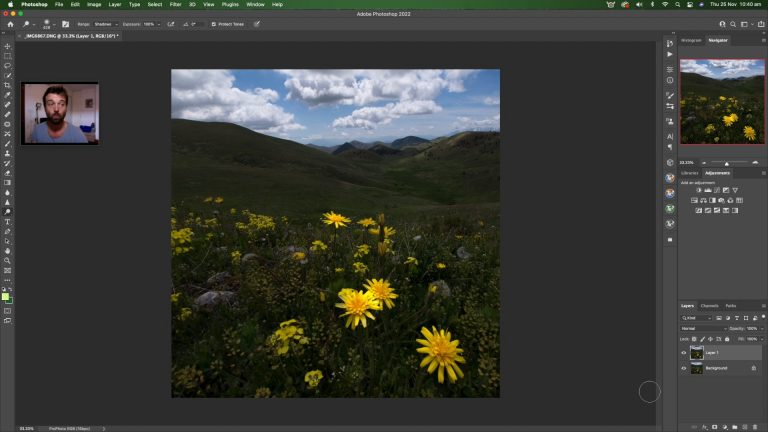
When you are finished editing your image, it’s always a good idea to compare the before and after in the post-processing of your image. In this premium video, join Outdoor Photography Guide’s professional photographer David Johnston takes you into his studio and uses the Lightroom tools to make subjects stand out from the backgrounds.
Explore videos by David Johnston


You may be interested in


Premium Membership
Unlock exclusive member content from our industry experts.
- 24/7 Access to Premium Photography Videos, Tips, and Techniques
- Step-by-Step Instructional Demos and Guides
- 50% Off Video Downloads Purchased in the Outdoor Photography Guide Shop
- Access to Ask the Expert Program
Unlock exclusive member content from our industry experts.
- 24/7 Access to Premium Photography Videos, Tips, and Techniques
- Step-by-Step Instructional Demos and Guides
- 2 Full-Length Video Downloads to Watch Offline
- 50% Off Video Downloads Purchased in the Outdoor Photography Guide Shop
- Access to Ask the Expert Program
Gold Membership
$463 Value
Get everything included in Premium plus exclusive Gold Membership benefits.
- 24/7 Access to Premium Photography Videos, Tips, and Techniques
- Step-by-Step Instructional Demos and Guides
- 8 Full-Length Video Downloads to Watch Offline
- 2 Full-Length Photography Classes to Keep for Life
- "How to Shoot Creatively" Educational Track
- Discounts on Purchase-to-Own Content in the Outdoor Photography Guide Shop
- Access to Ask the Expert Program
- Exclusive GOLD LIVE Streaming Events